Downloads
I design most of my mini furniture and accessories, and it’s not much additional effort to share my files with others. I’ve added some files below and plan to add more based on interest. Feel free to use them for personal use.
If you don’t see something you’re looking for, contact me and I’ll see what I can do :) Happy making!
Tiny tiles
I really enjoying tiling in miniature. My typical process is to paint posterboard, cut it on with Cricut into tiny tile shapes, glue the, onto the surface I want to tile, seal it with varnish, and then “grout” using drywall spackle. It’s a labor intensive process but I love the results.
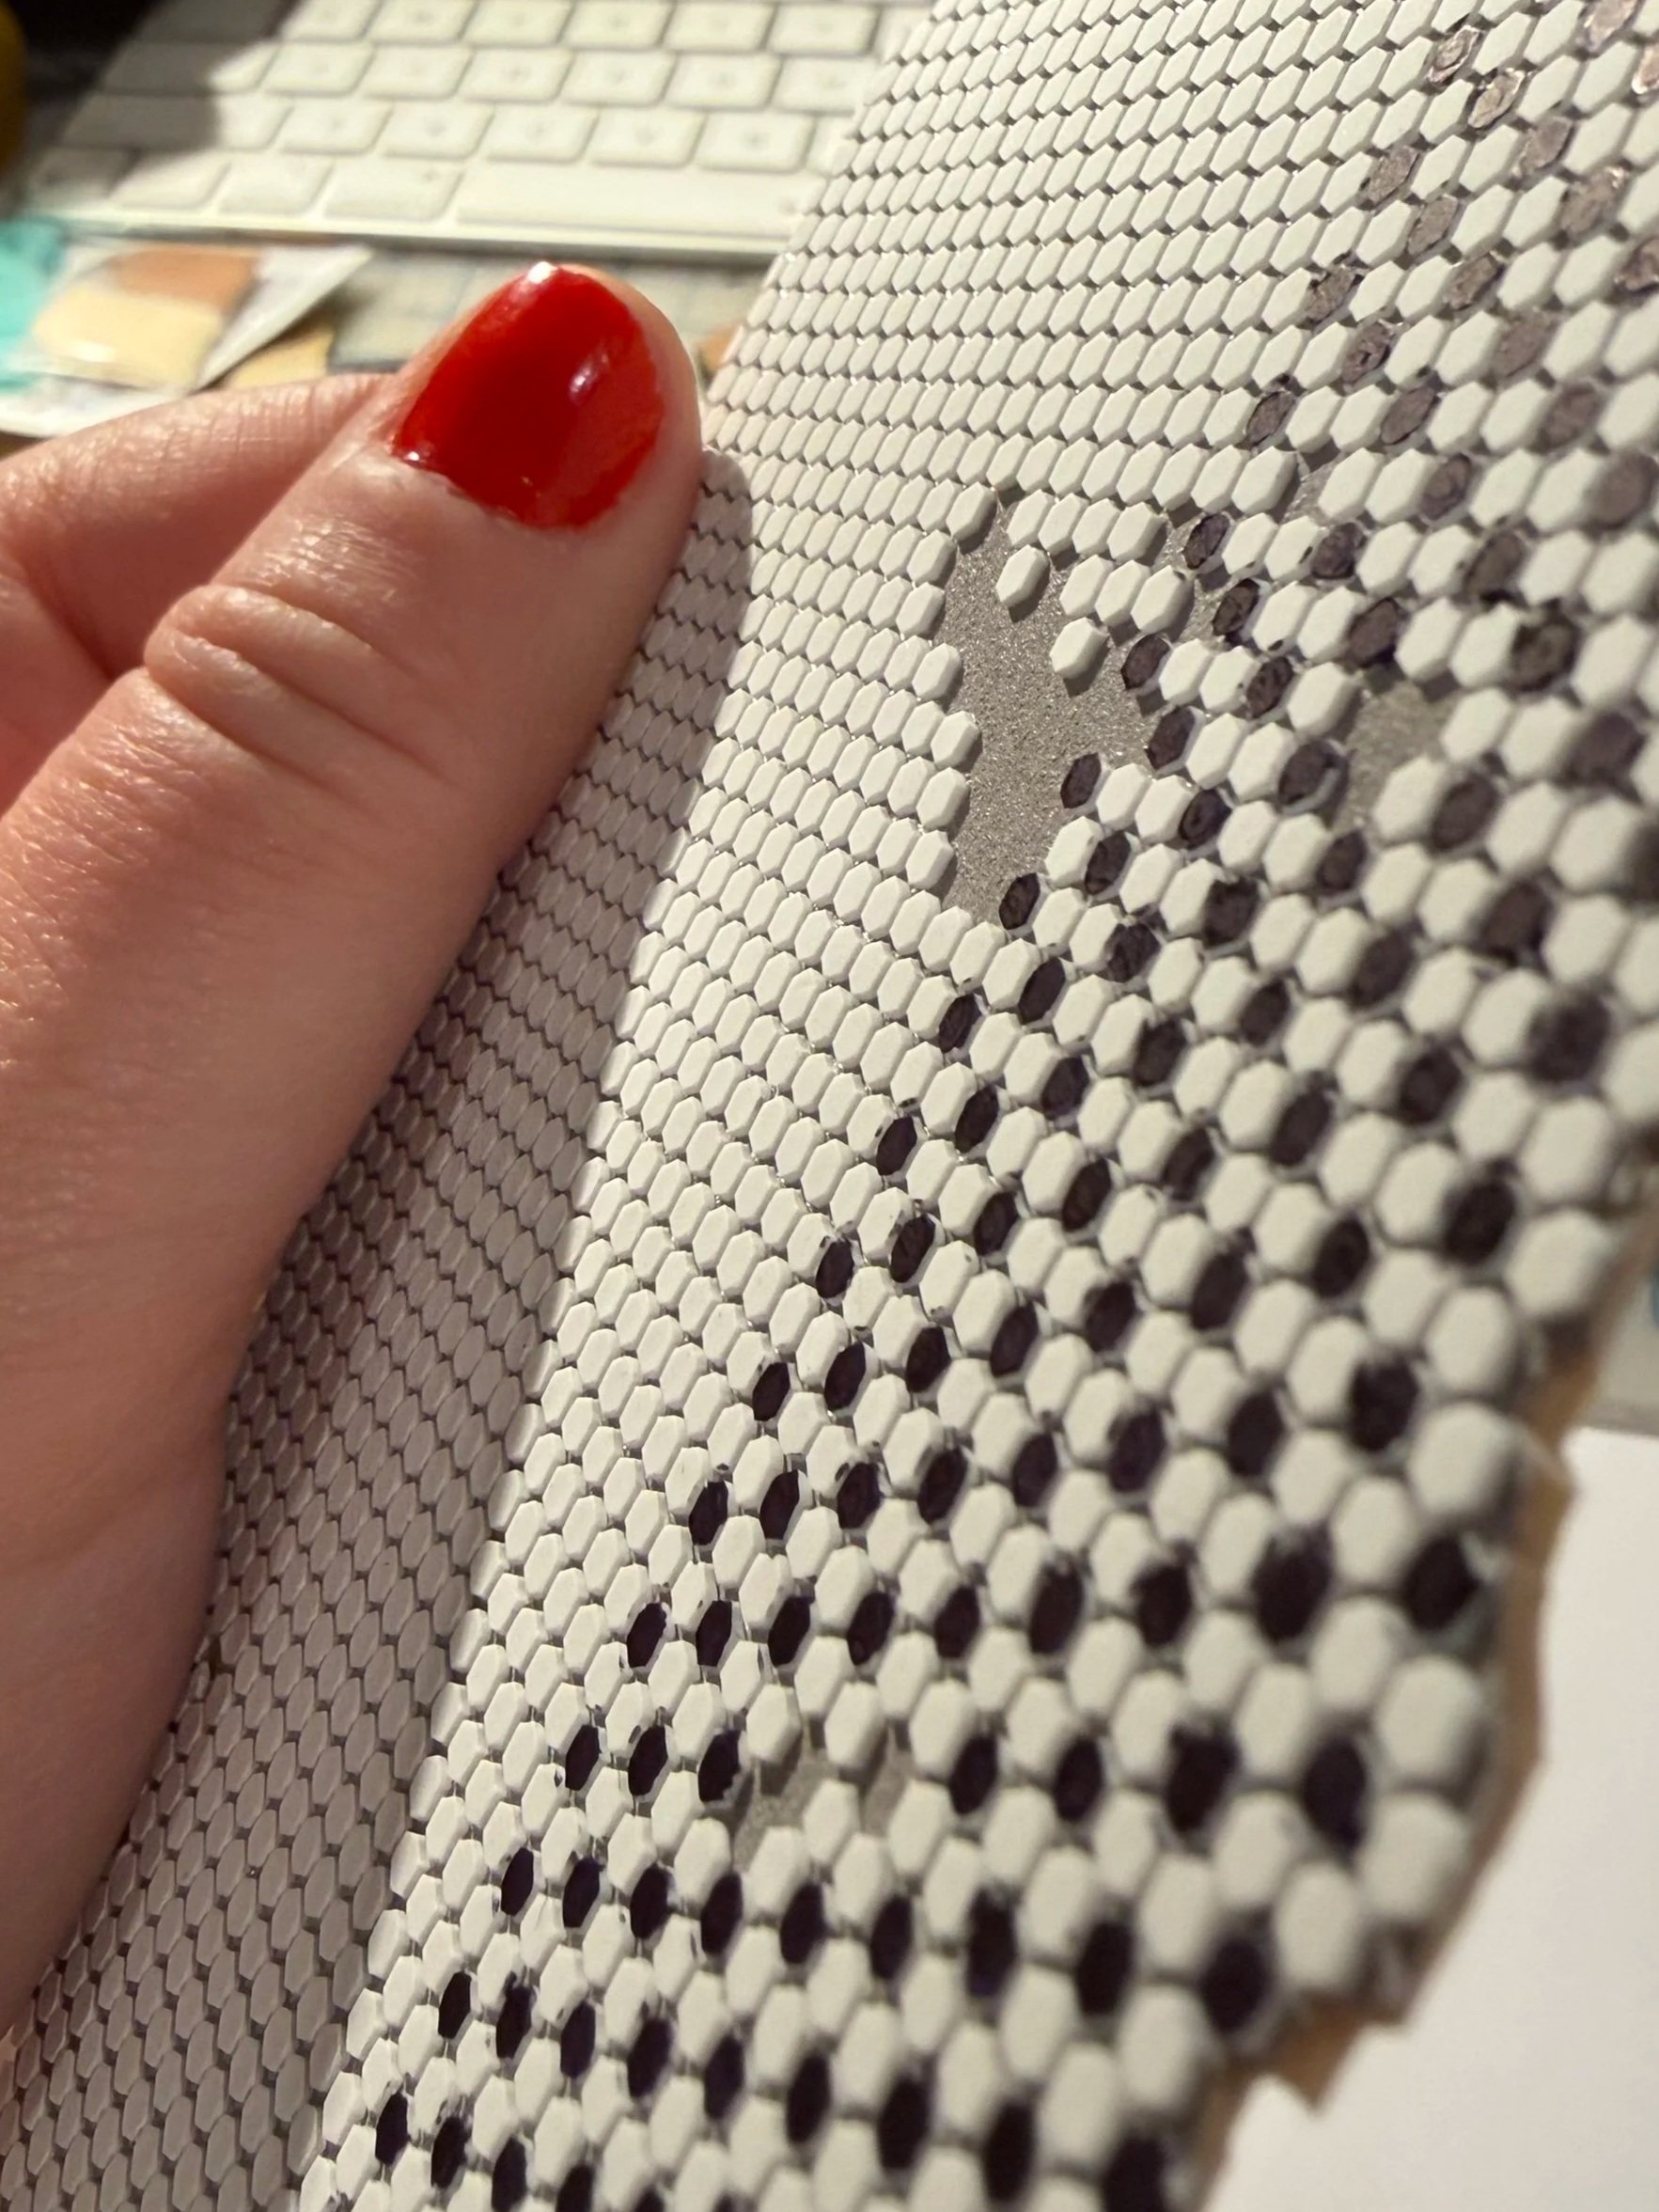
But all of that changed on November 18, 2025, when I tried using Siser Brick 600 Heat Transfer Vinyl (HTV) based on a recommendation from Lyndsay Meager Sann (@lyndsaymakes) who saw me experimenting with regular HTV to make hexagonal penny tiles.
GAME CHANGER!!!!
I’m not an expert and feel like I still have to perfect this method, but you can see more about my experiment in this Instagram reel.
Below is the file I used for my tiles in case you’d like to join the fun!
A FEW NOTES & TIPS
I used my Cricut Maker 4 to cut the Brick 600 with the default fine-point blade using the “Glitter Iron-on” material settings, but do a test cut on your machine first.
It took a long time to cut (45 min?)
I taped down the material on all 4 sides, and moved my star wheels so they didn’t run it over (not sure if it would leave marks, but I didn’t want to risk it).
Don’t forget to seal your tiles if you color them in with Sharpie—otherwise you might “have a catastrophe” :)
1:12 Bean Labels
I shared this DIY on Instagram and folks loved it. So I figured I’d make my label file available to anyone who’d like to use it. Print out at 100% scale (or “Do Not Scale” depending on your printer), trim labels and attach to a cellophane bag of seeds or grains. I used red and white quinoa, mustard seeds and sesame seeds for my mini “beans.”
You can see a tutorial in this Instagram Reel.
1:12 Takeout Bag and Boxes
I used my Cricut to score and cut these tiny 1:12 takeout bag and boxes. The takeout bag is made out of a piece of actual paper bag and the boxes are made out of kraft paper cardstock.
You can see a quick tutorial in this Instagram reel.
I invested in the scoring wheel for my Cricut which helped me make the folds you see in my takeout bag and boxes. The SVG files linked below include both cut and score layers. I imported the files into Cricut Design Space, selected all the black lines and tapped “Attach” and then switched the lines from “Basic Cut” to the “Score” operation. The overall shape should be set to “Basic Cut.” When you tap the “Make” button, the Cricut software will tell you to first put in the scoring wheel, it’ll complete the process and then prompt you to switch to the cutting tool. Once you get the hang of it, it’s really handy.
If you don’t have the scoring wheel, you can remove or ignore the scoring lines in the file and use a bone folder to make the creases, but I bet that won’t be much fun!
1:12 Record Crate
Use 2mm thick basswood to laser cut this simple 1:12 scale vinyl record crate. You don’t really even need glue since the pieces snugly fit together.
You can see the finished crate in this Instagram reel.
Vermont Farmhouse Jr. 1:12 Window Mullions
I wasn’t a fan of the screenprinted window mullion design that came on the window inserts included in the Vermont Farmhouse Jr. dollhouse kit, so I cut my own out of posterboard.
You can see a step-by-step tutorial in this Instagram reel.
To make the mullions, you’ll need to cut 1 copy of the SVG file linked below for each side of the window pane out of standard posterboard. I used my Cricut, but you could also cut by hand.
Glue the thinner piece on top of the thicker one to create a dimensional effect. You can then paint them if you’d like (I chose not to) and, once dry, use tiny dots of glue to attach them to the plexiglass window inserts that came with the kit. The posterboard should completely cover the screenprinted design. Then you can install the window inserts as instructed in the kit.
It’s a little tedious, but I found this detail really elevated the look of the windows and made them much more realistic.
1:12 Bookshelf
This DIY project is featured in Issue 8 of Shrunk. magazine. You can access the full tutorial and download a cutting and gluing guide by tapping the button below.
Shrunk. Holiday Party DIYs
In celebration of Shrunk. Issue 8, Shrunk. and Mini House on the Line co-hosted a mini holiday party on Instagram on December 14 and 15th, 2024. I shared a bunch of DIYs and Printables which you can find below!


