Mini House on the Line x Shrunk. magazine DIY
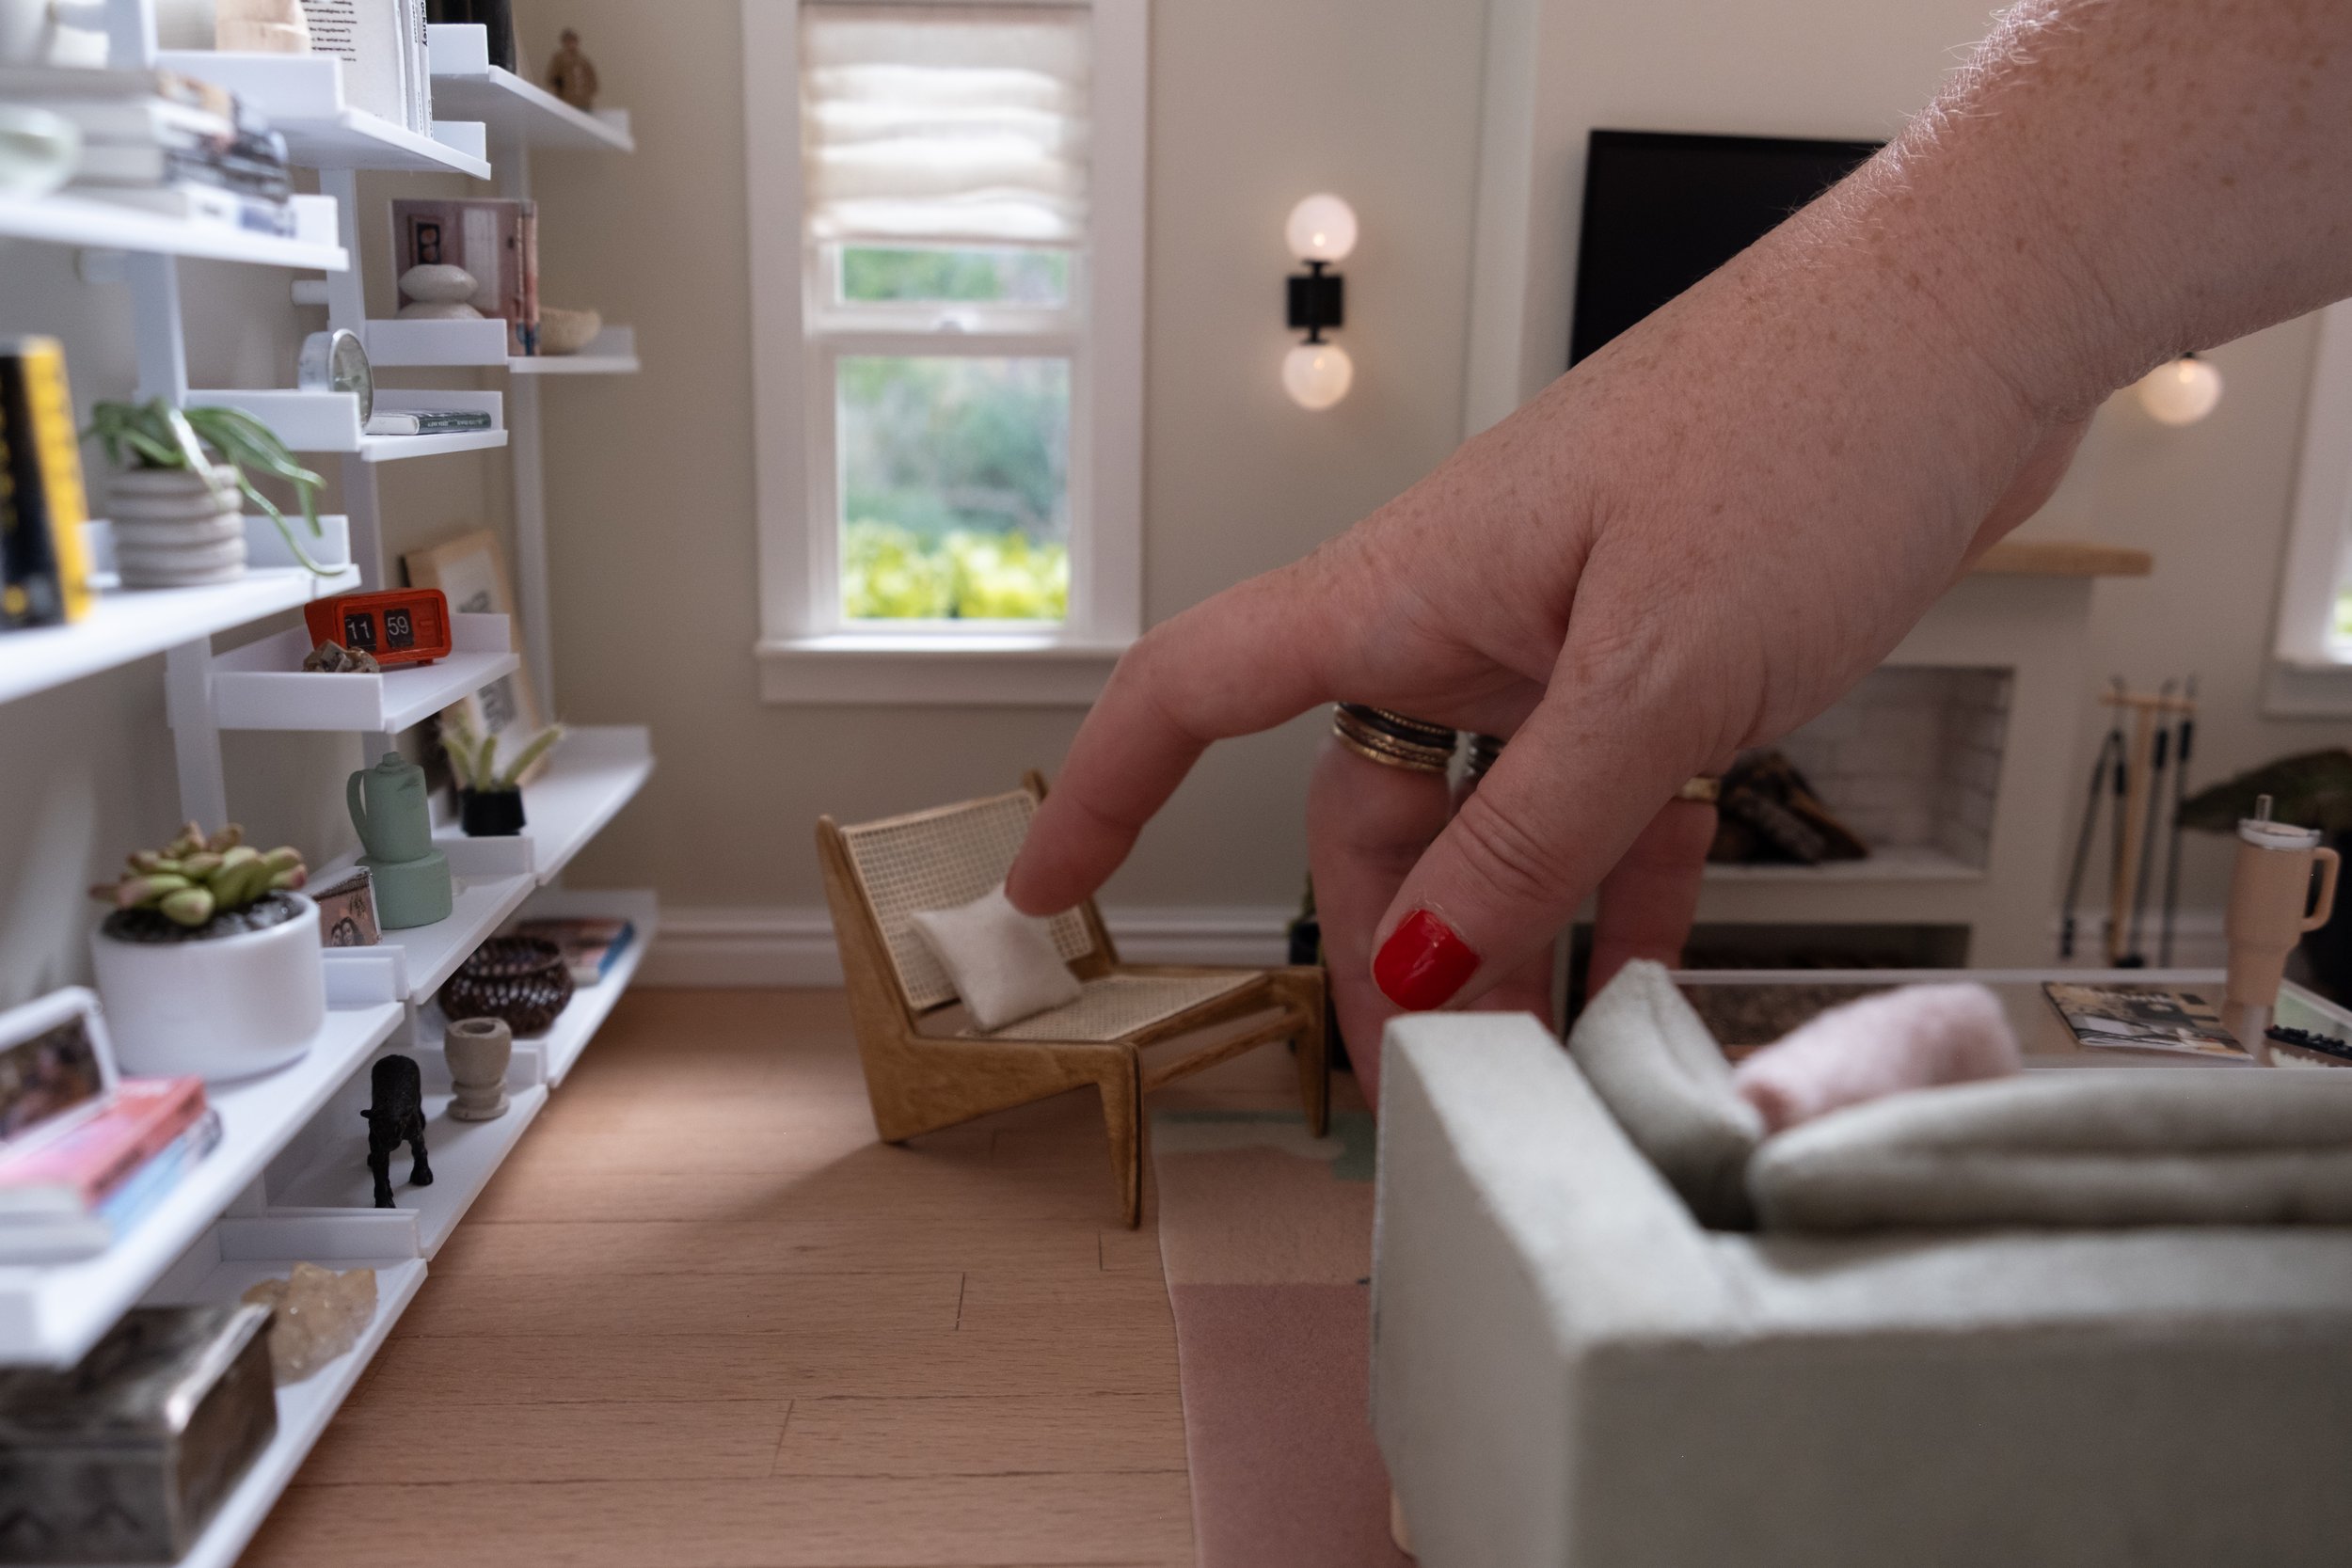
When I first started mini-making in 2023, I aspired to be included in Shrunk. magazine, so I’m thrilled to have created a scene and DIY project for Shrunk’s 8th issue. The theme of the scene was “New Year’s Eve at Home” and was inspired by a quiet night in to celebrate the New Year. A key element in the scene is the shelving unit on the left wall, which I shared as a DIY in the magazine
See DIY details below.
Bookshelf DIY


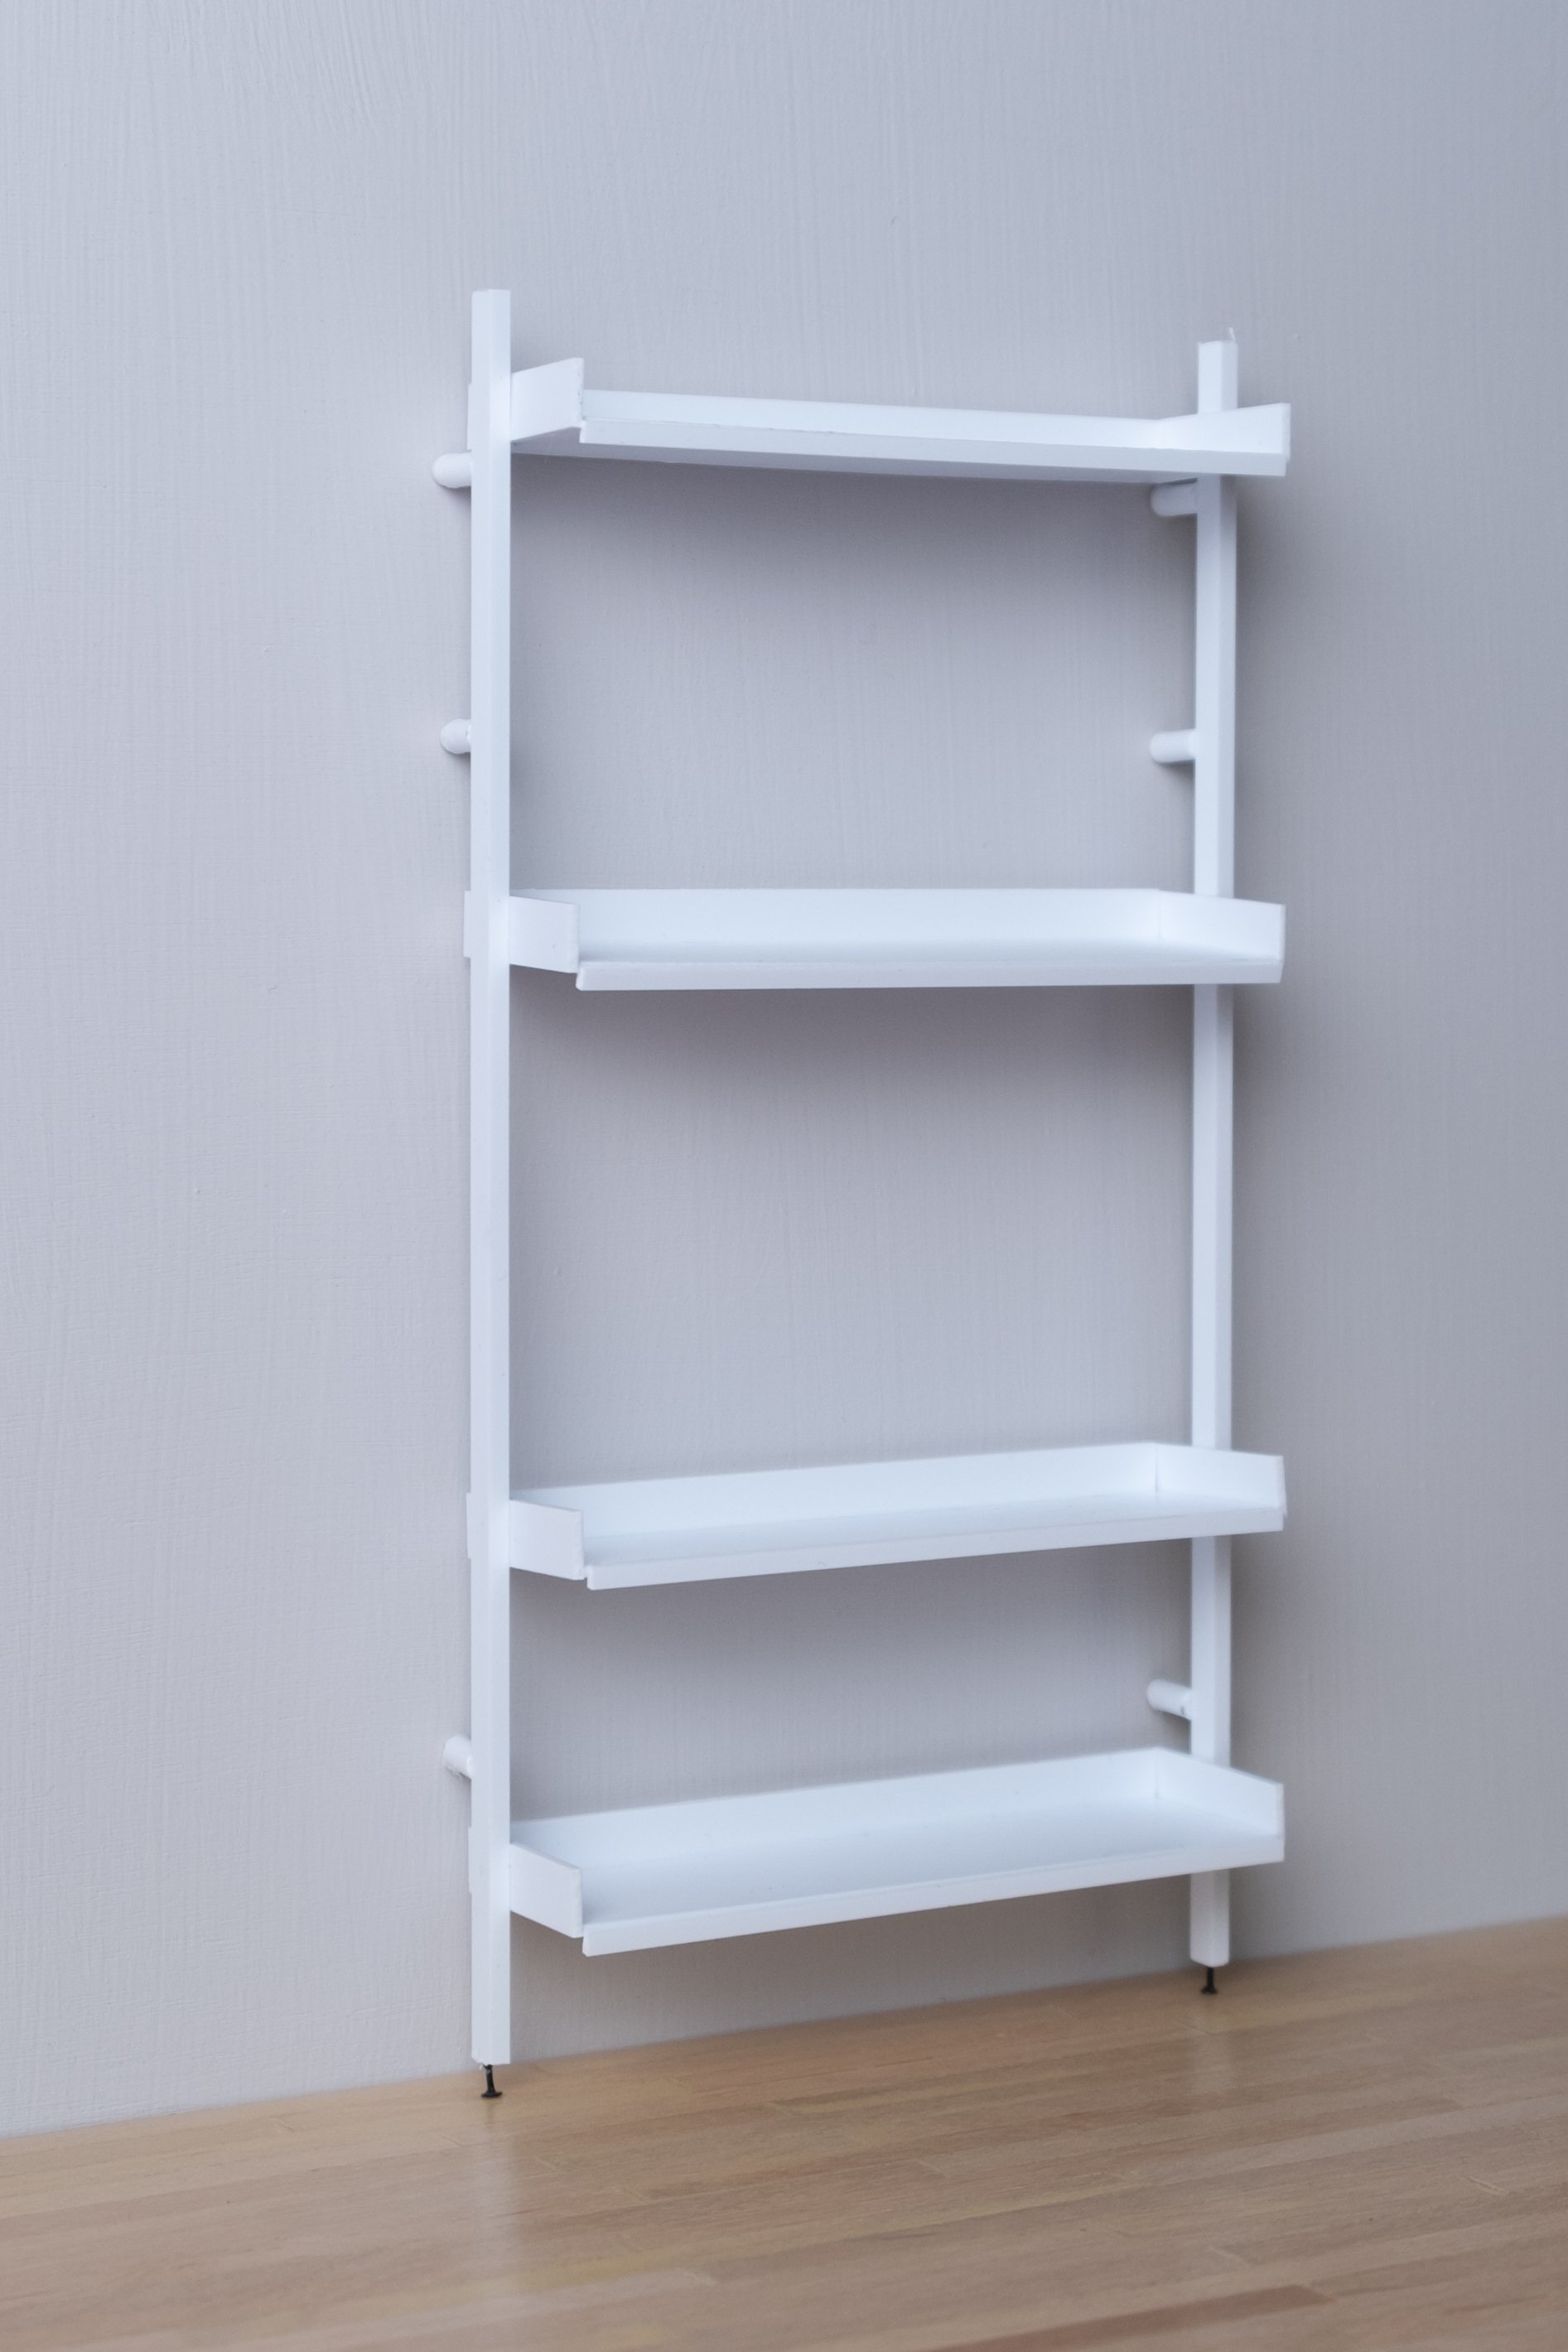
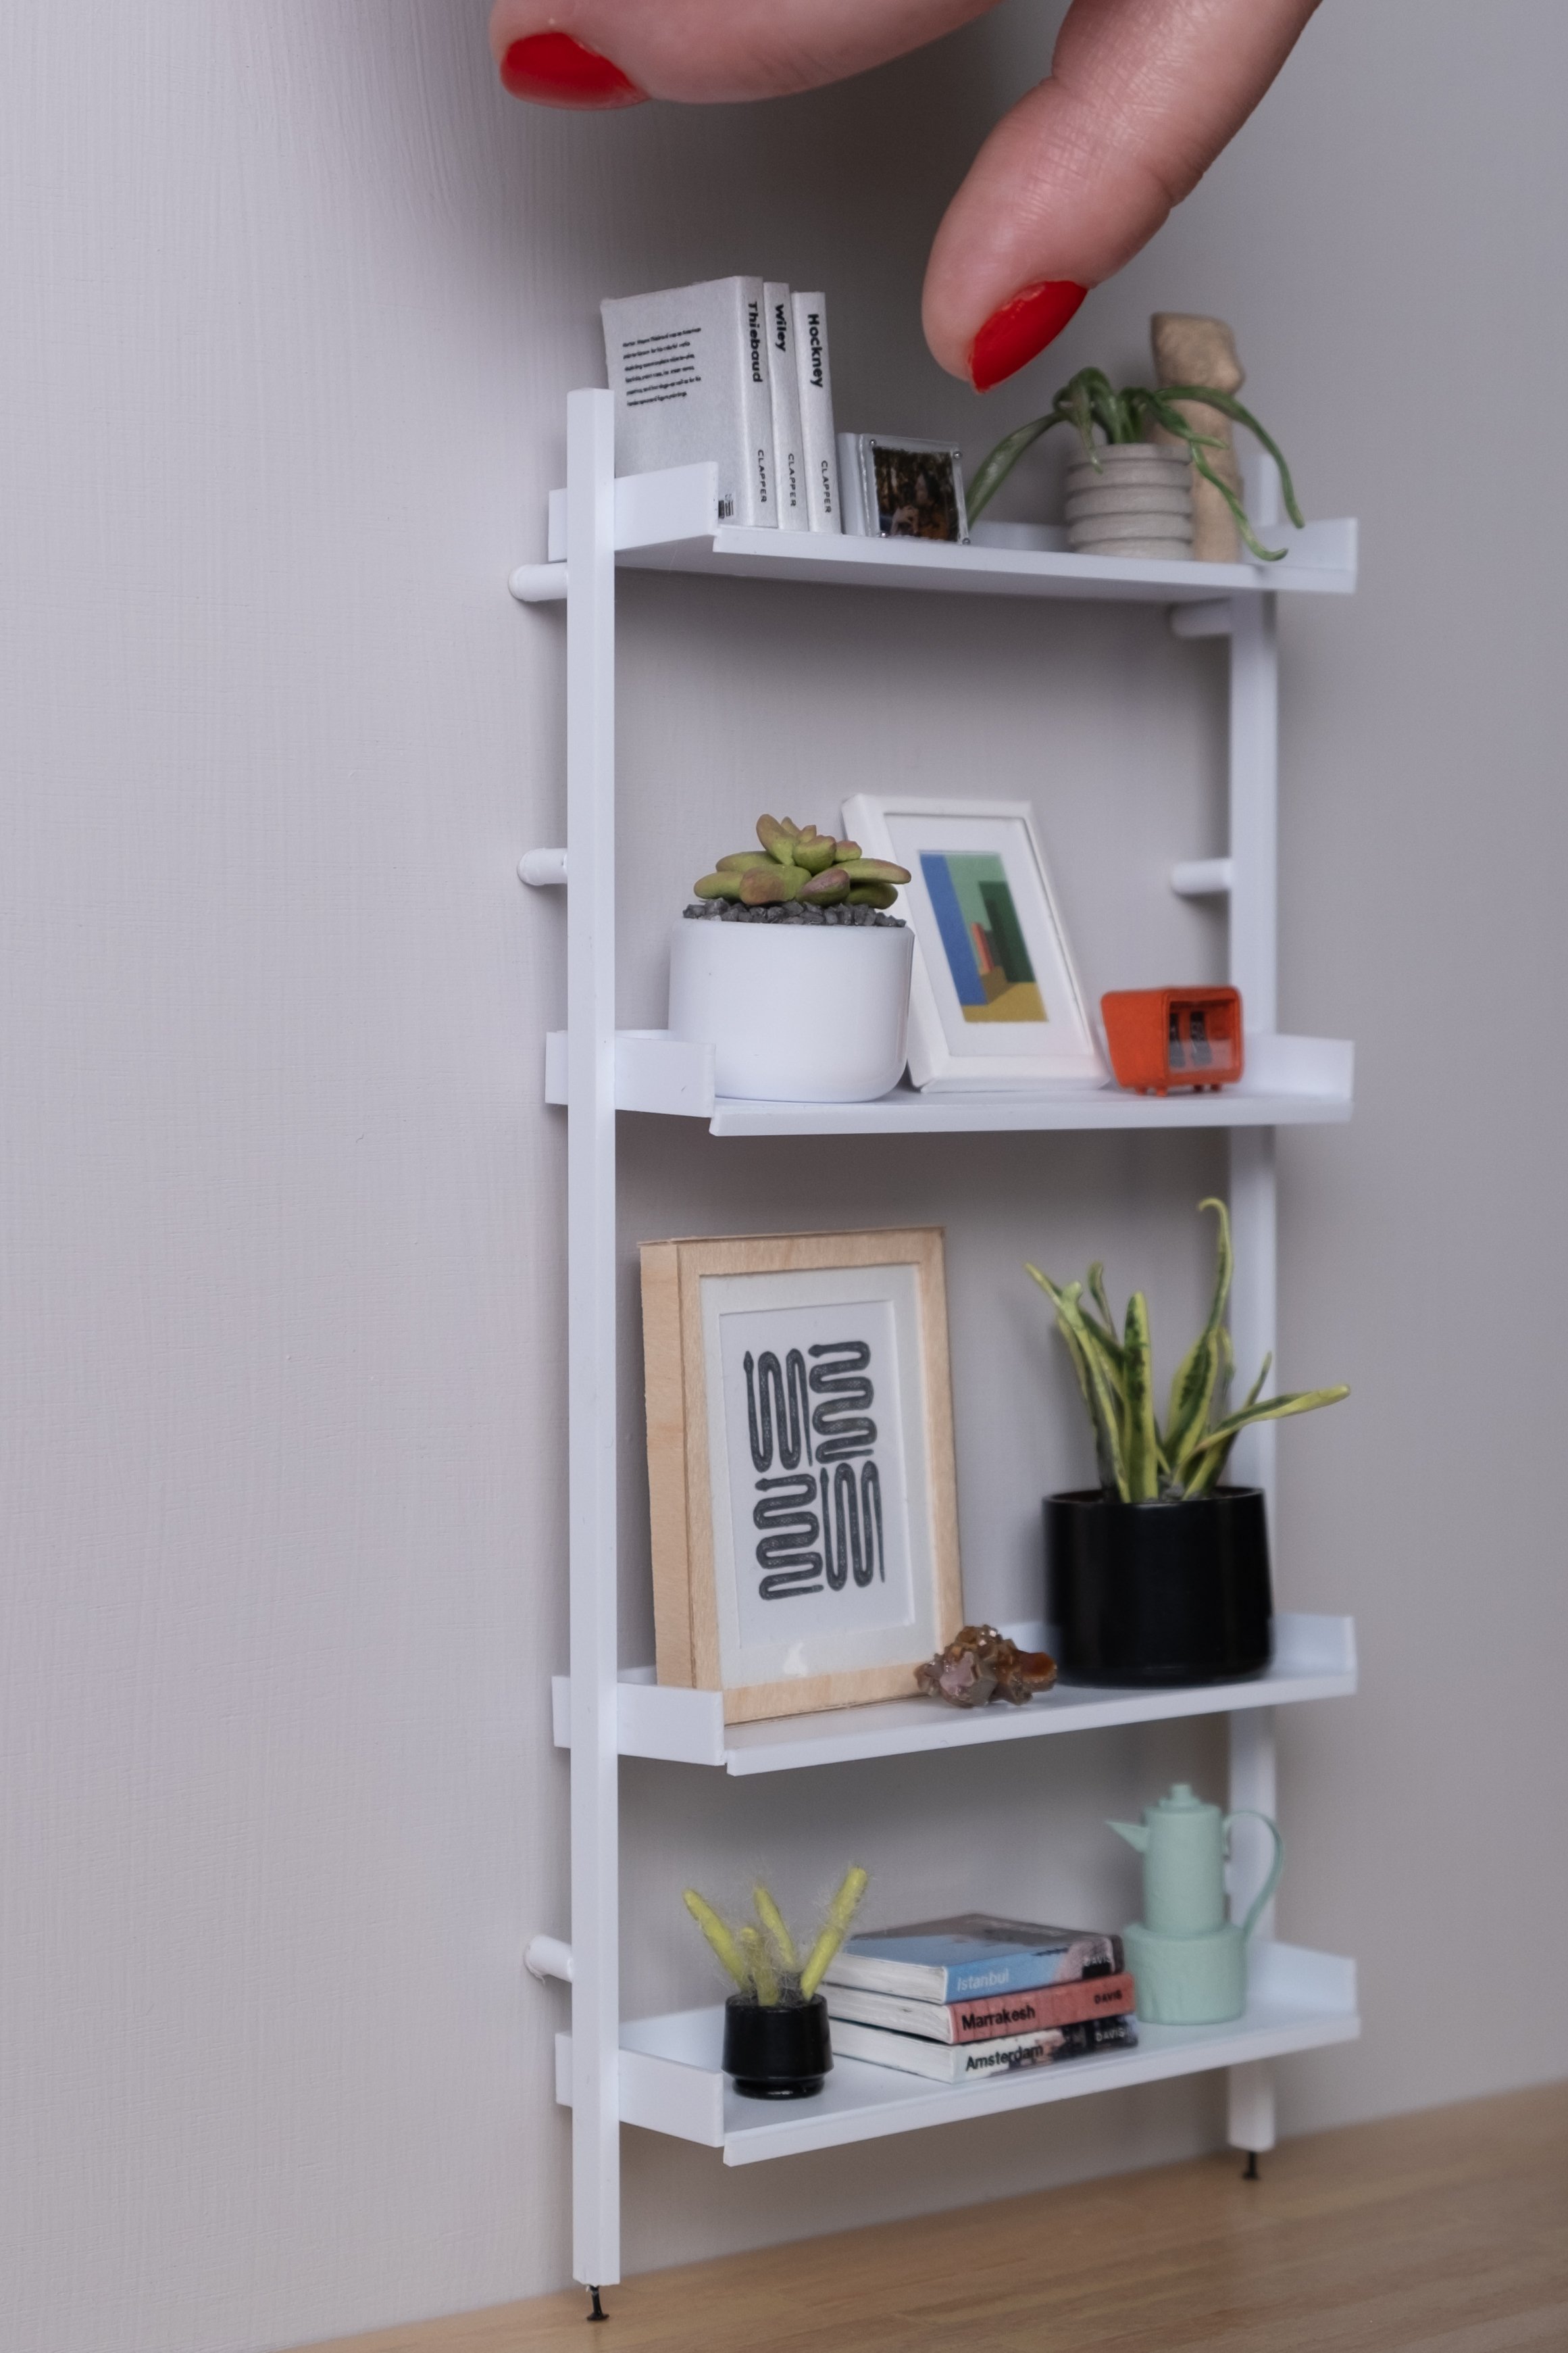
About the project
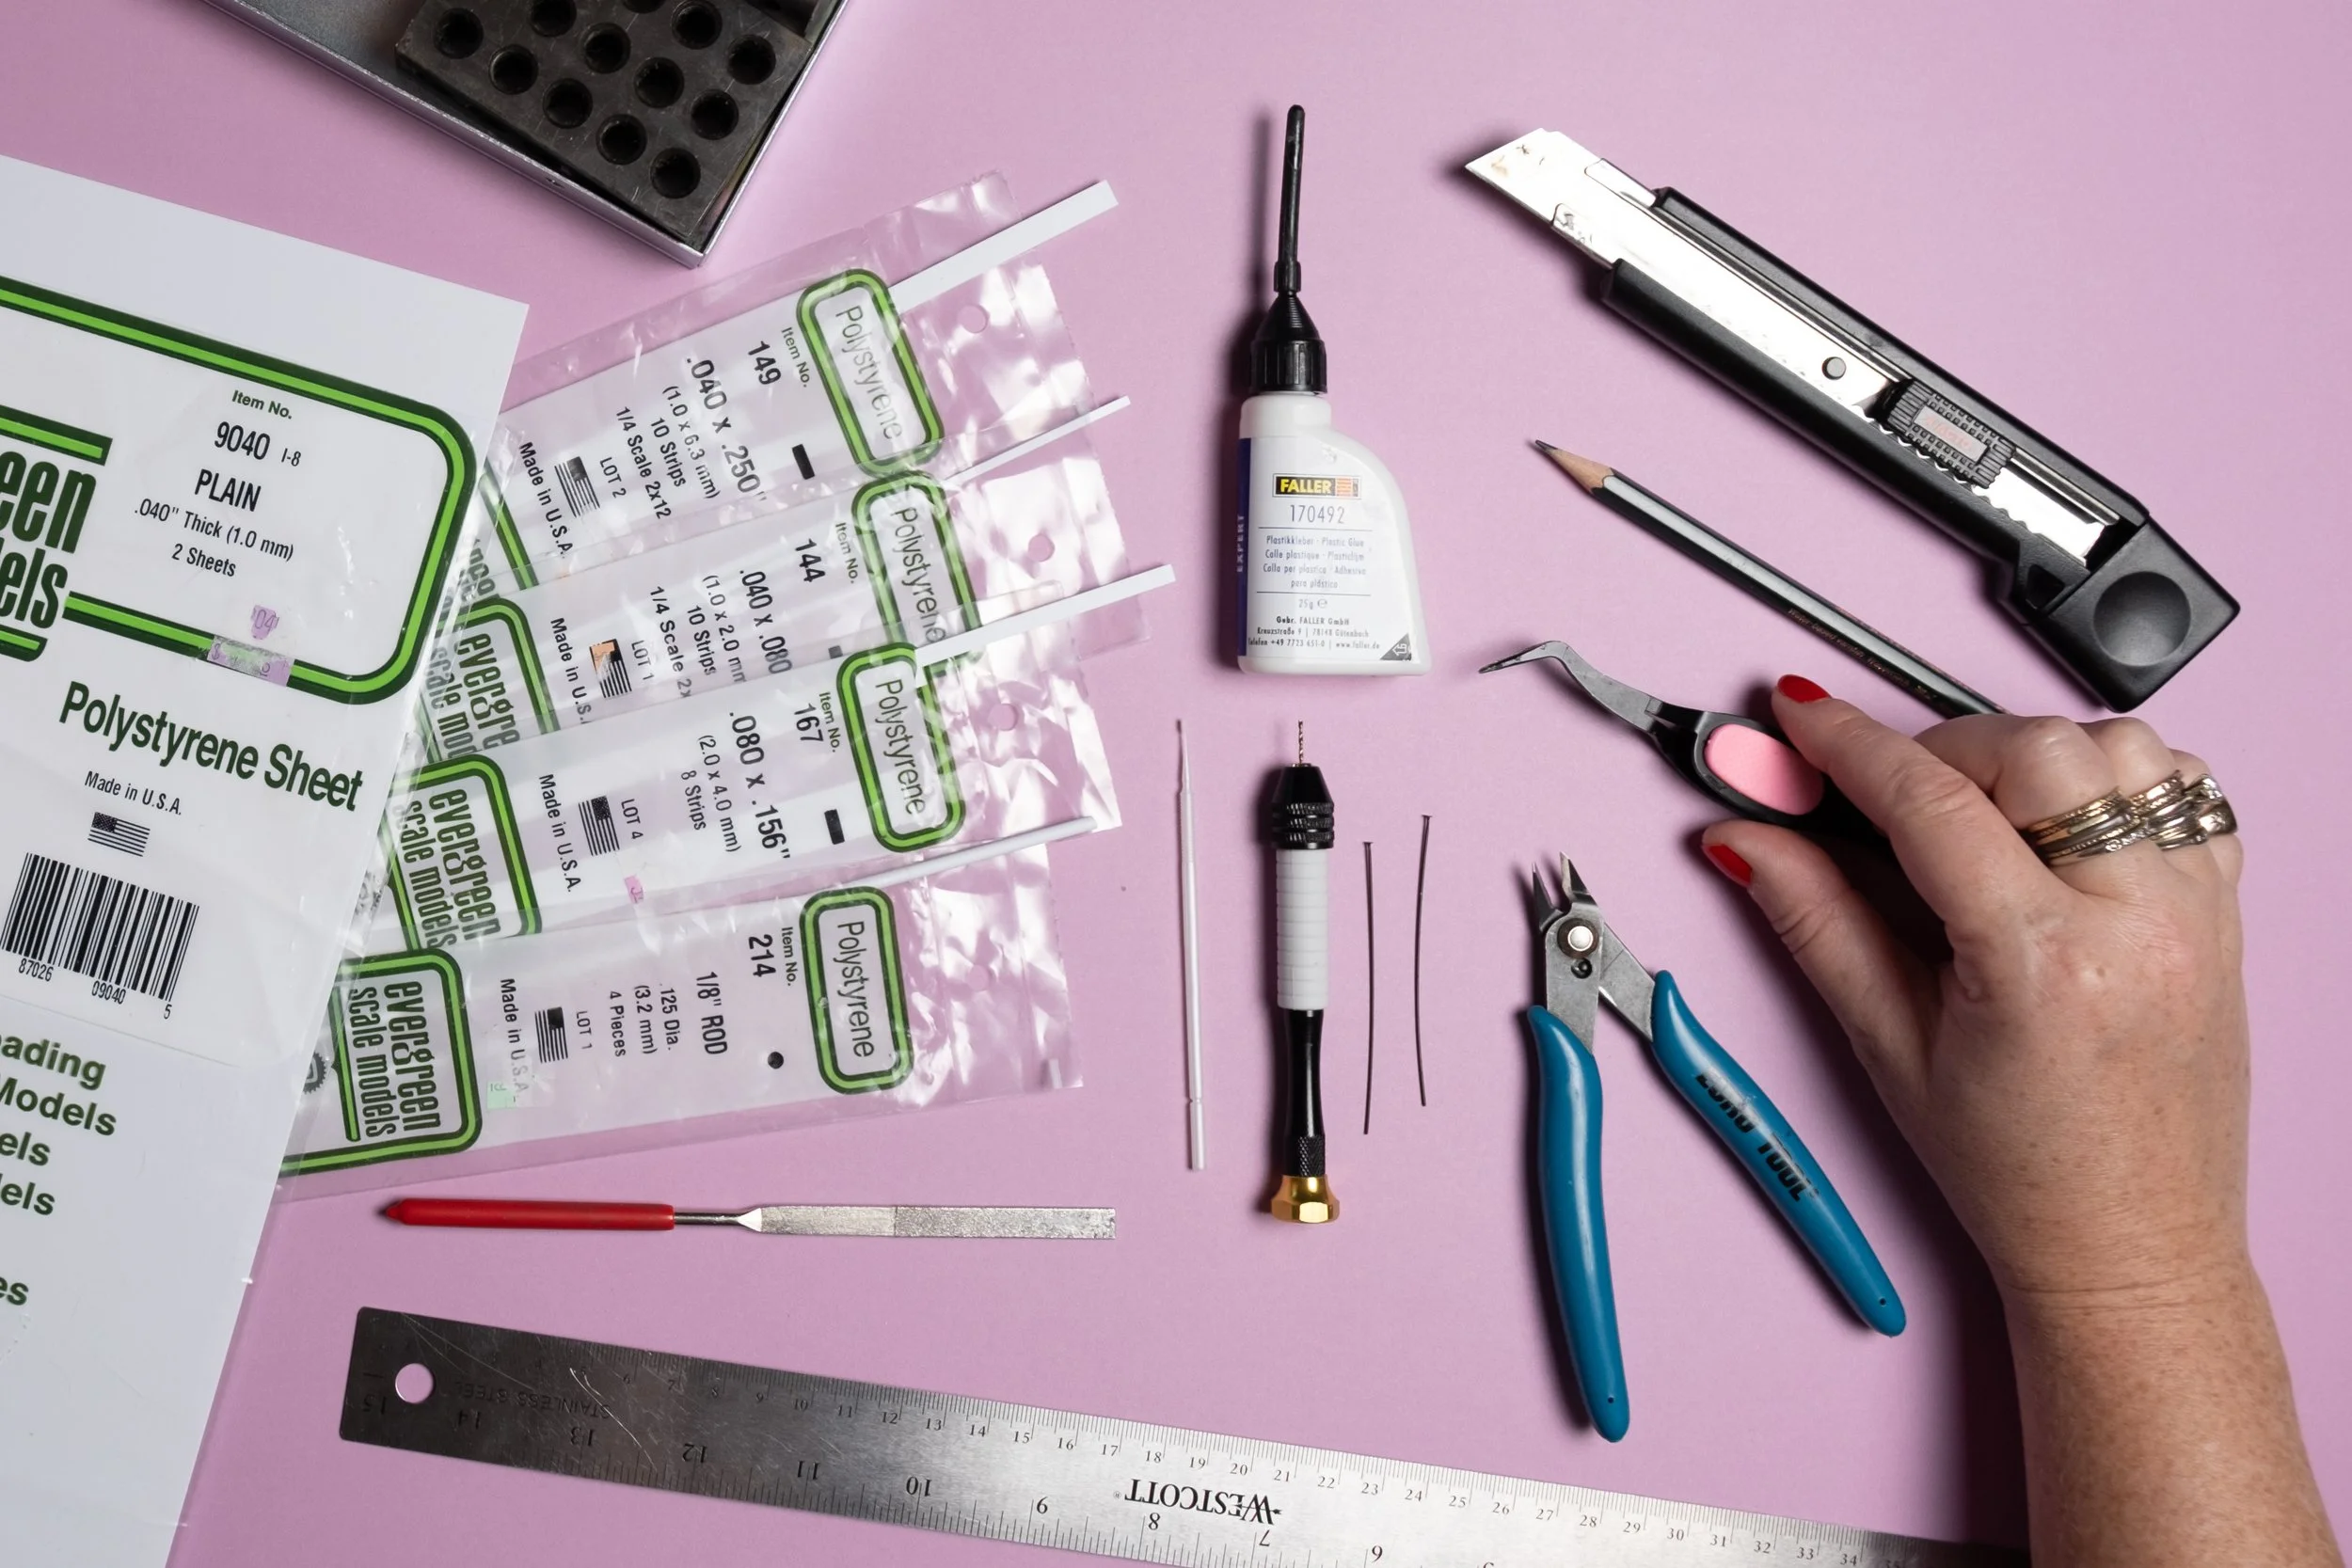
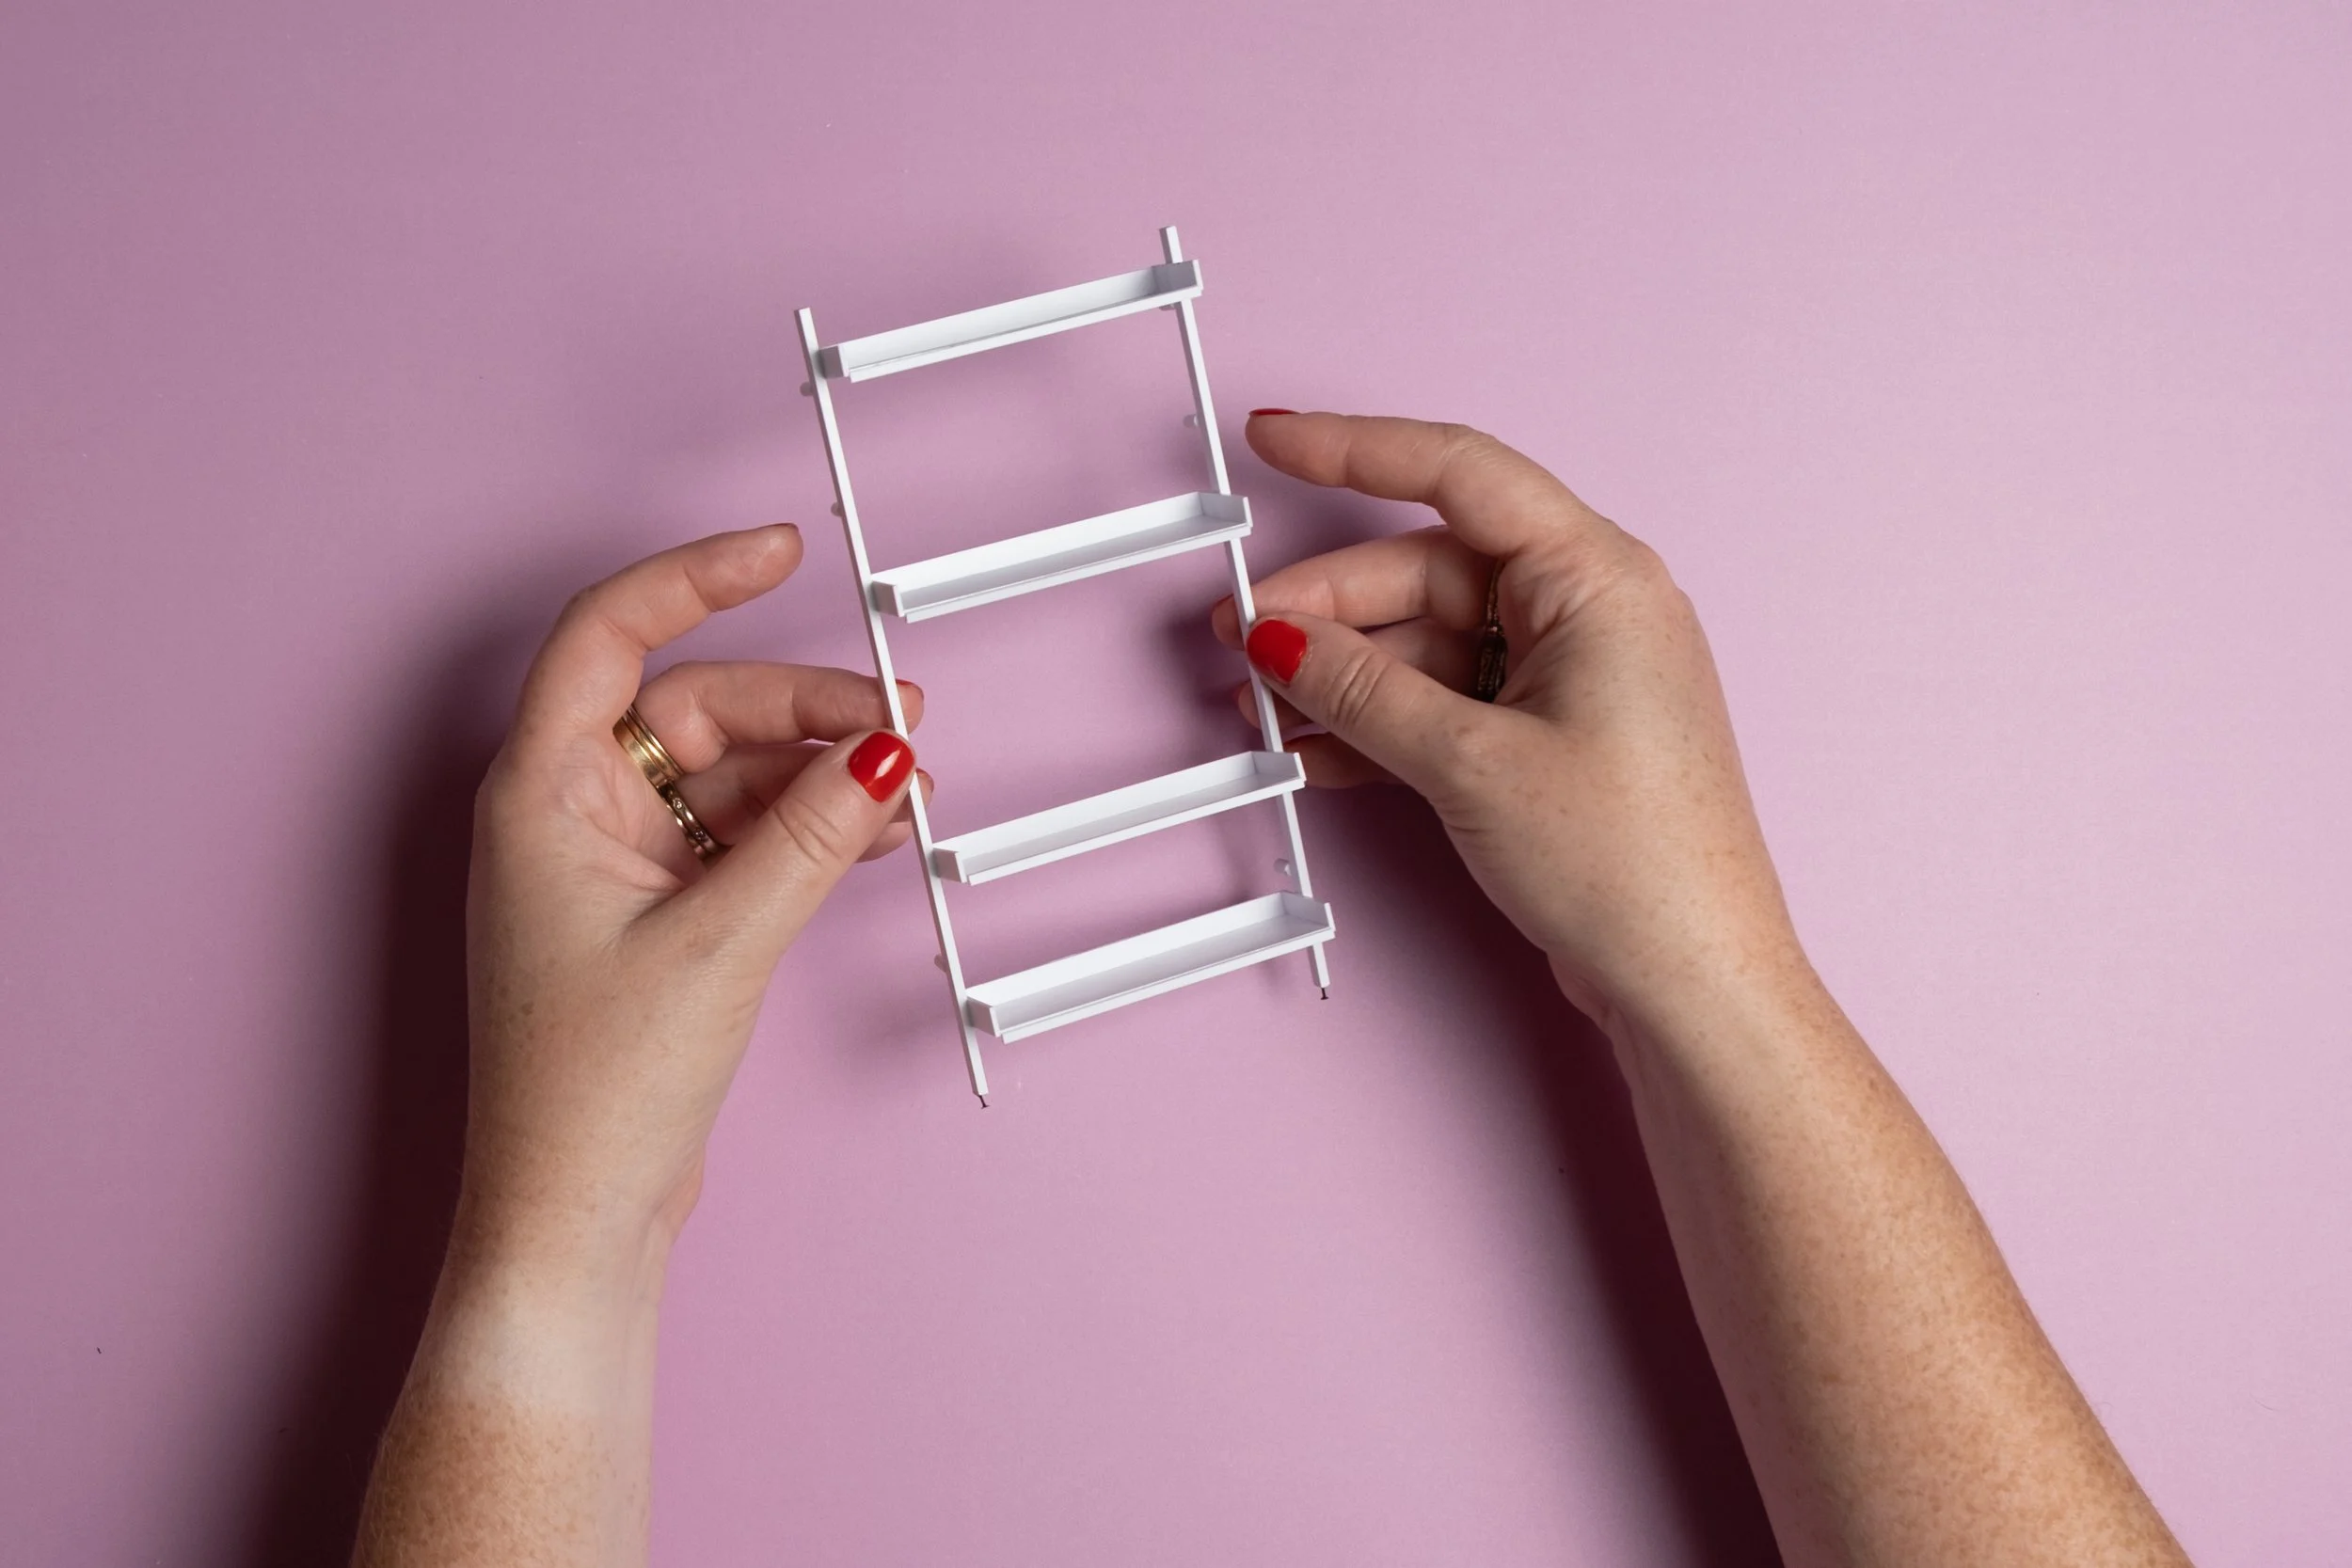
I made this modern, modular mini shelving system out of polystyrene, a type of plastic used for model-making that comes in sheets, rods, tubes, and strips in varying widths and thicknesses. It’s a lightweight, sturdy material with an opaque satin finish that can be sanded and formed into any shape. I’ve used it to make mini faucets, countertops, sinks, and in my New Year’s Eve scene: the light fixtures, coffee table, and of course, this shelving unit.
The best glue to use for polystyrene is model maker’s plastic glue (like Faller 170492 EXPERT Plastic Glue). It fuses the polystyrene together and sets up quickly. But, warning: it smells terrible! You only need a tiny drop to create a quick, strong bond between two pieces of polystyrene. It comes in a bottle with a metal tip, but I prefer using model glue applicators (found at hobby stores) as they give me better control.
If you can’t find plastic glue, you can use a standard super glue (Cyanoacrylates) but I find it’s more messy and hard to work with, and the bond isn’t quite as strong.
The only non-polystyrene material in the build is two metal headpins (used for jewelry making) which I use for the faux “self-leveling feet.” They are a tiny, low effort detail that adds a big dose of realism to the project.
The hardest and most time consuming part of the project is cutting all the polystyrene pieces with precision. But once all of the pieces are cut, the rest of the project will come together very quickly.
See the instructions below. Have fun!
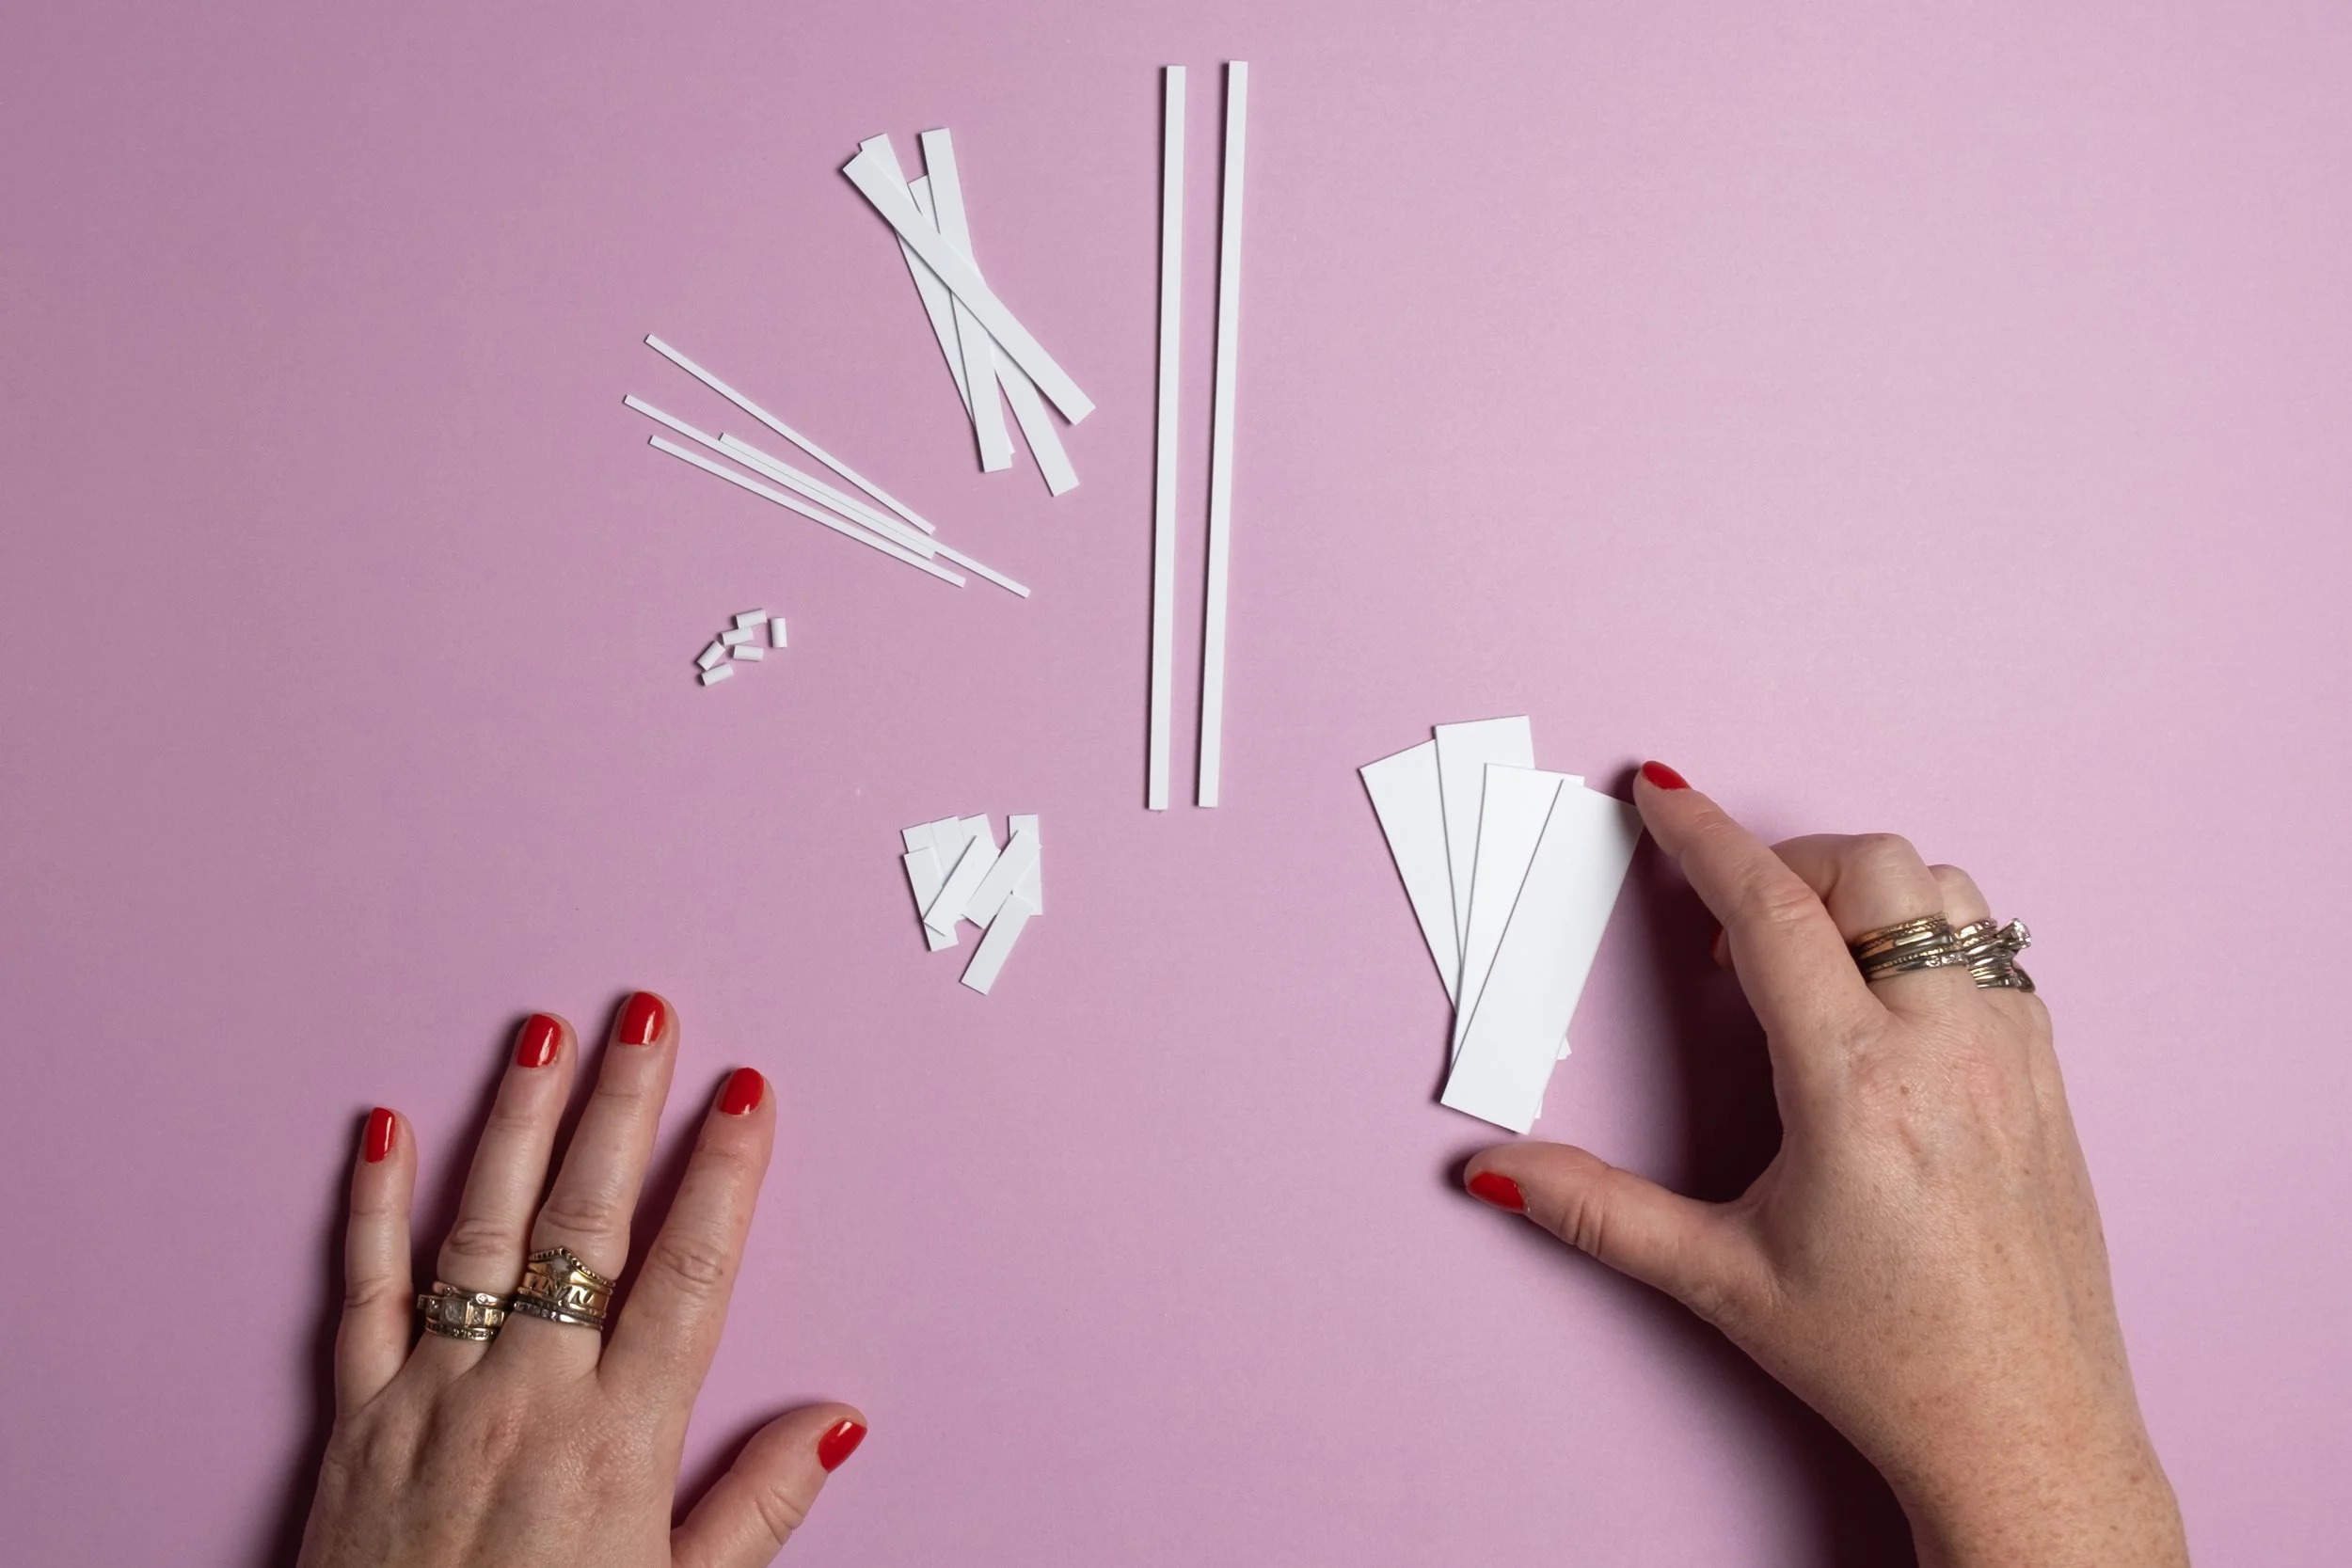
1. Gather Materials
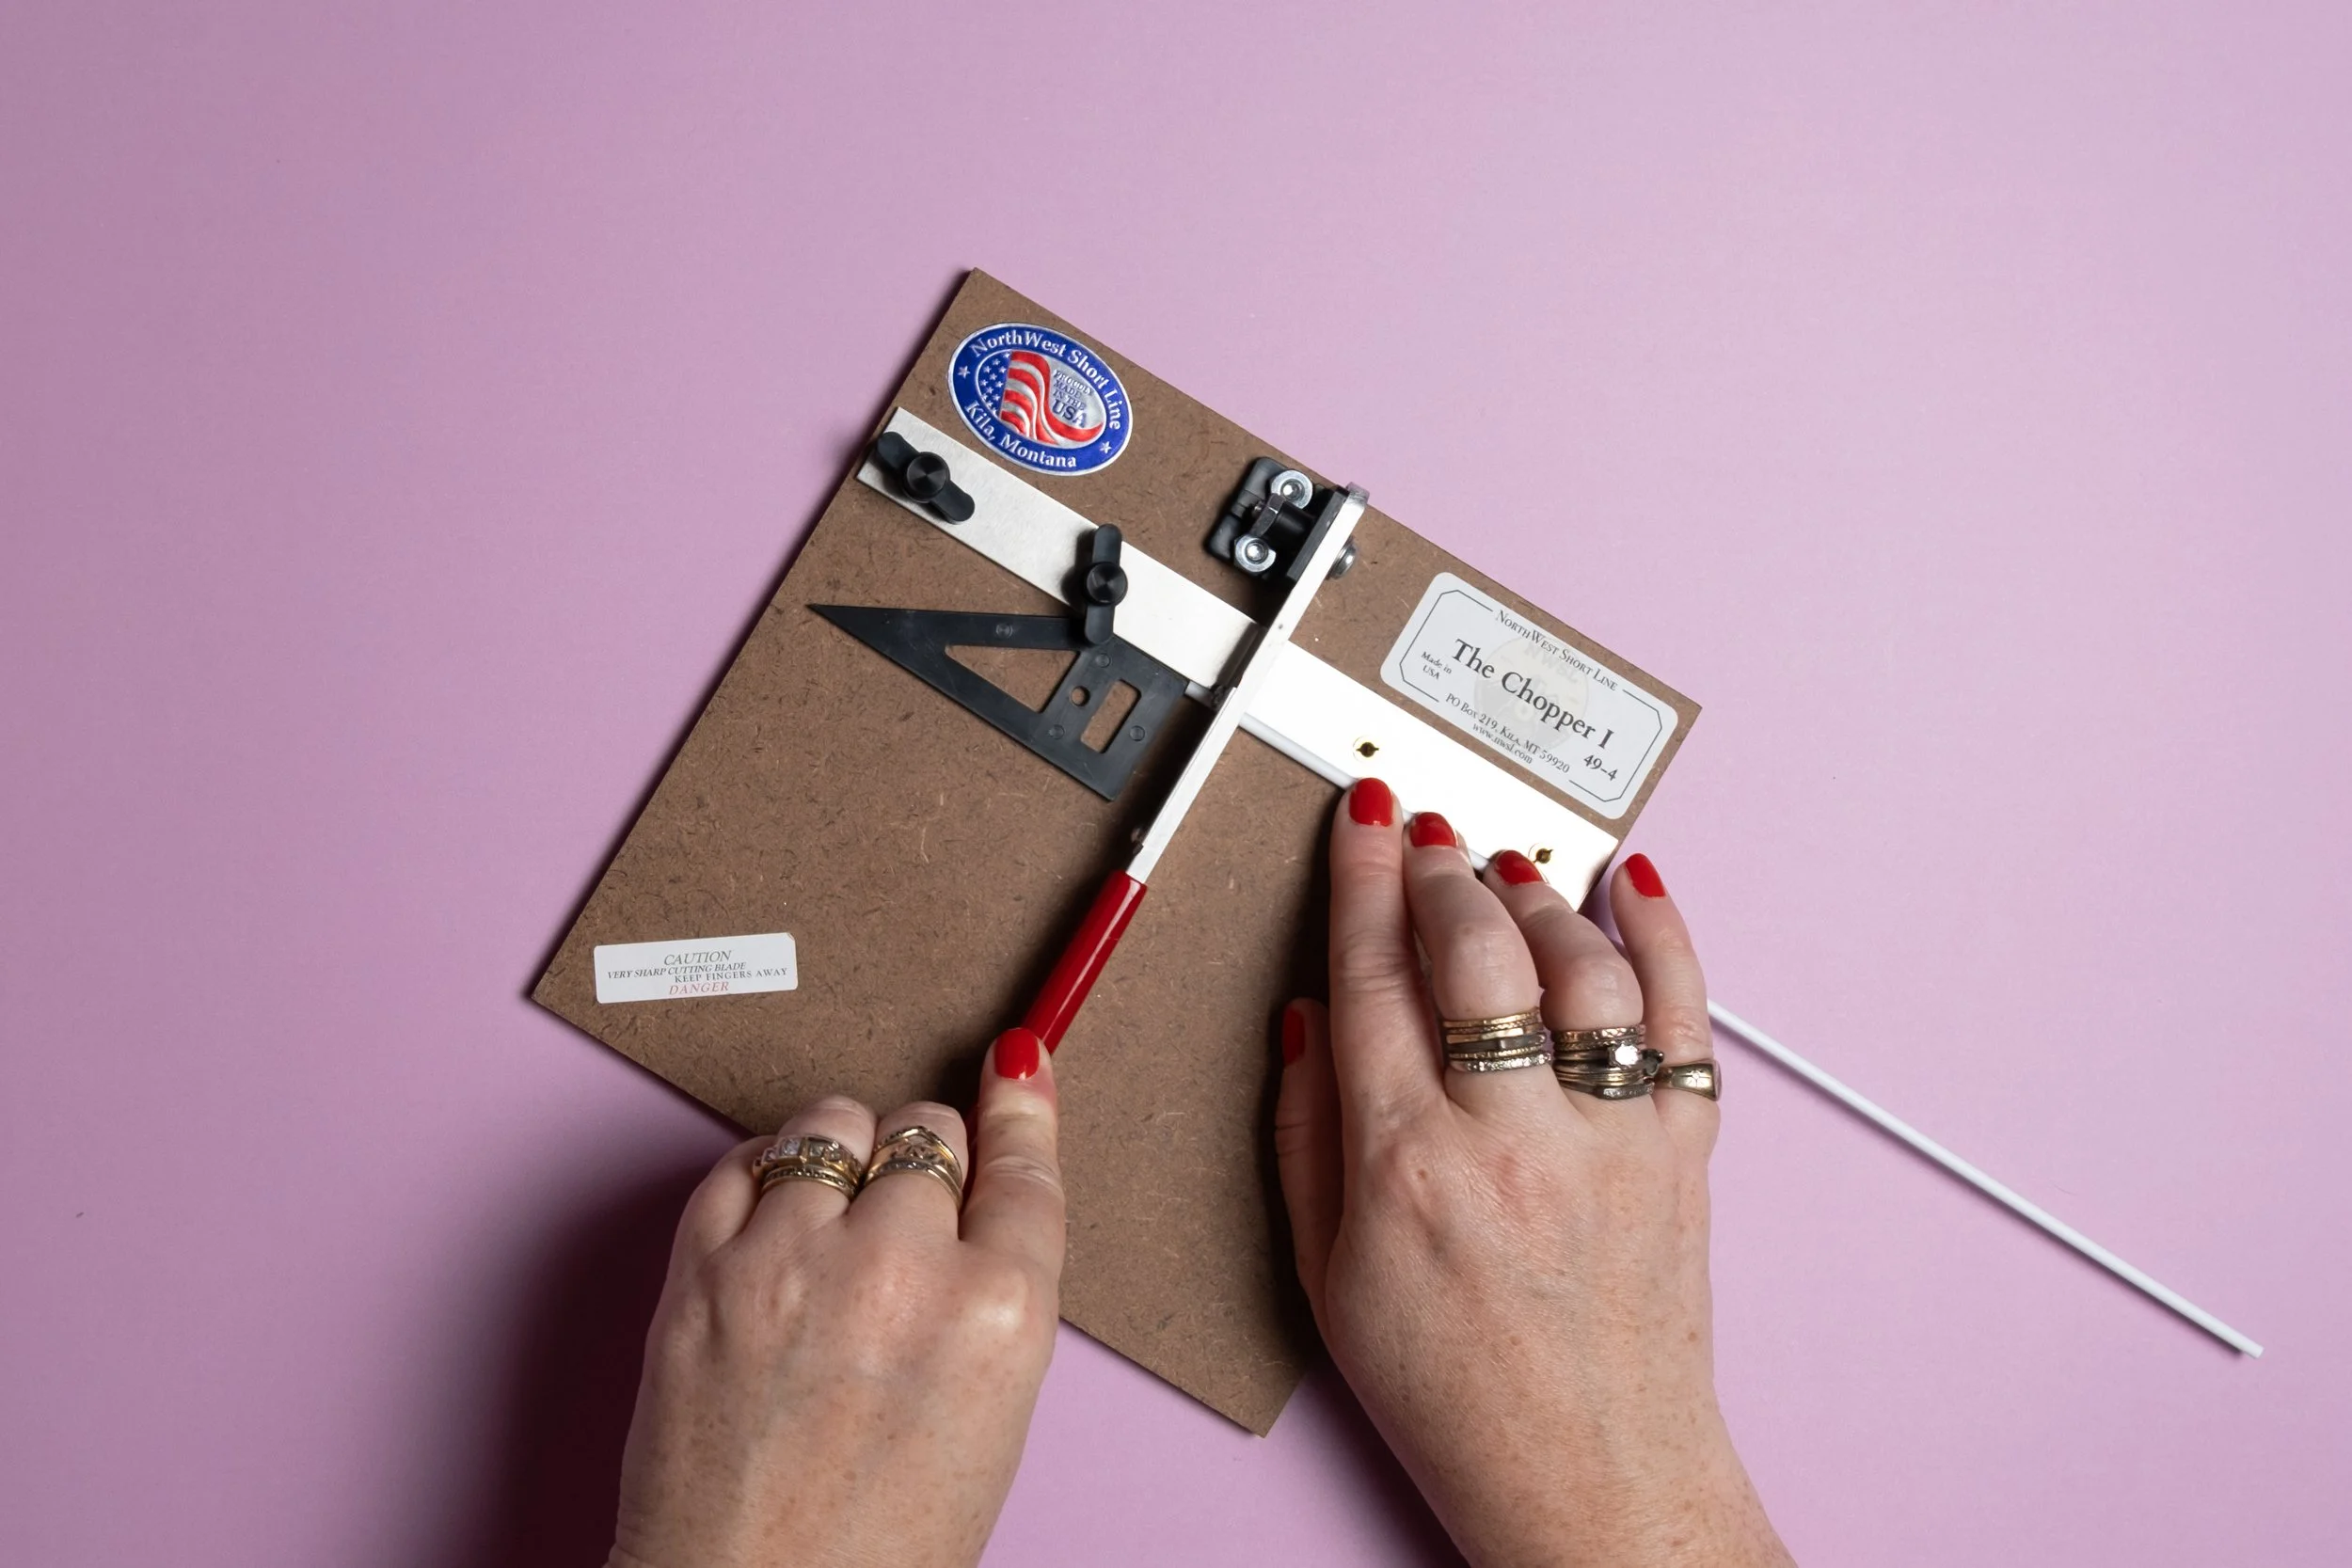
2. Cut materials to size using The Chopper...
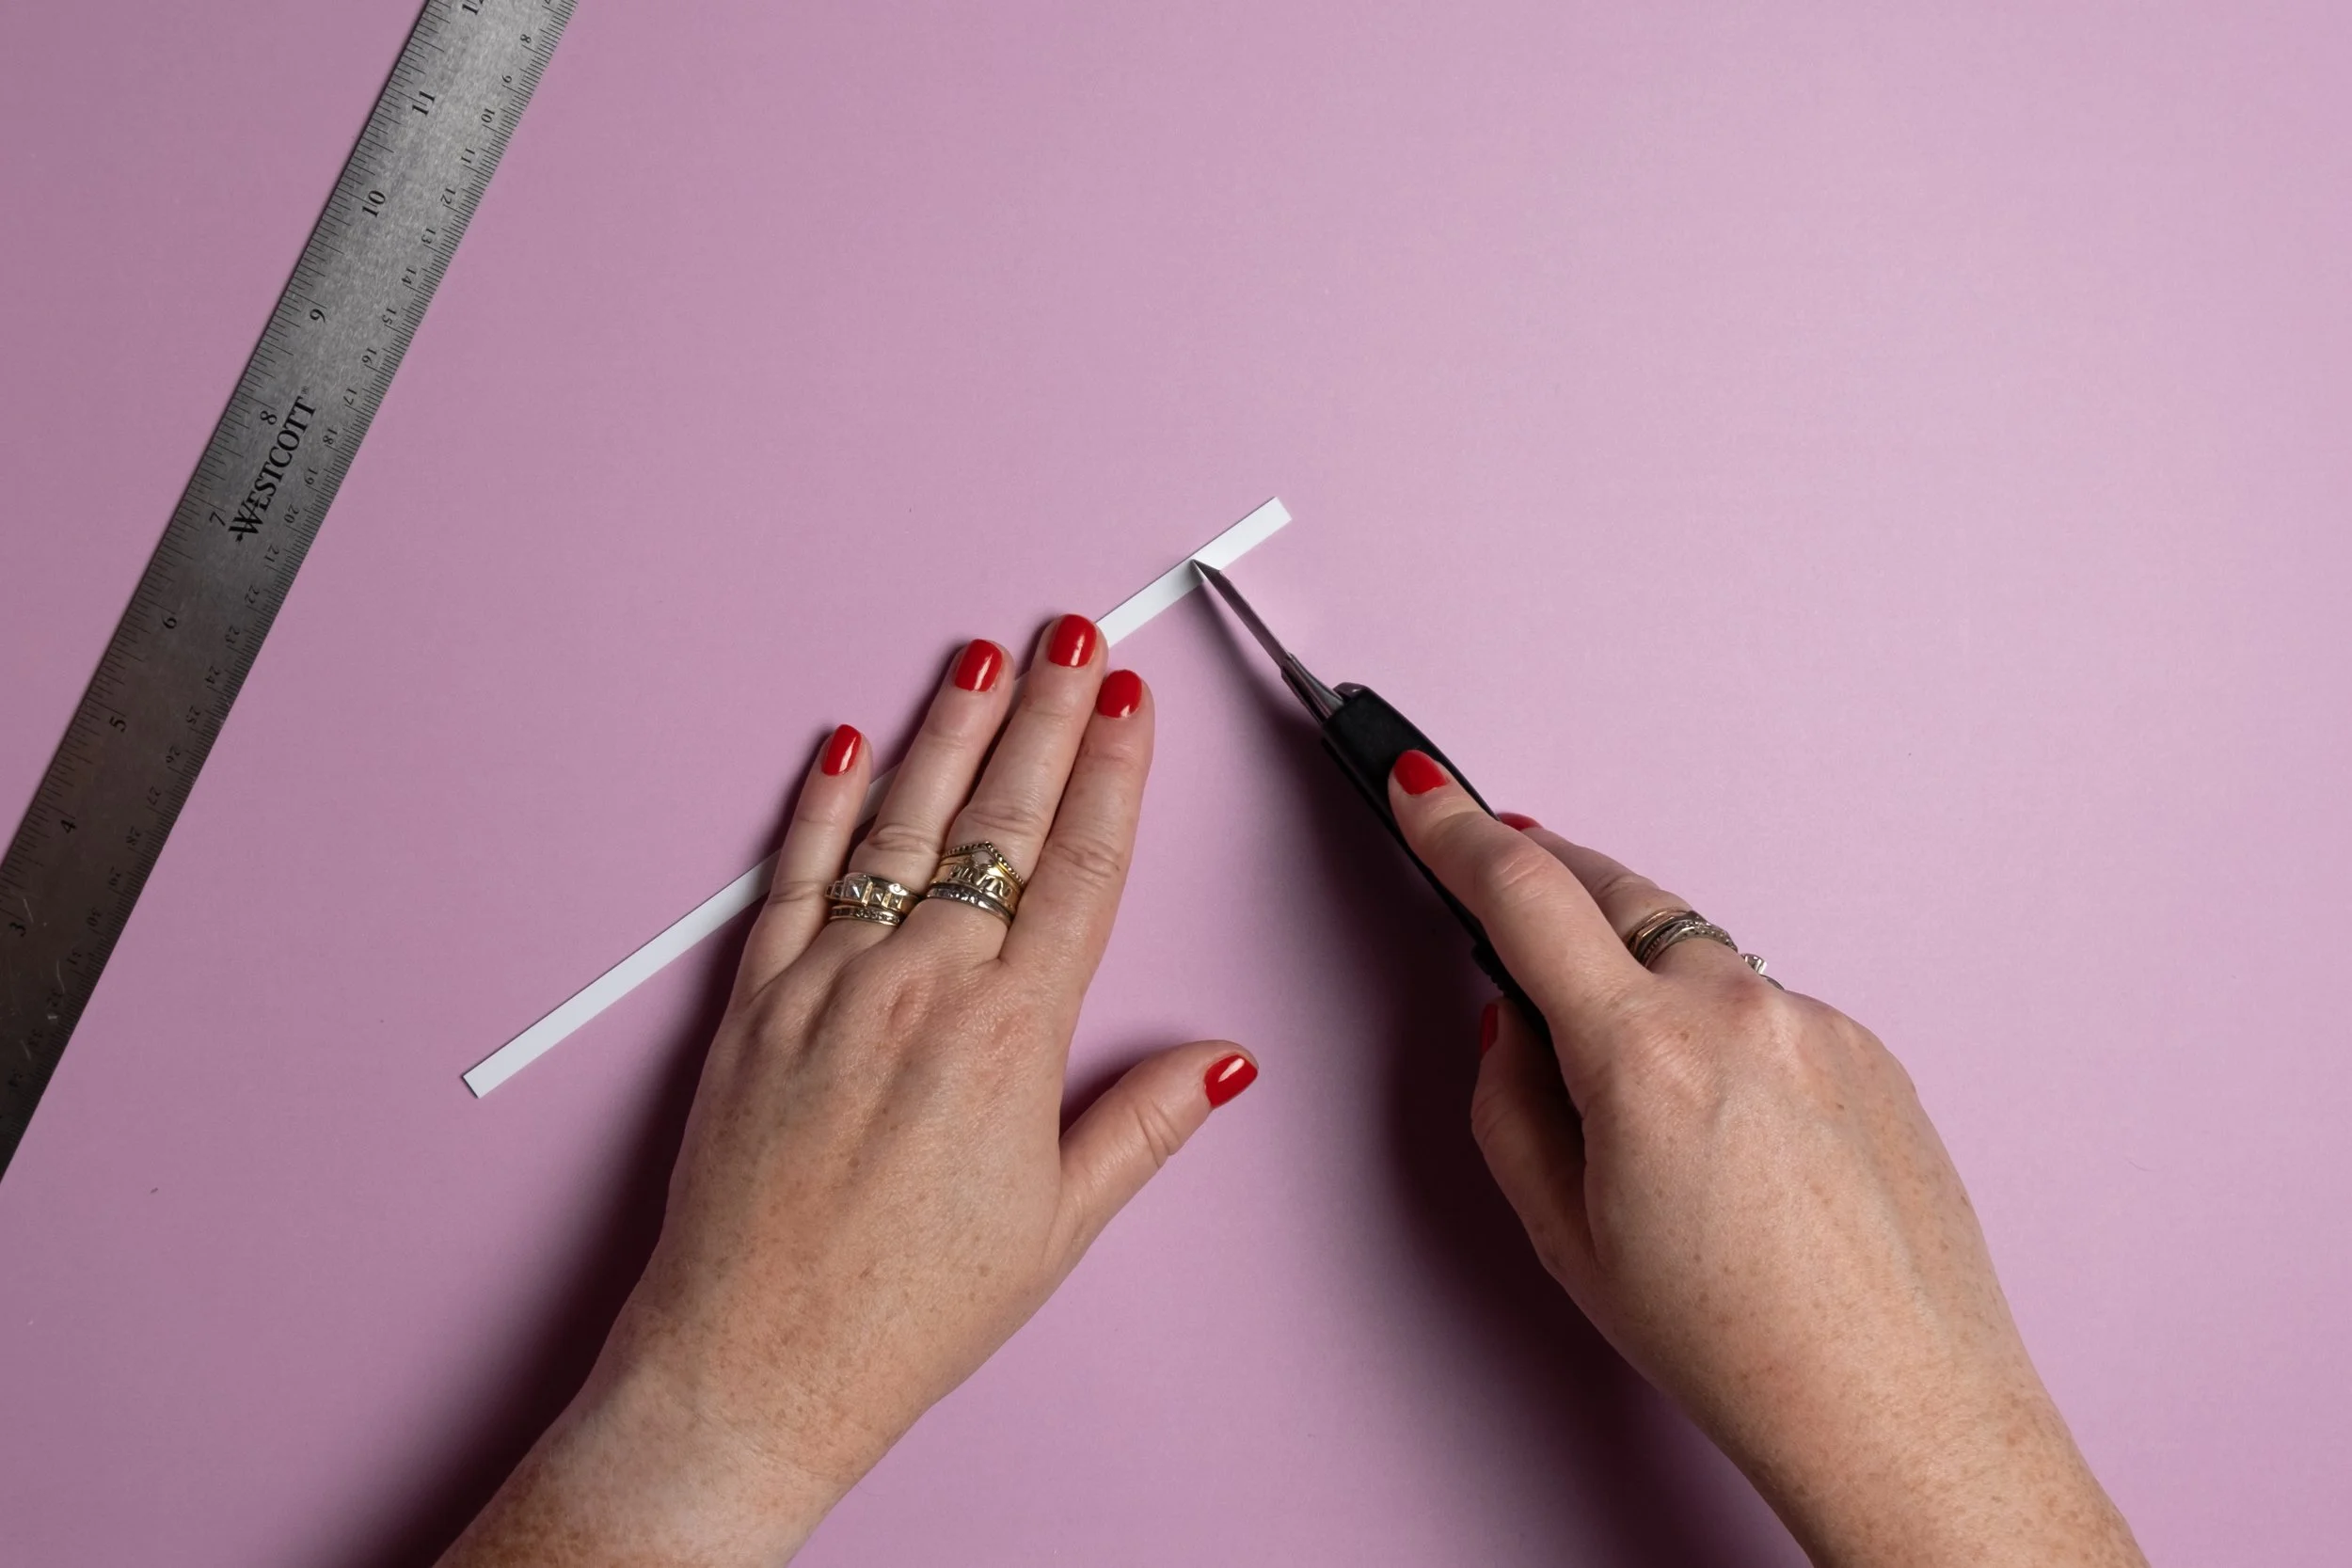
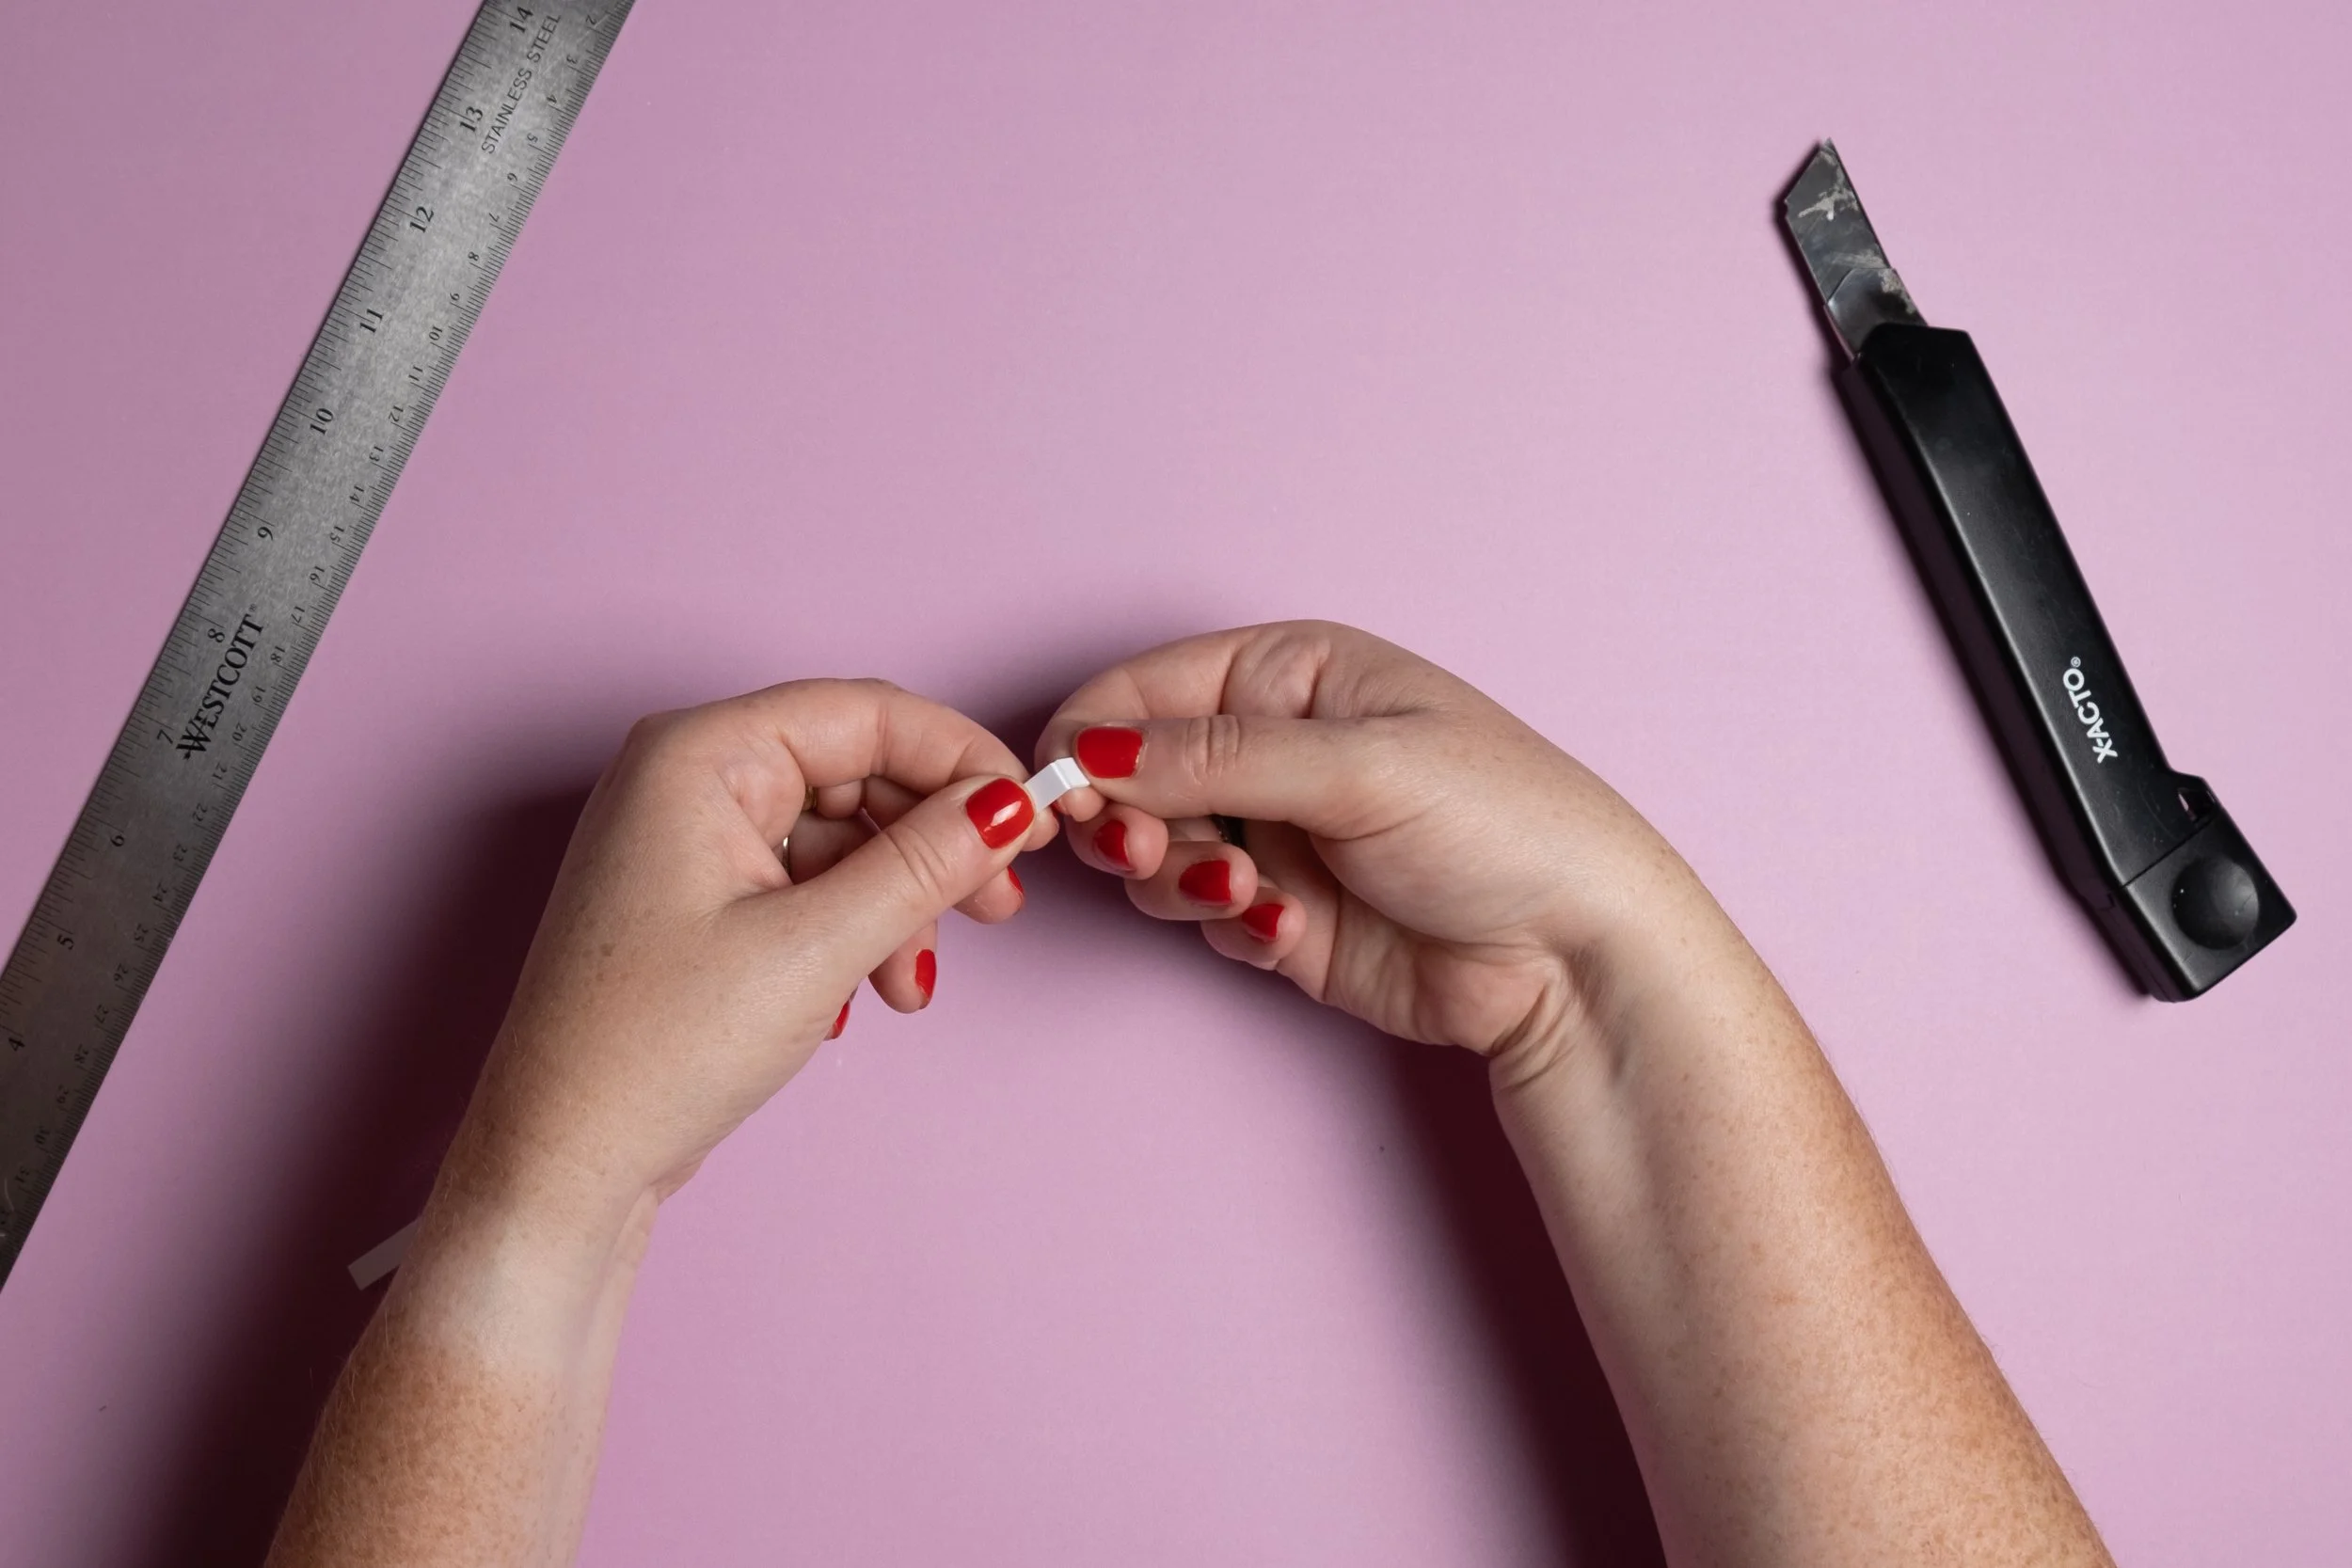
...or by scoring...
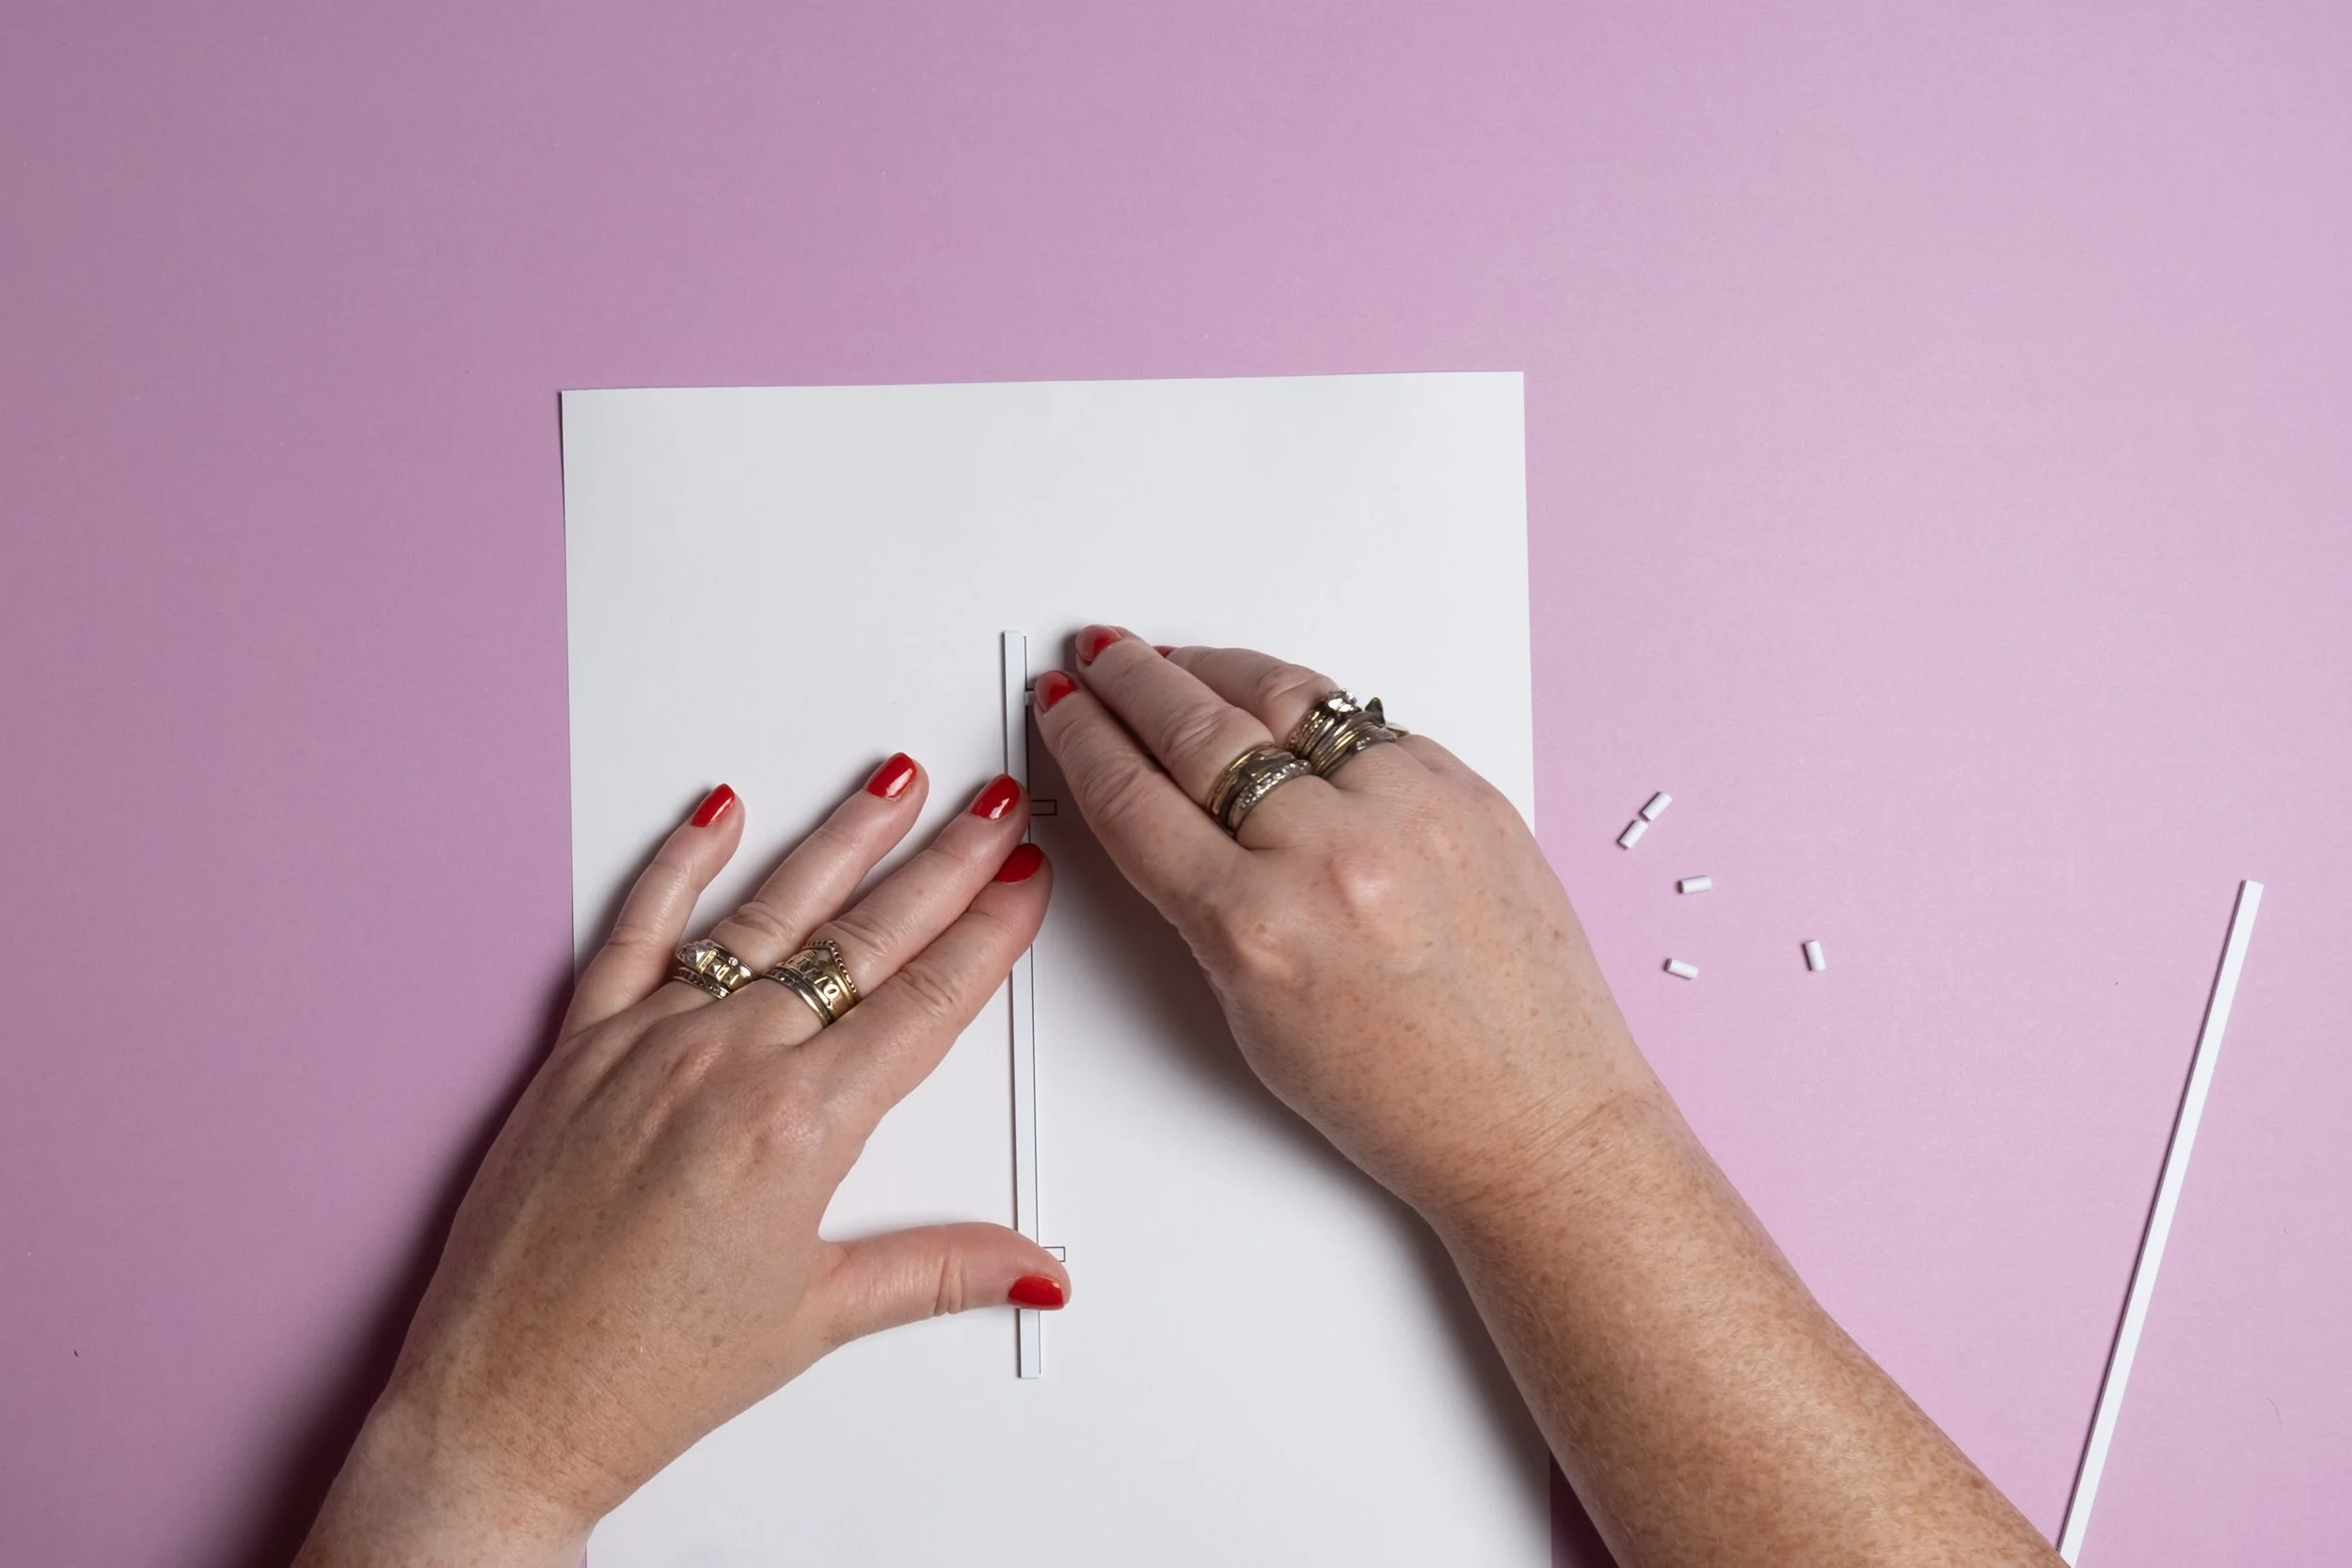
...and then snapping the material along the score line
You'll have a lot of pieces!
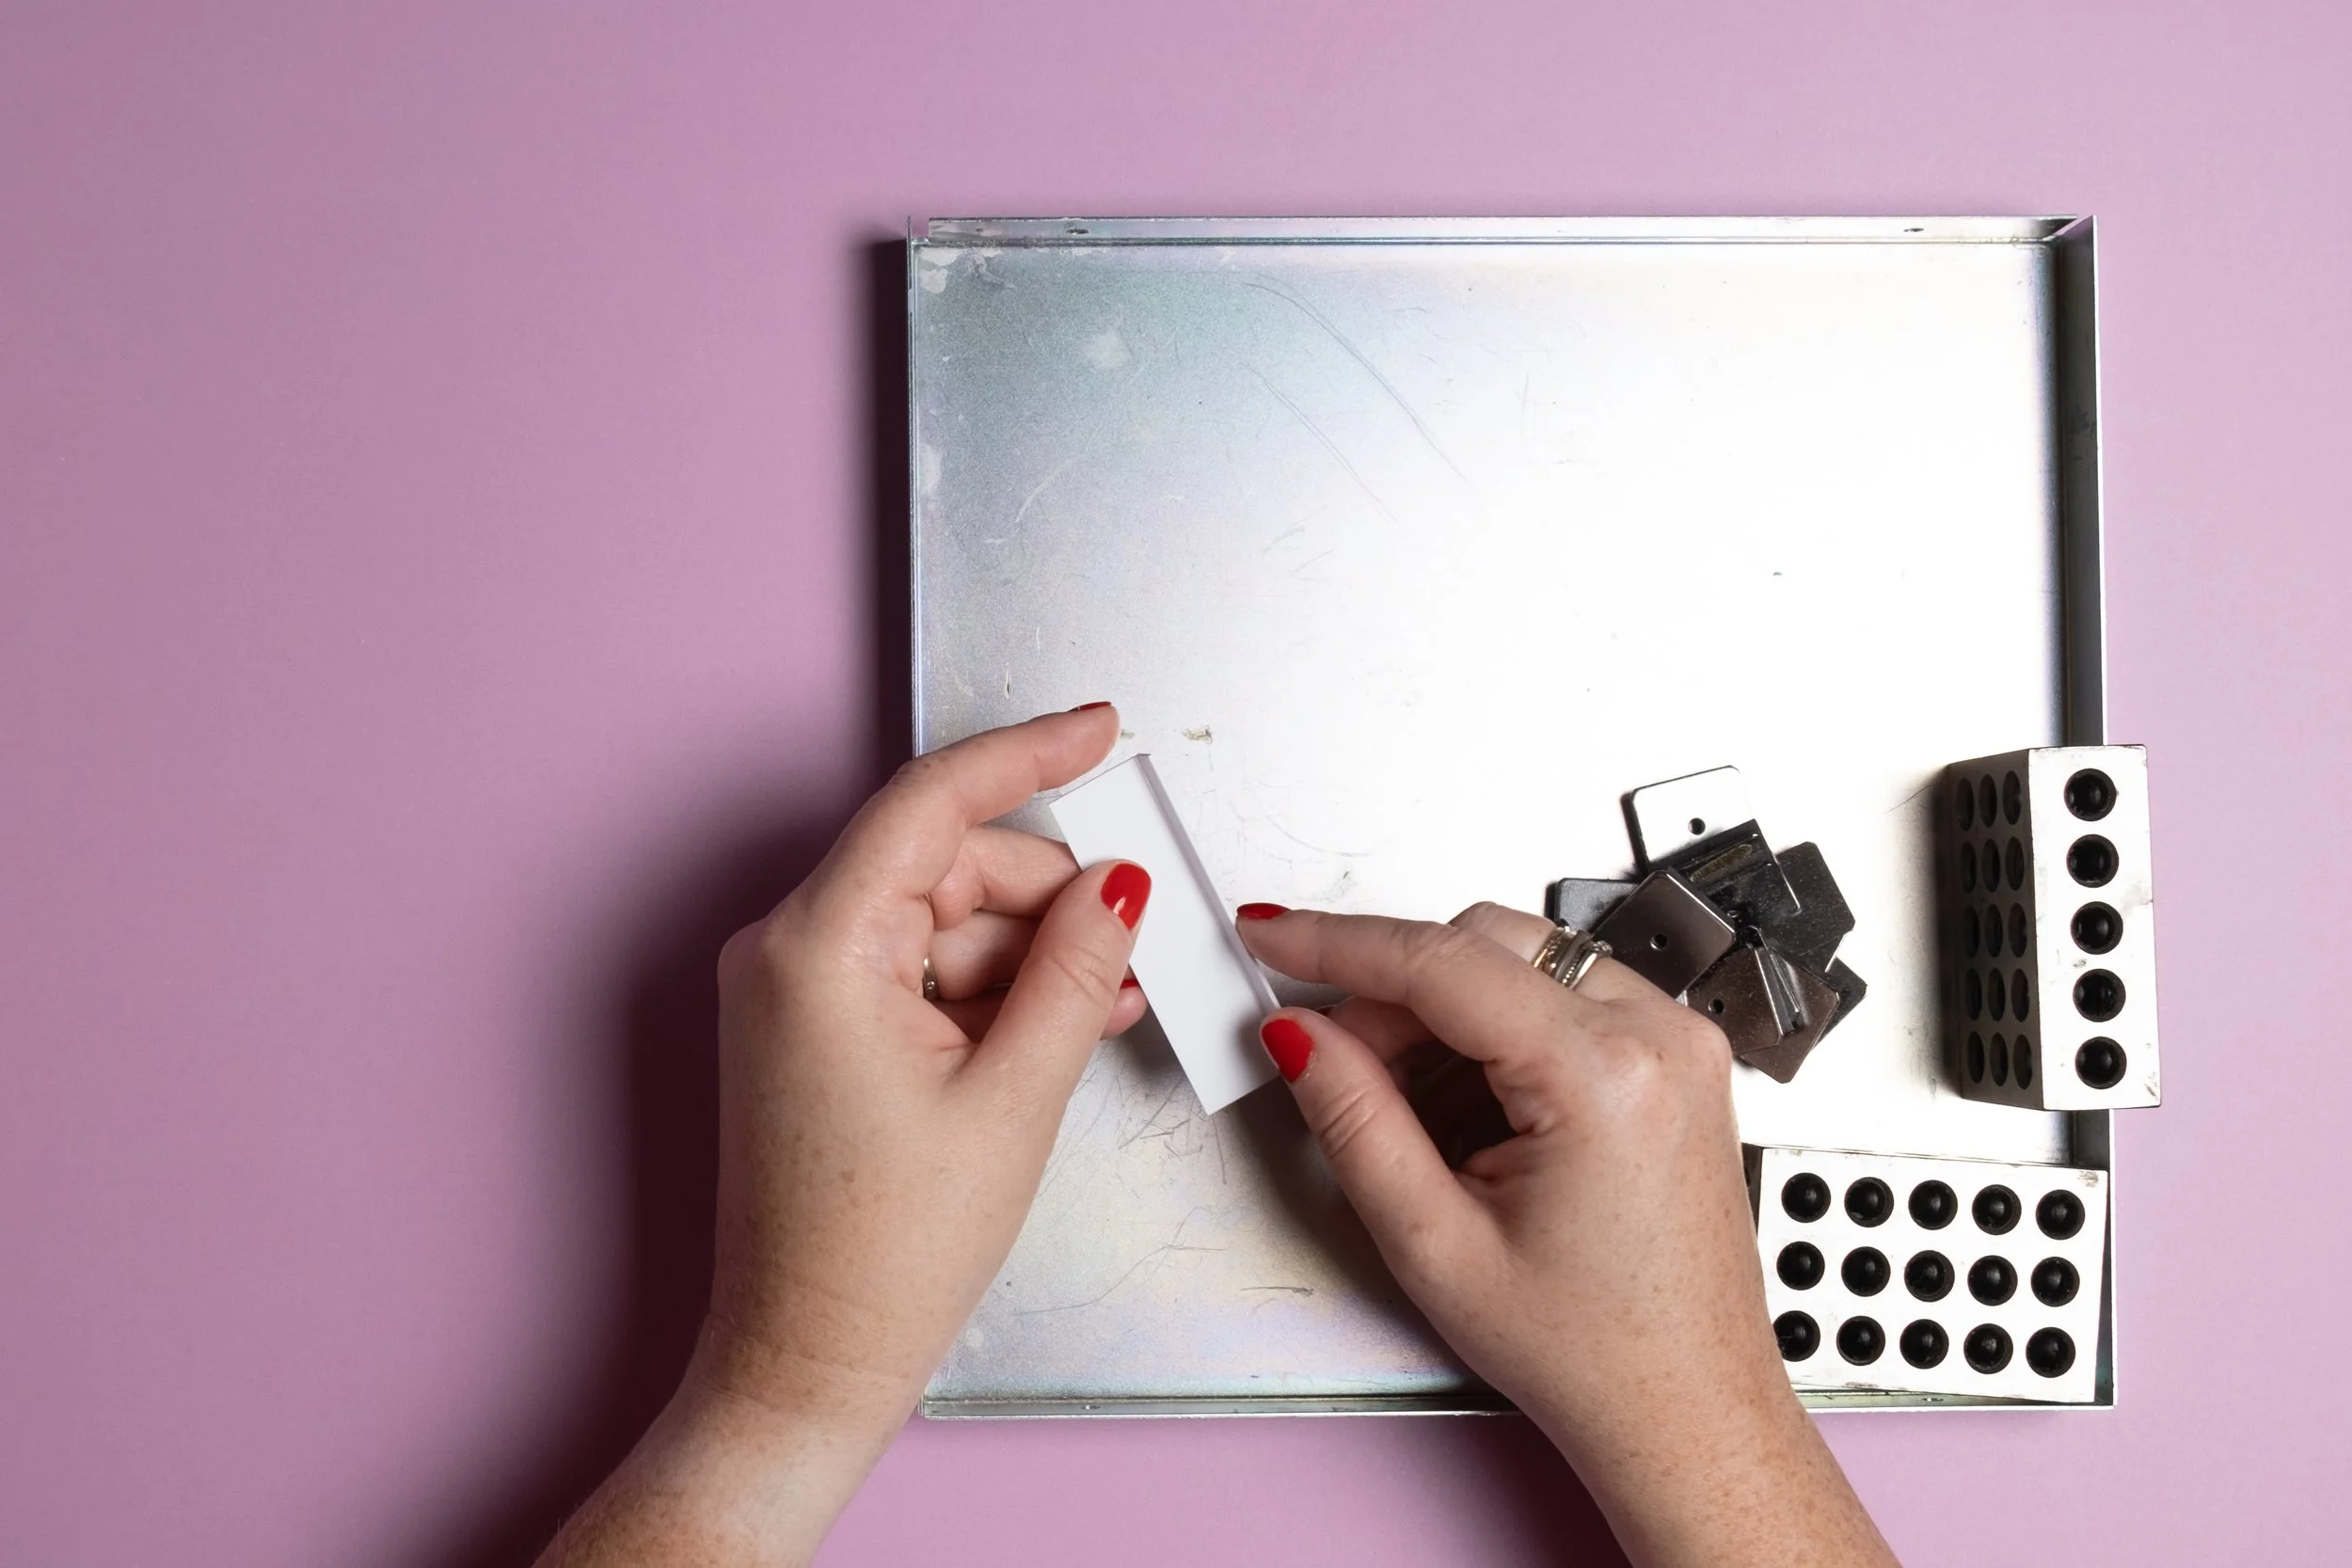
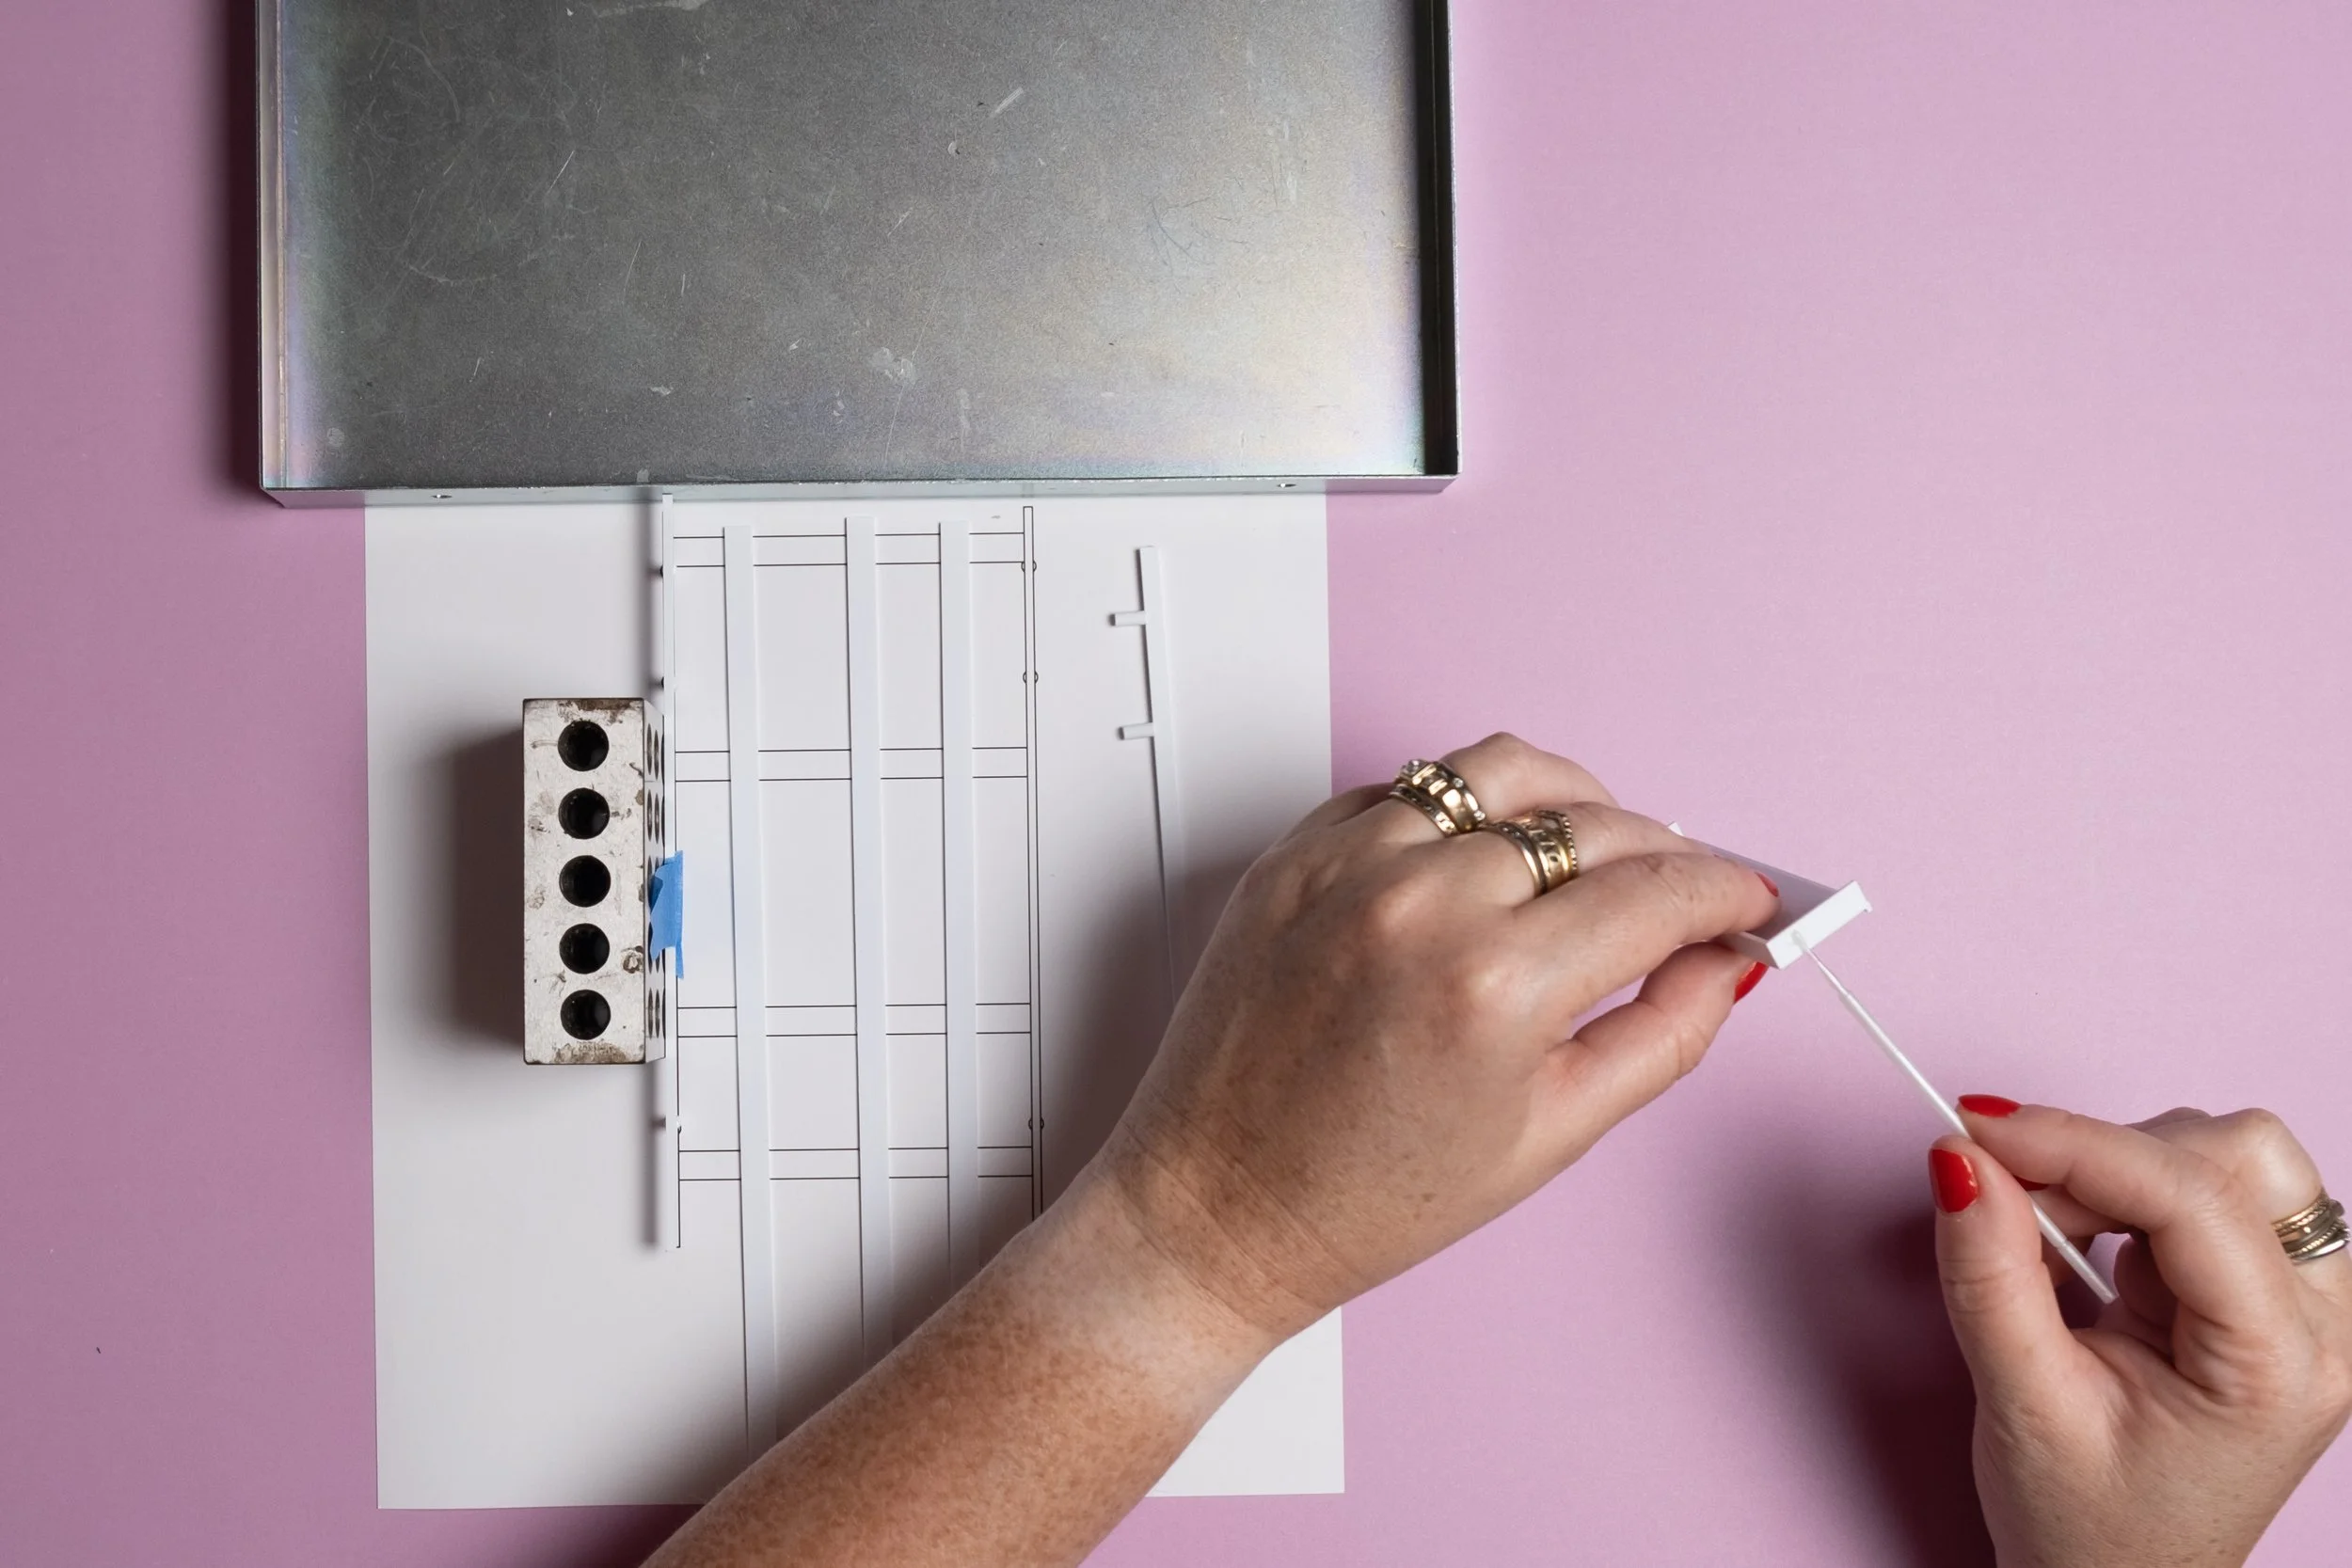
3. Apply glue on back piece...
...attach to the back of the shelf and repeat for others.
4. Glue on side piece...
...align with edges and repeat with others
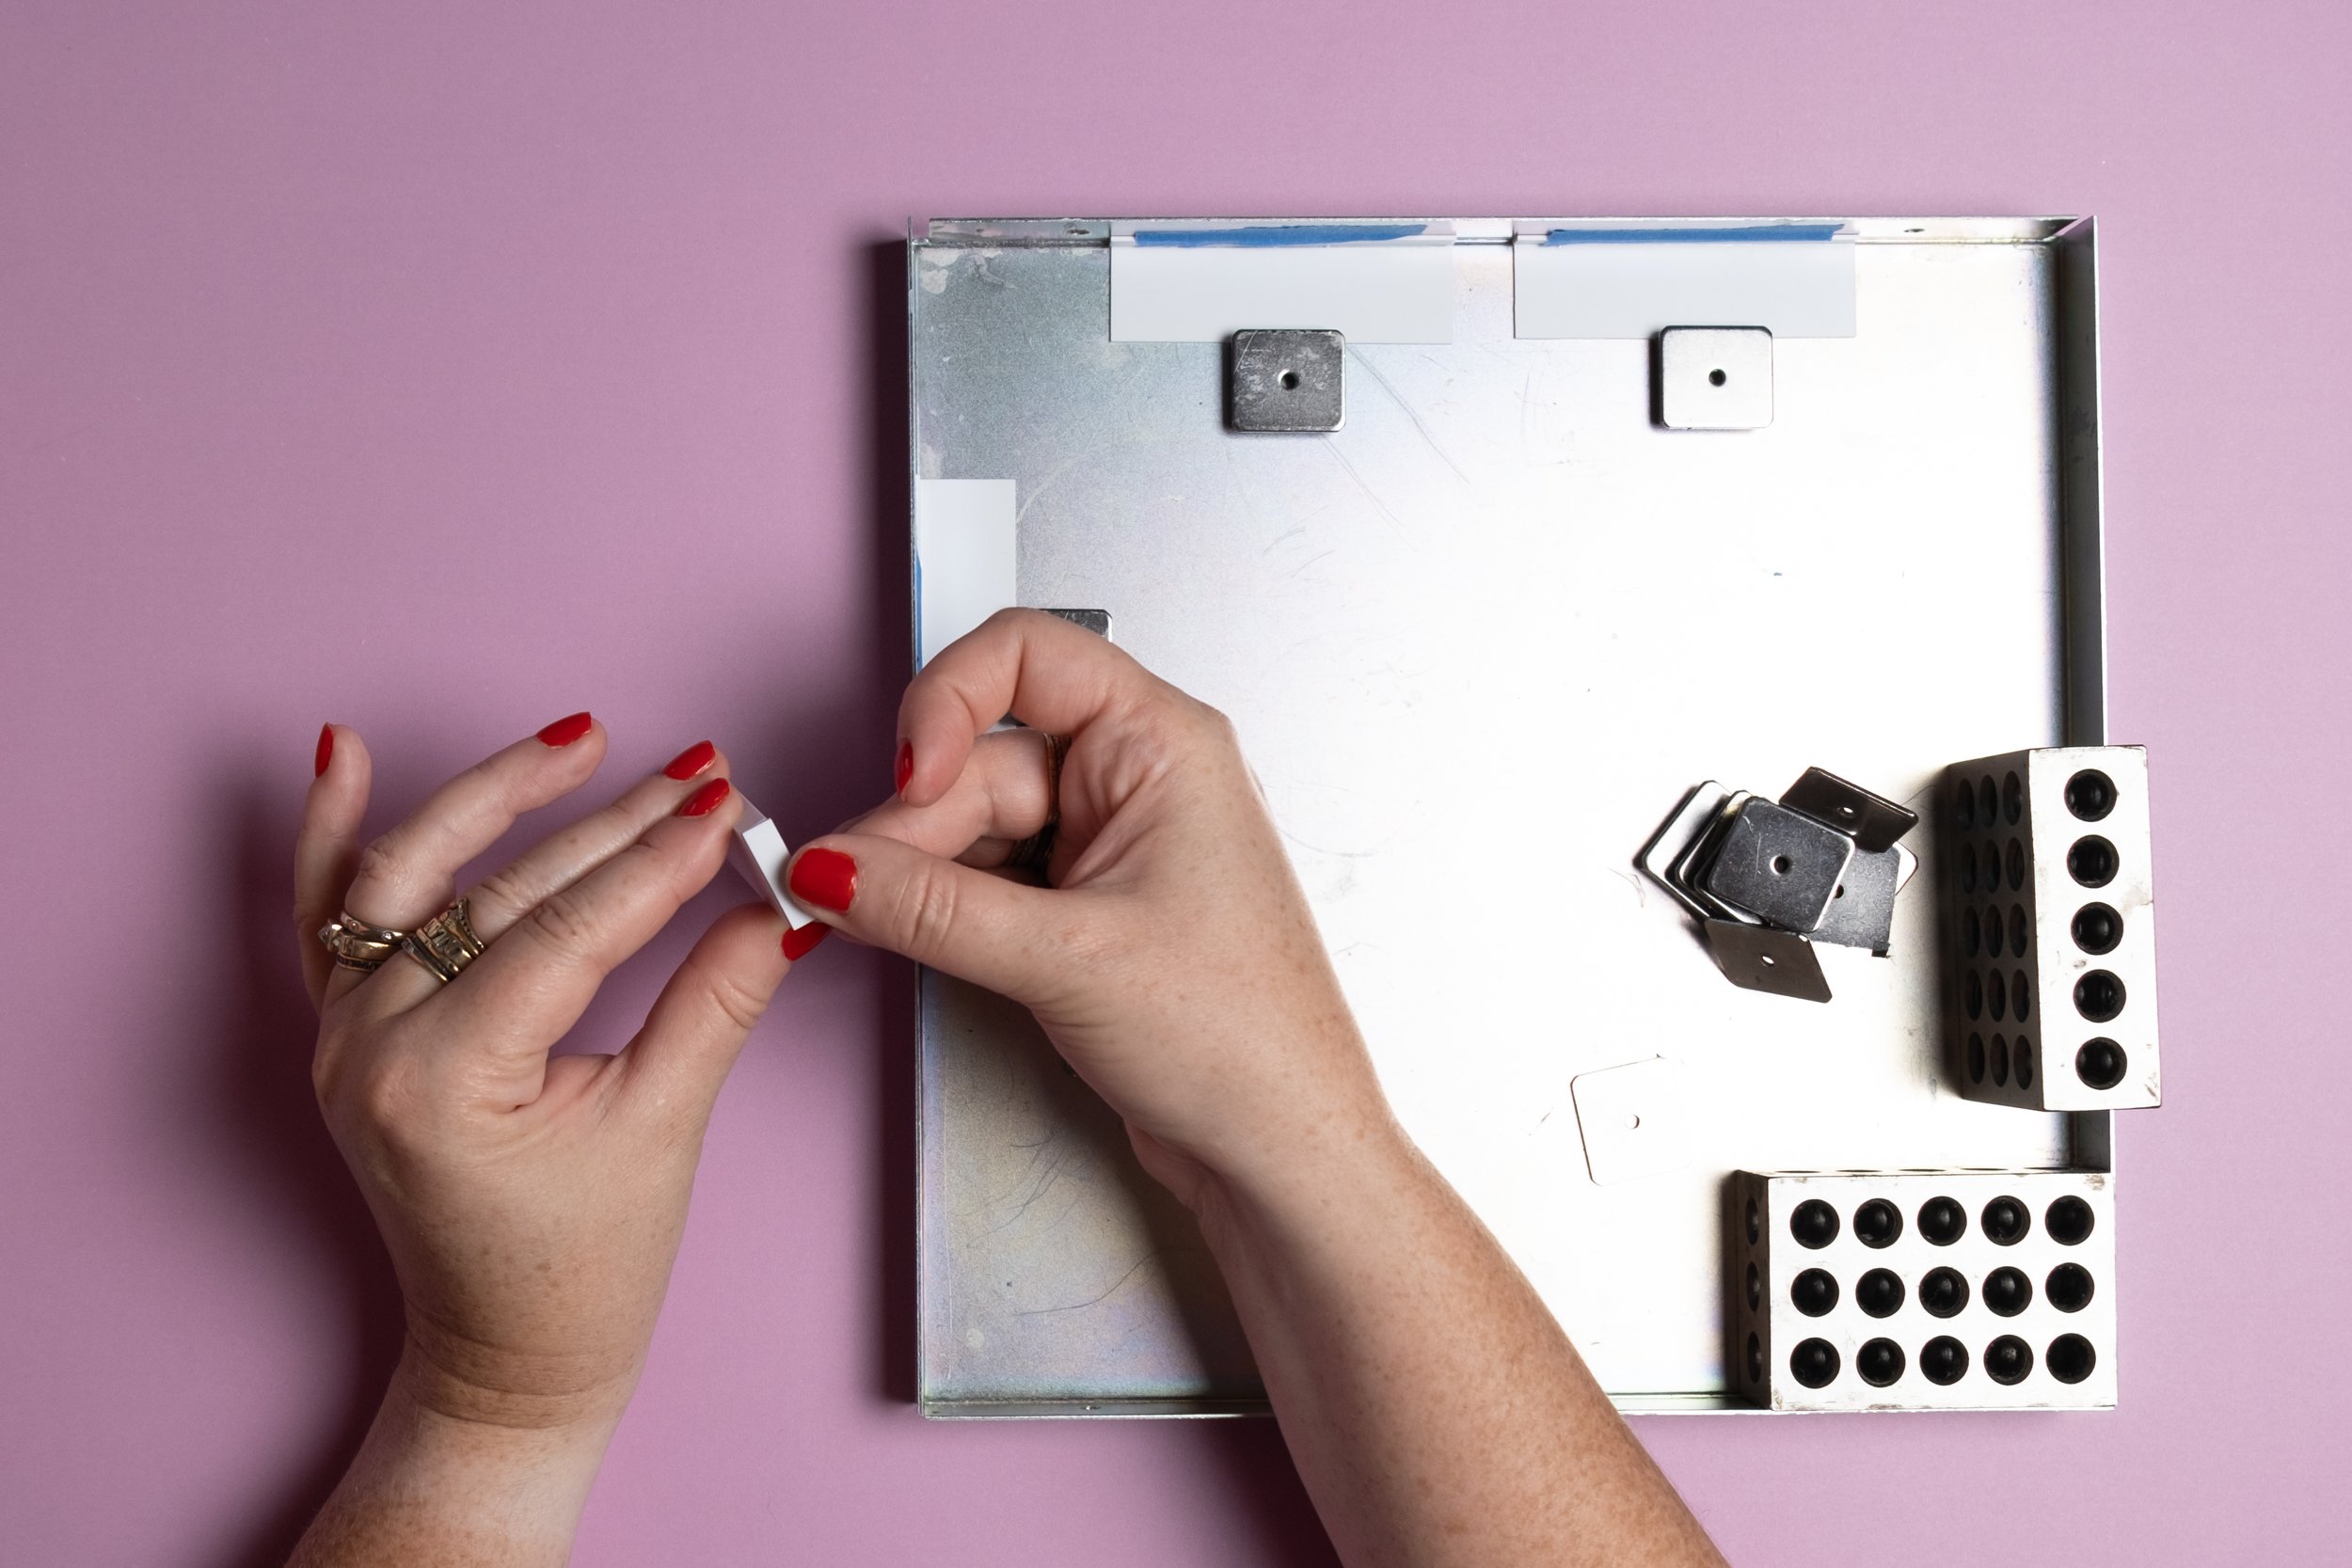
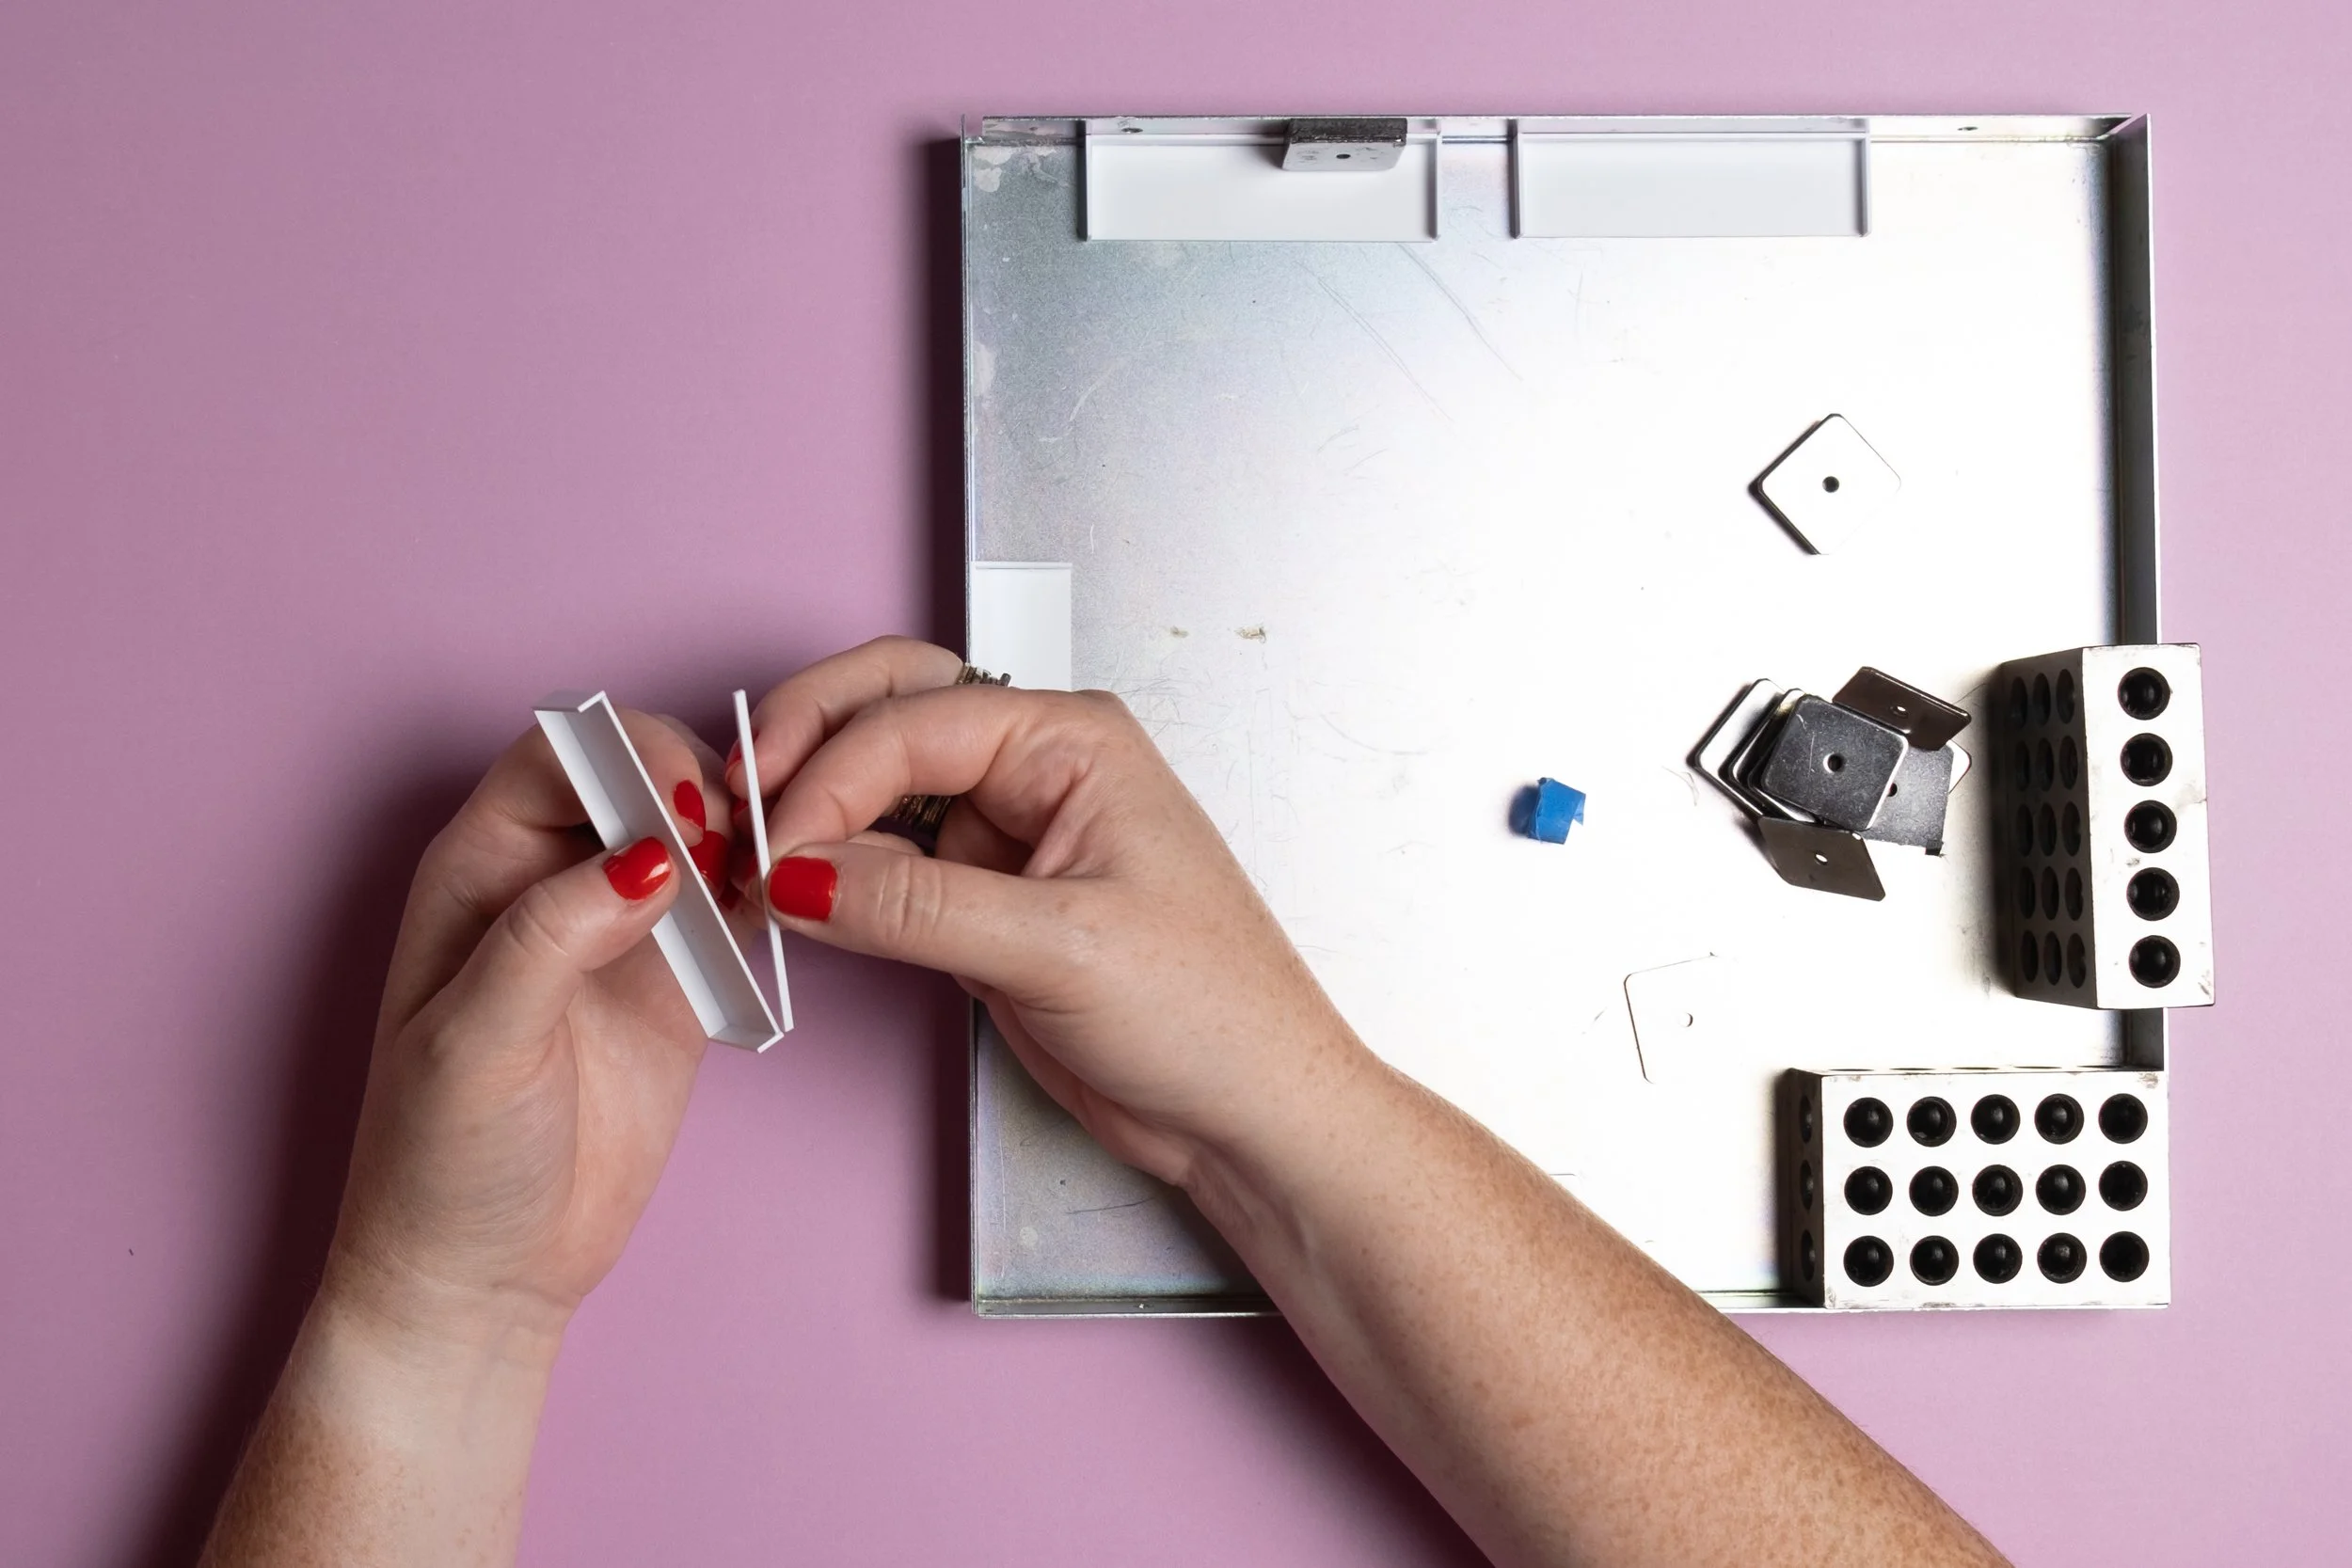
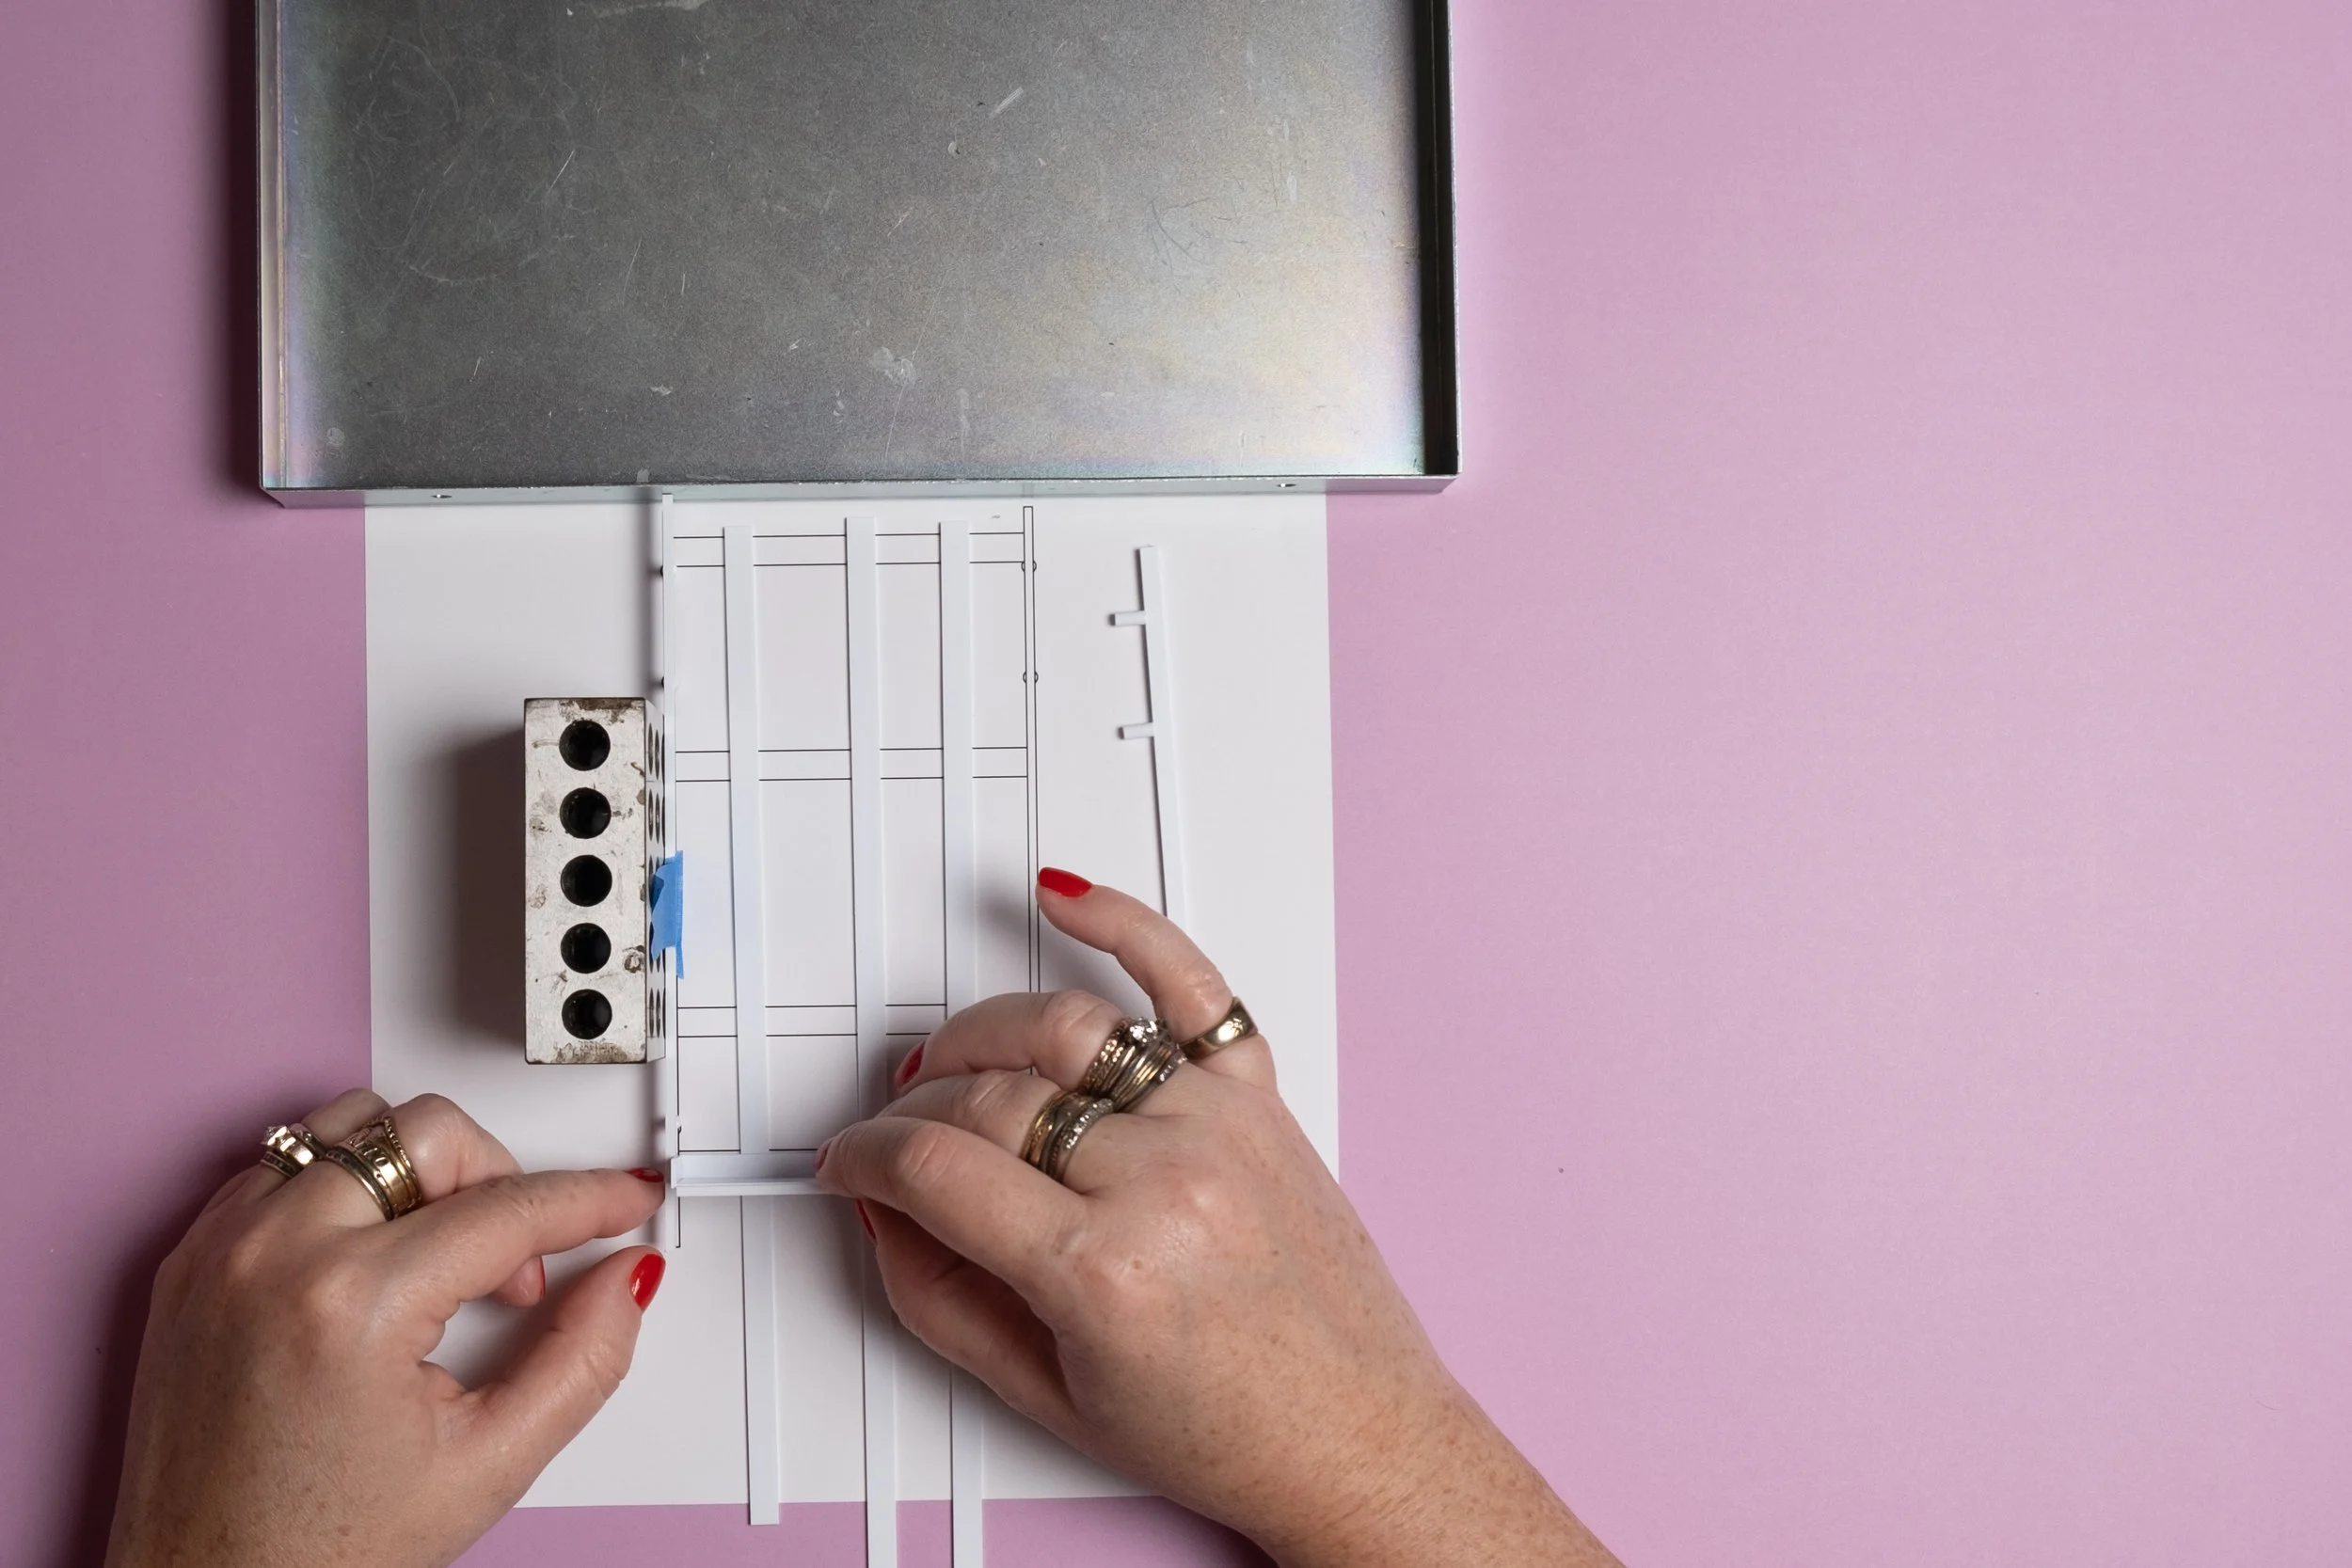
5. Glue on front lip
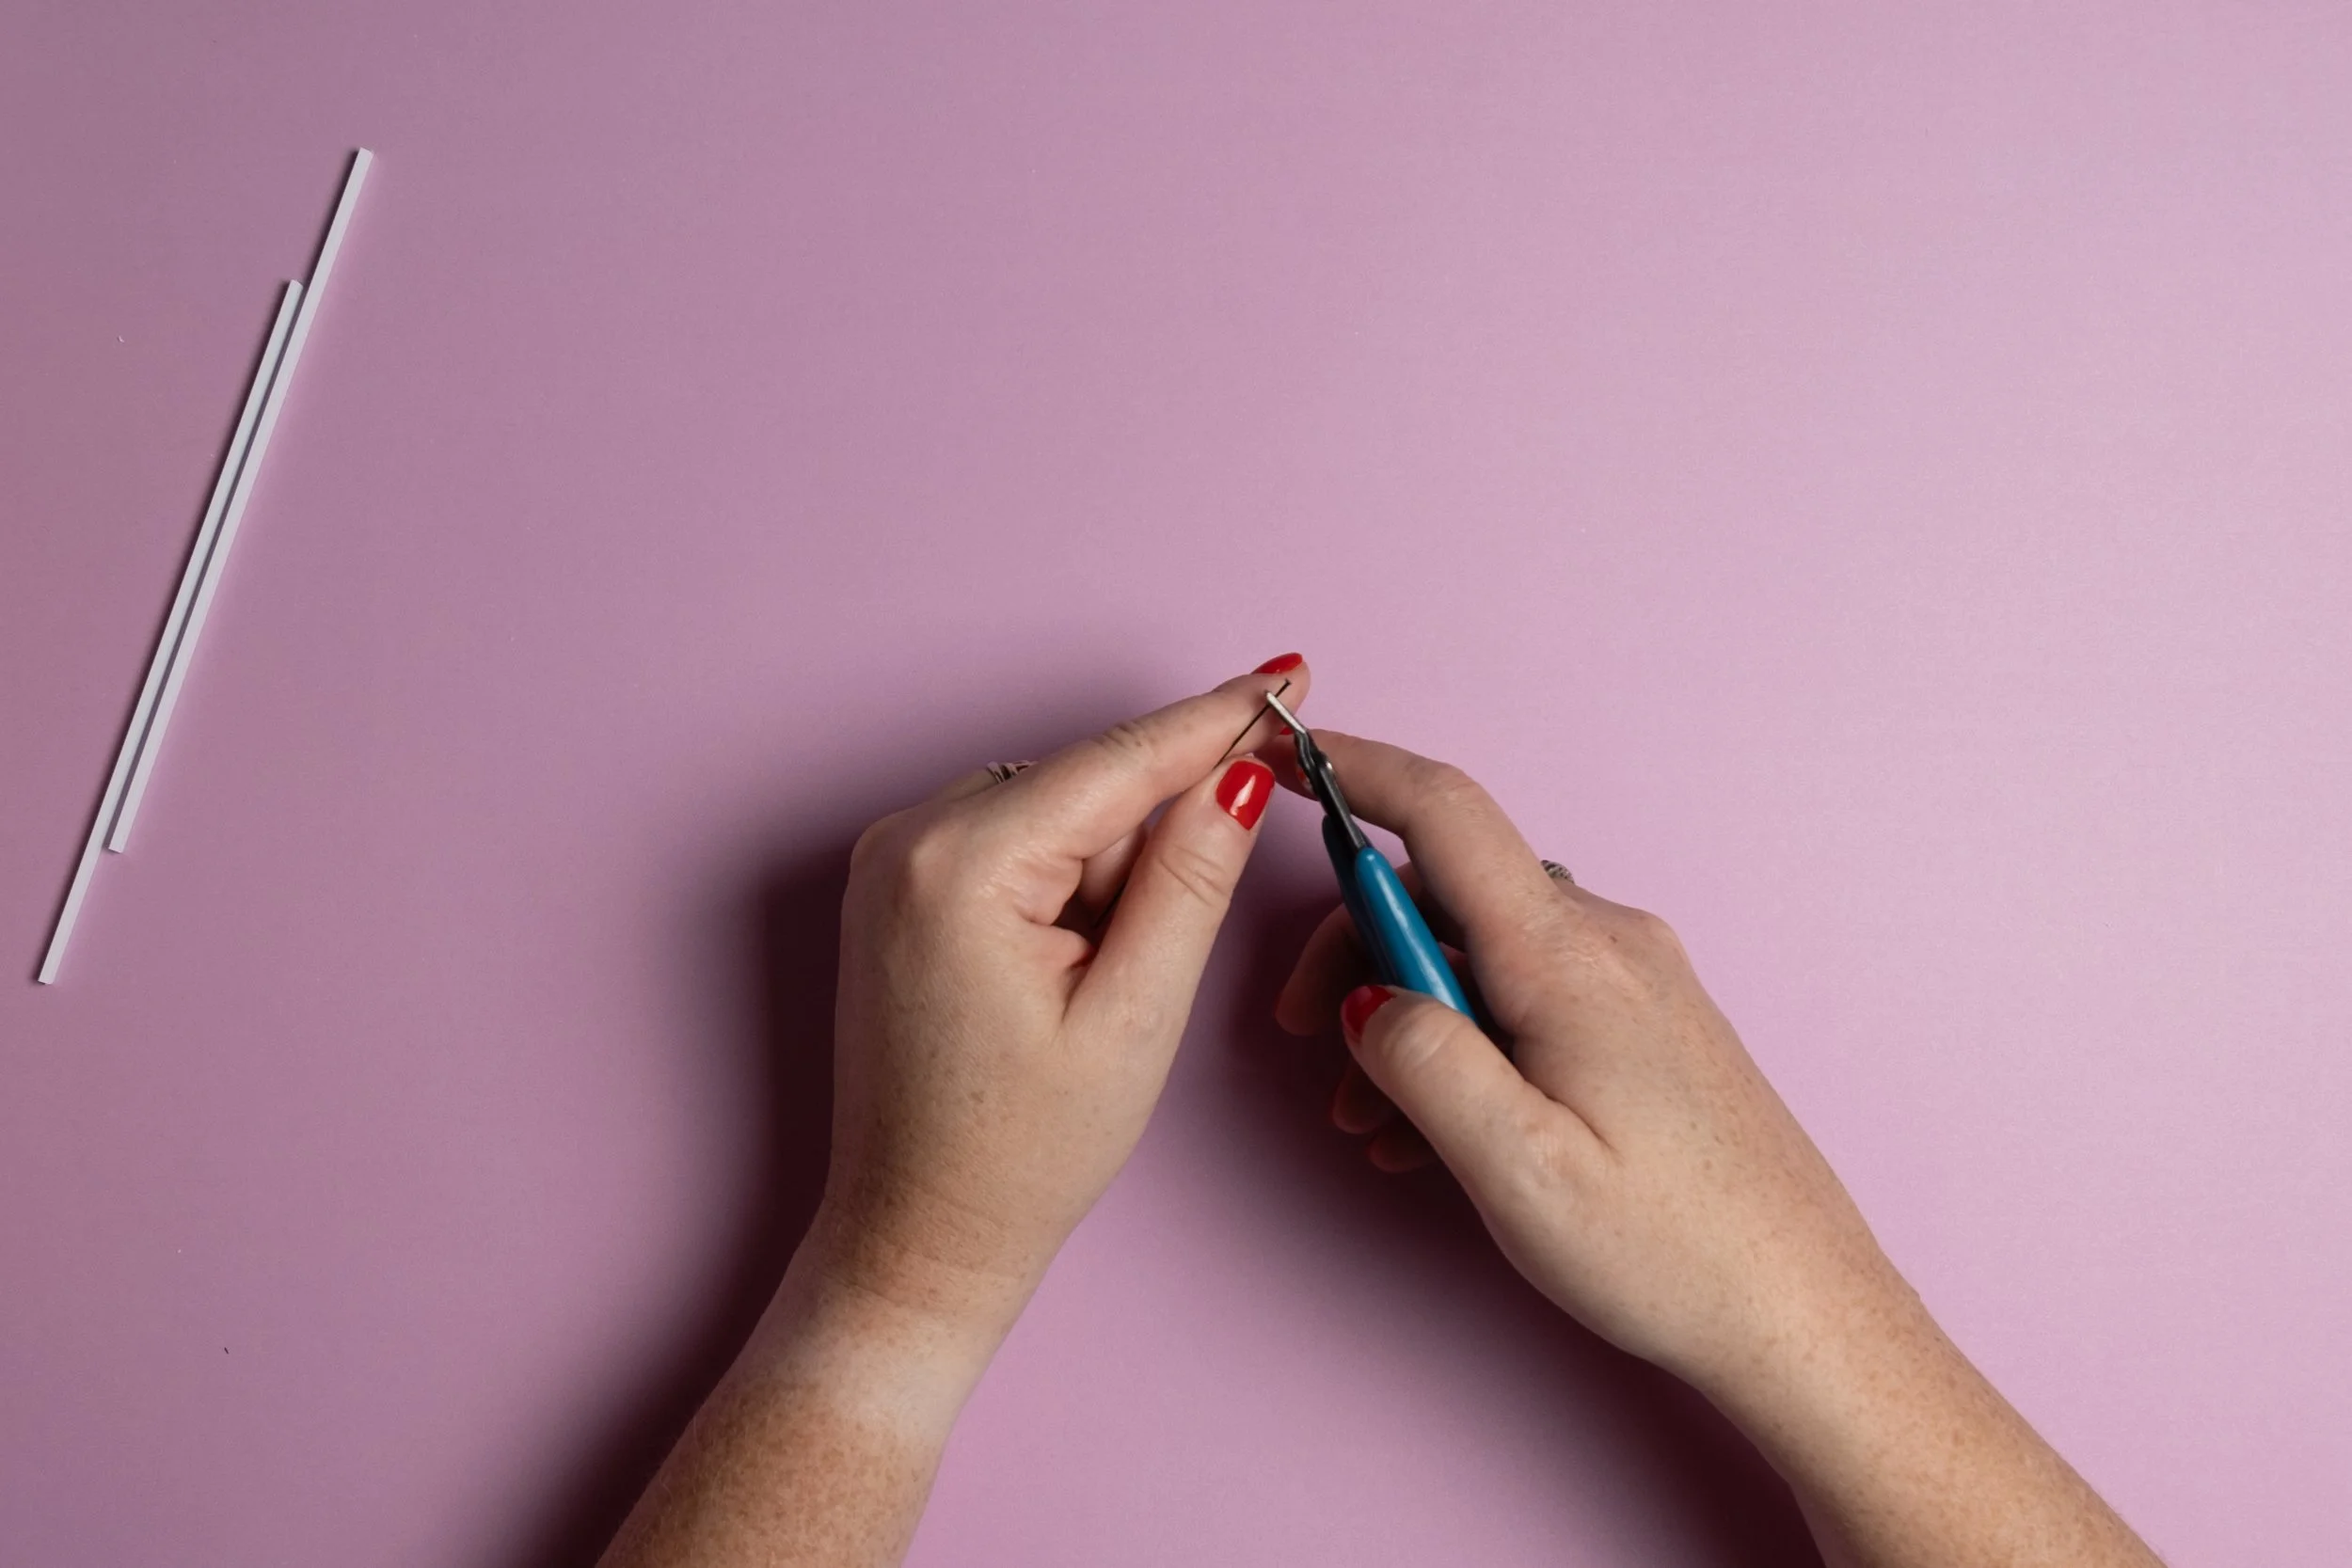
6. Trim headpins
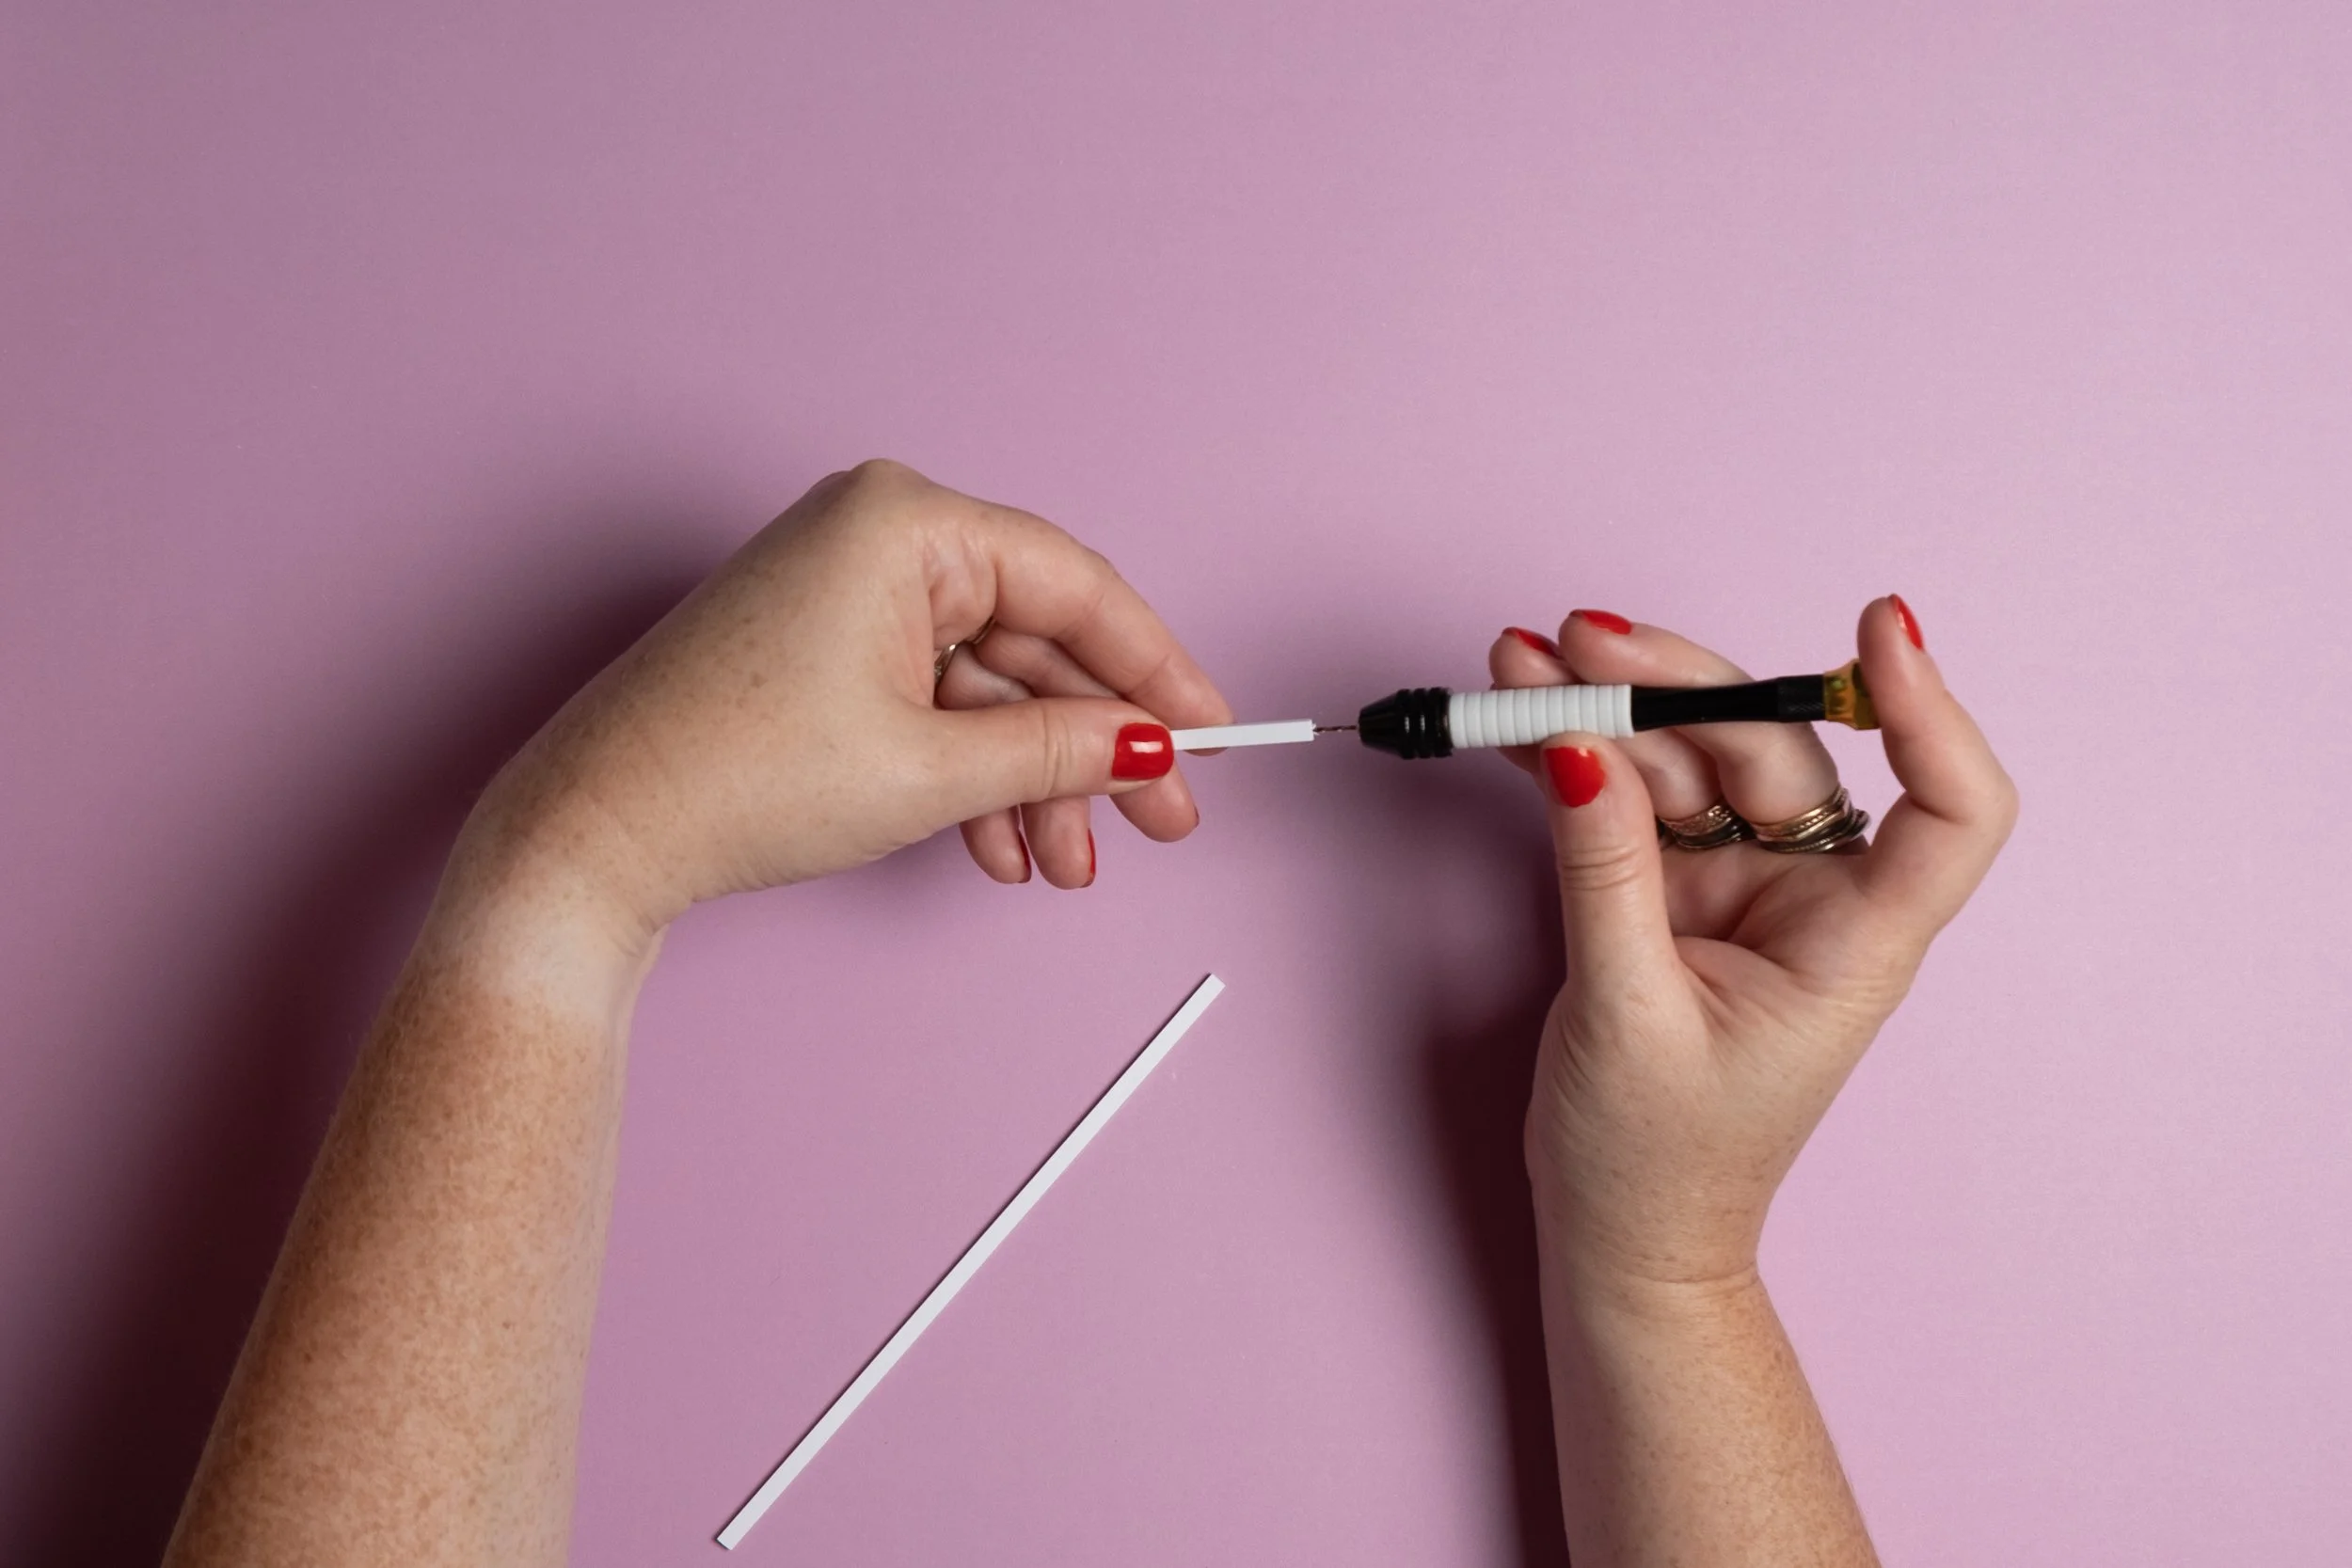
7. Drill holes for headpins...
...and dry fit (but don't glue, yet)
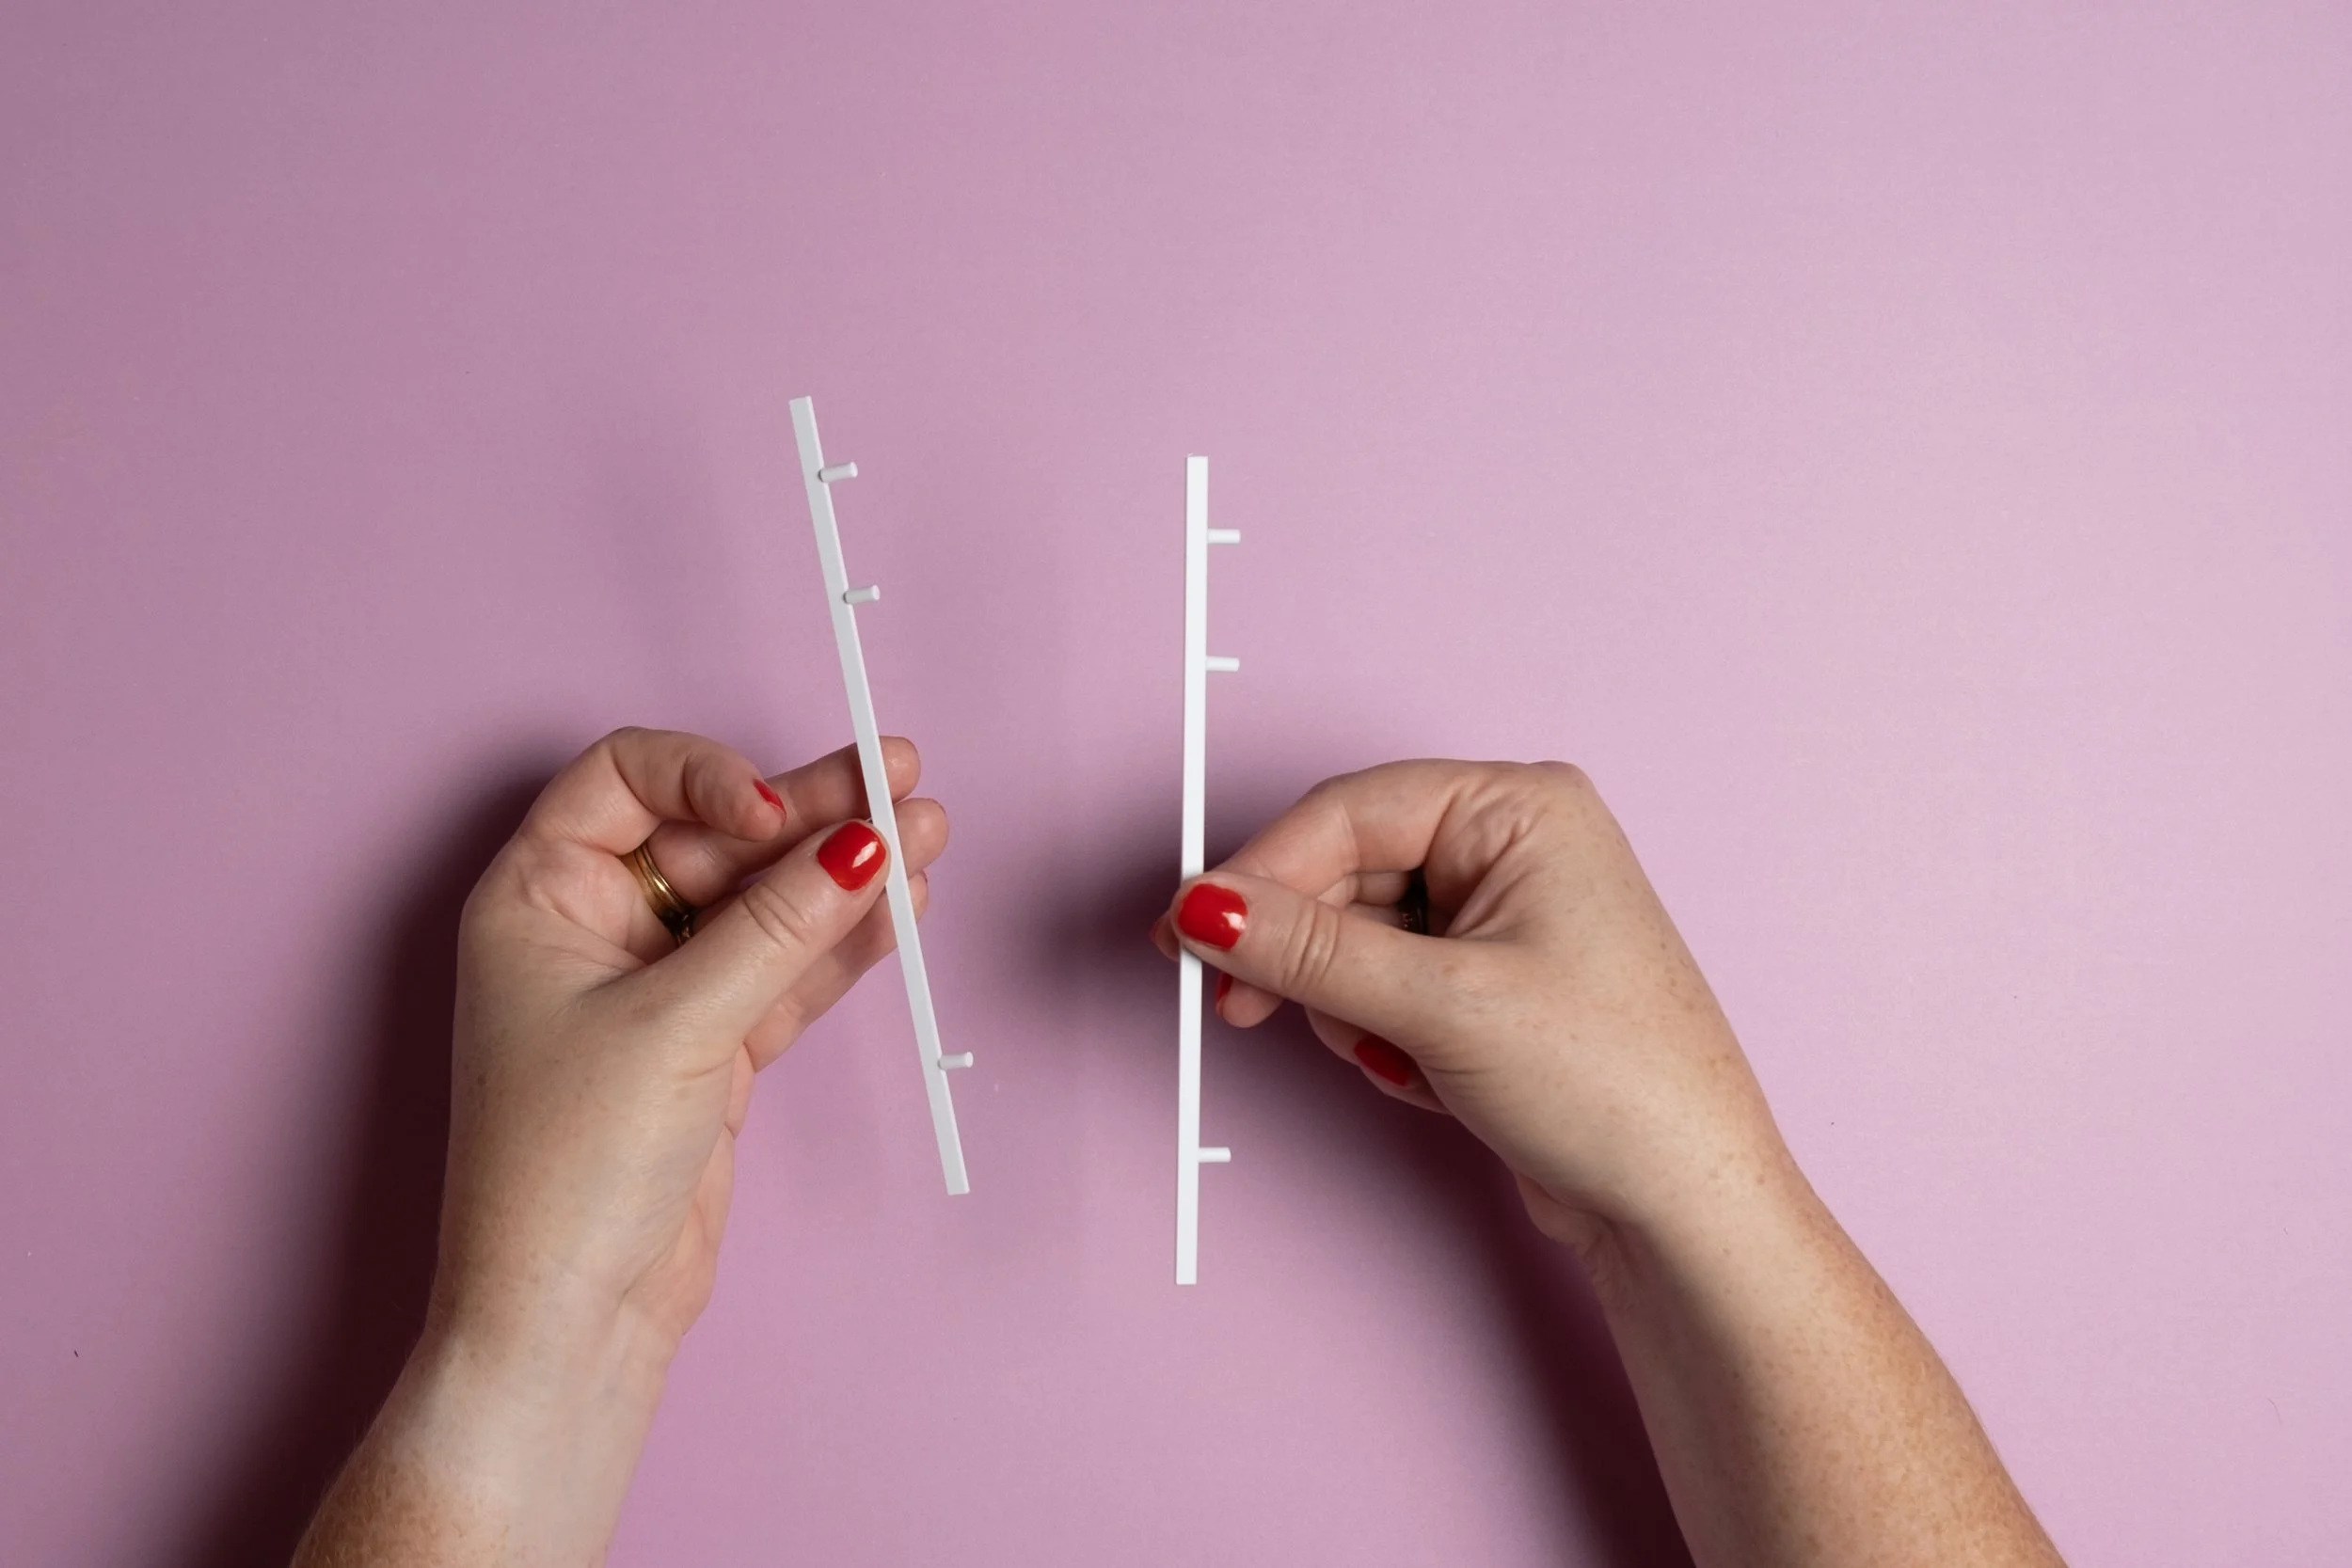
8. Glue on wall mounting rods...
...ensuring symmetry
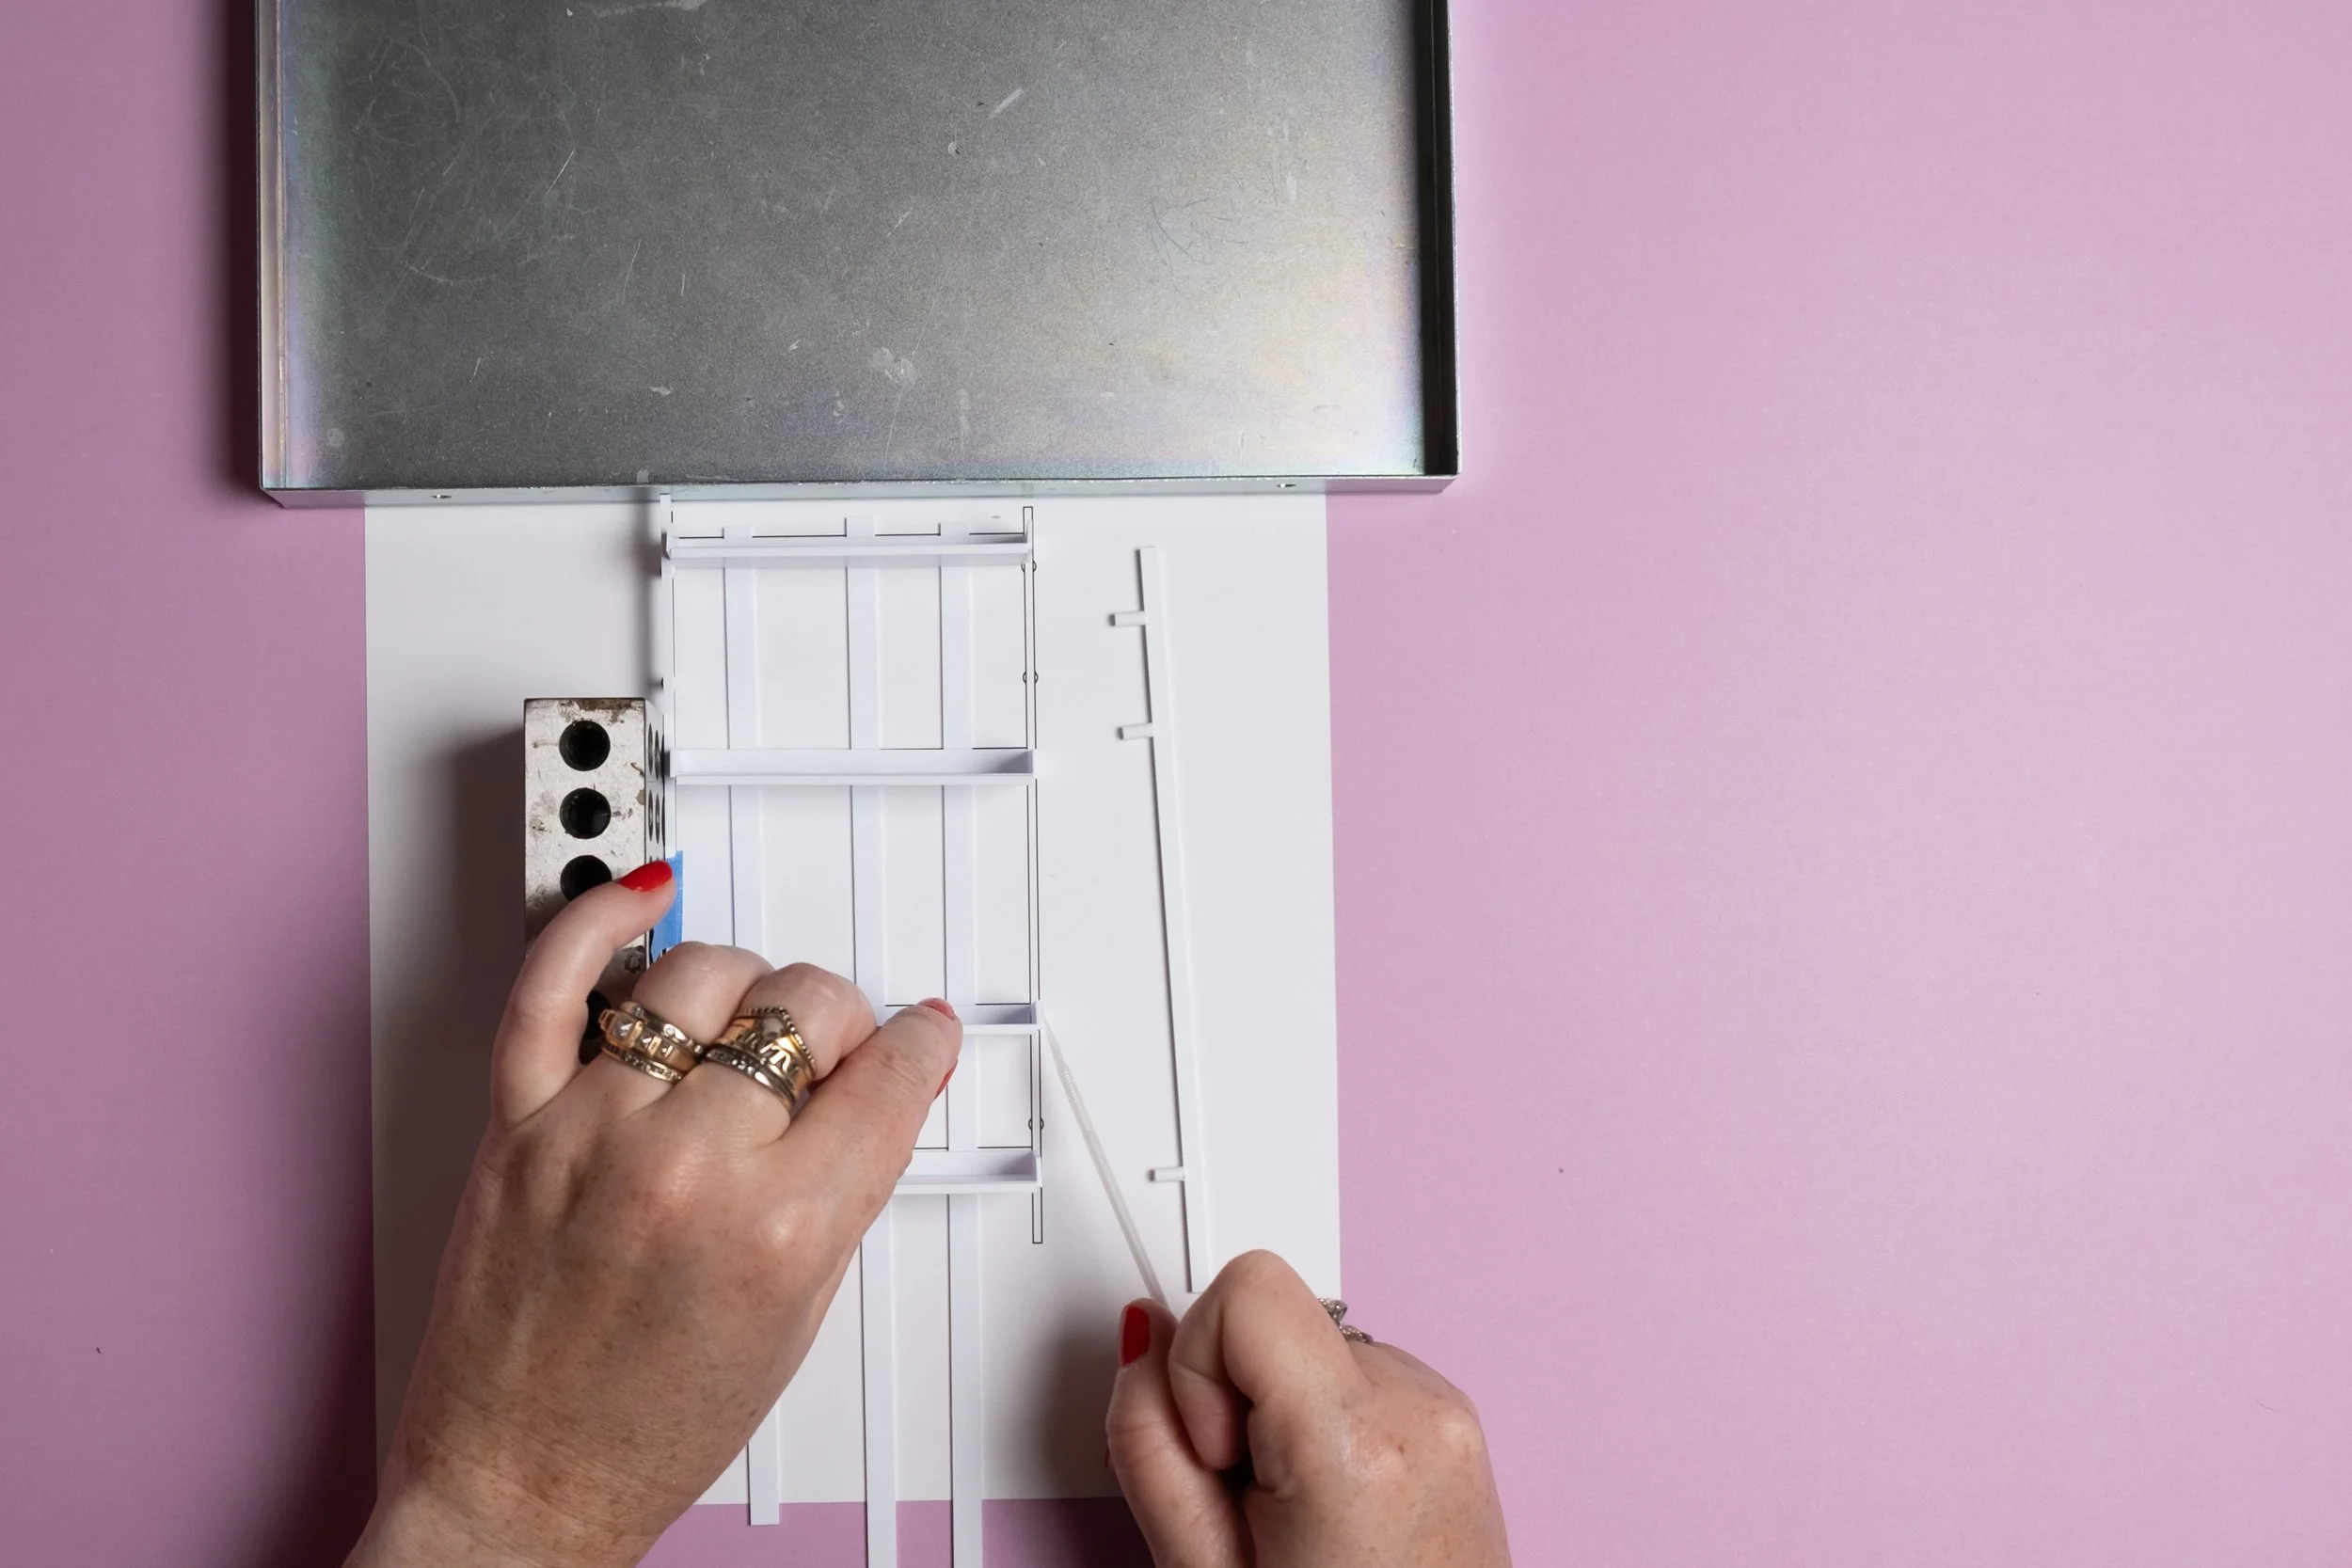
9. Align left beam to template and apply glue on left side of shelves
10. Glue on left side of shelves
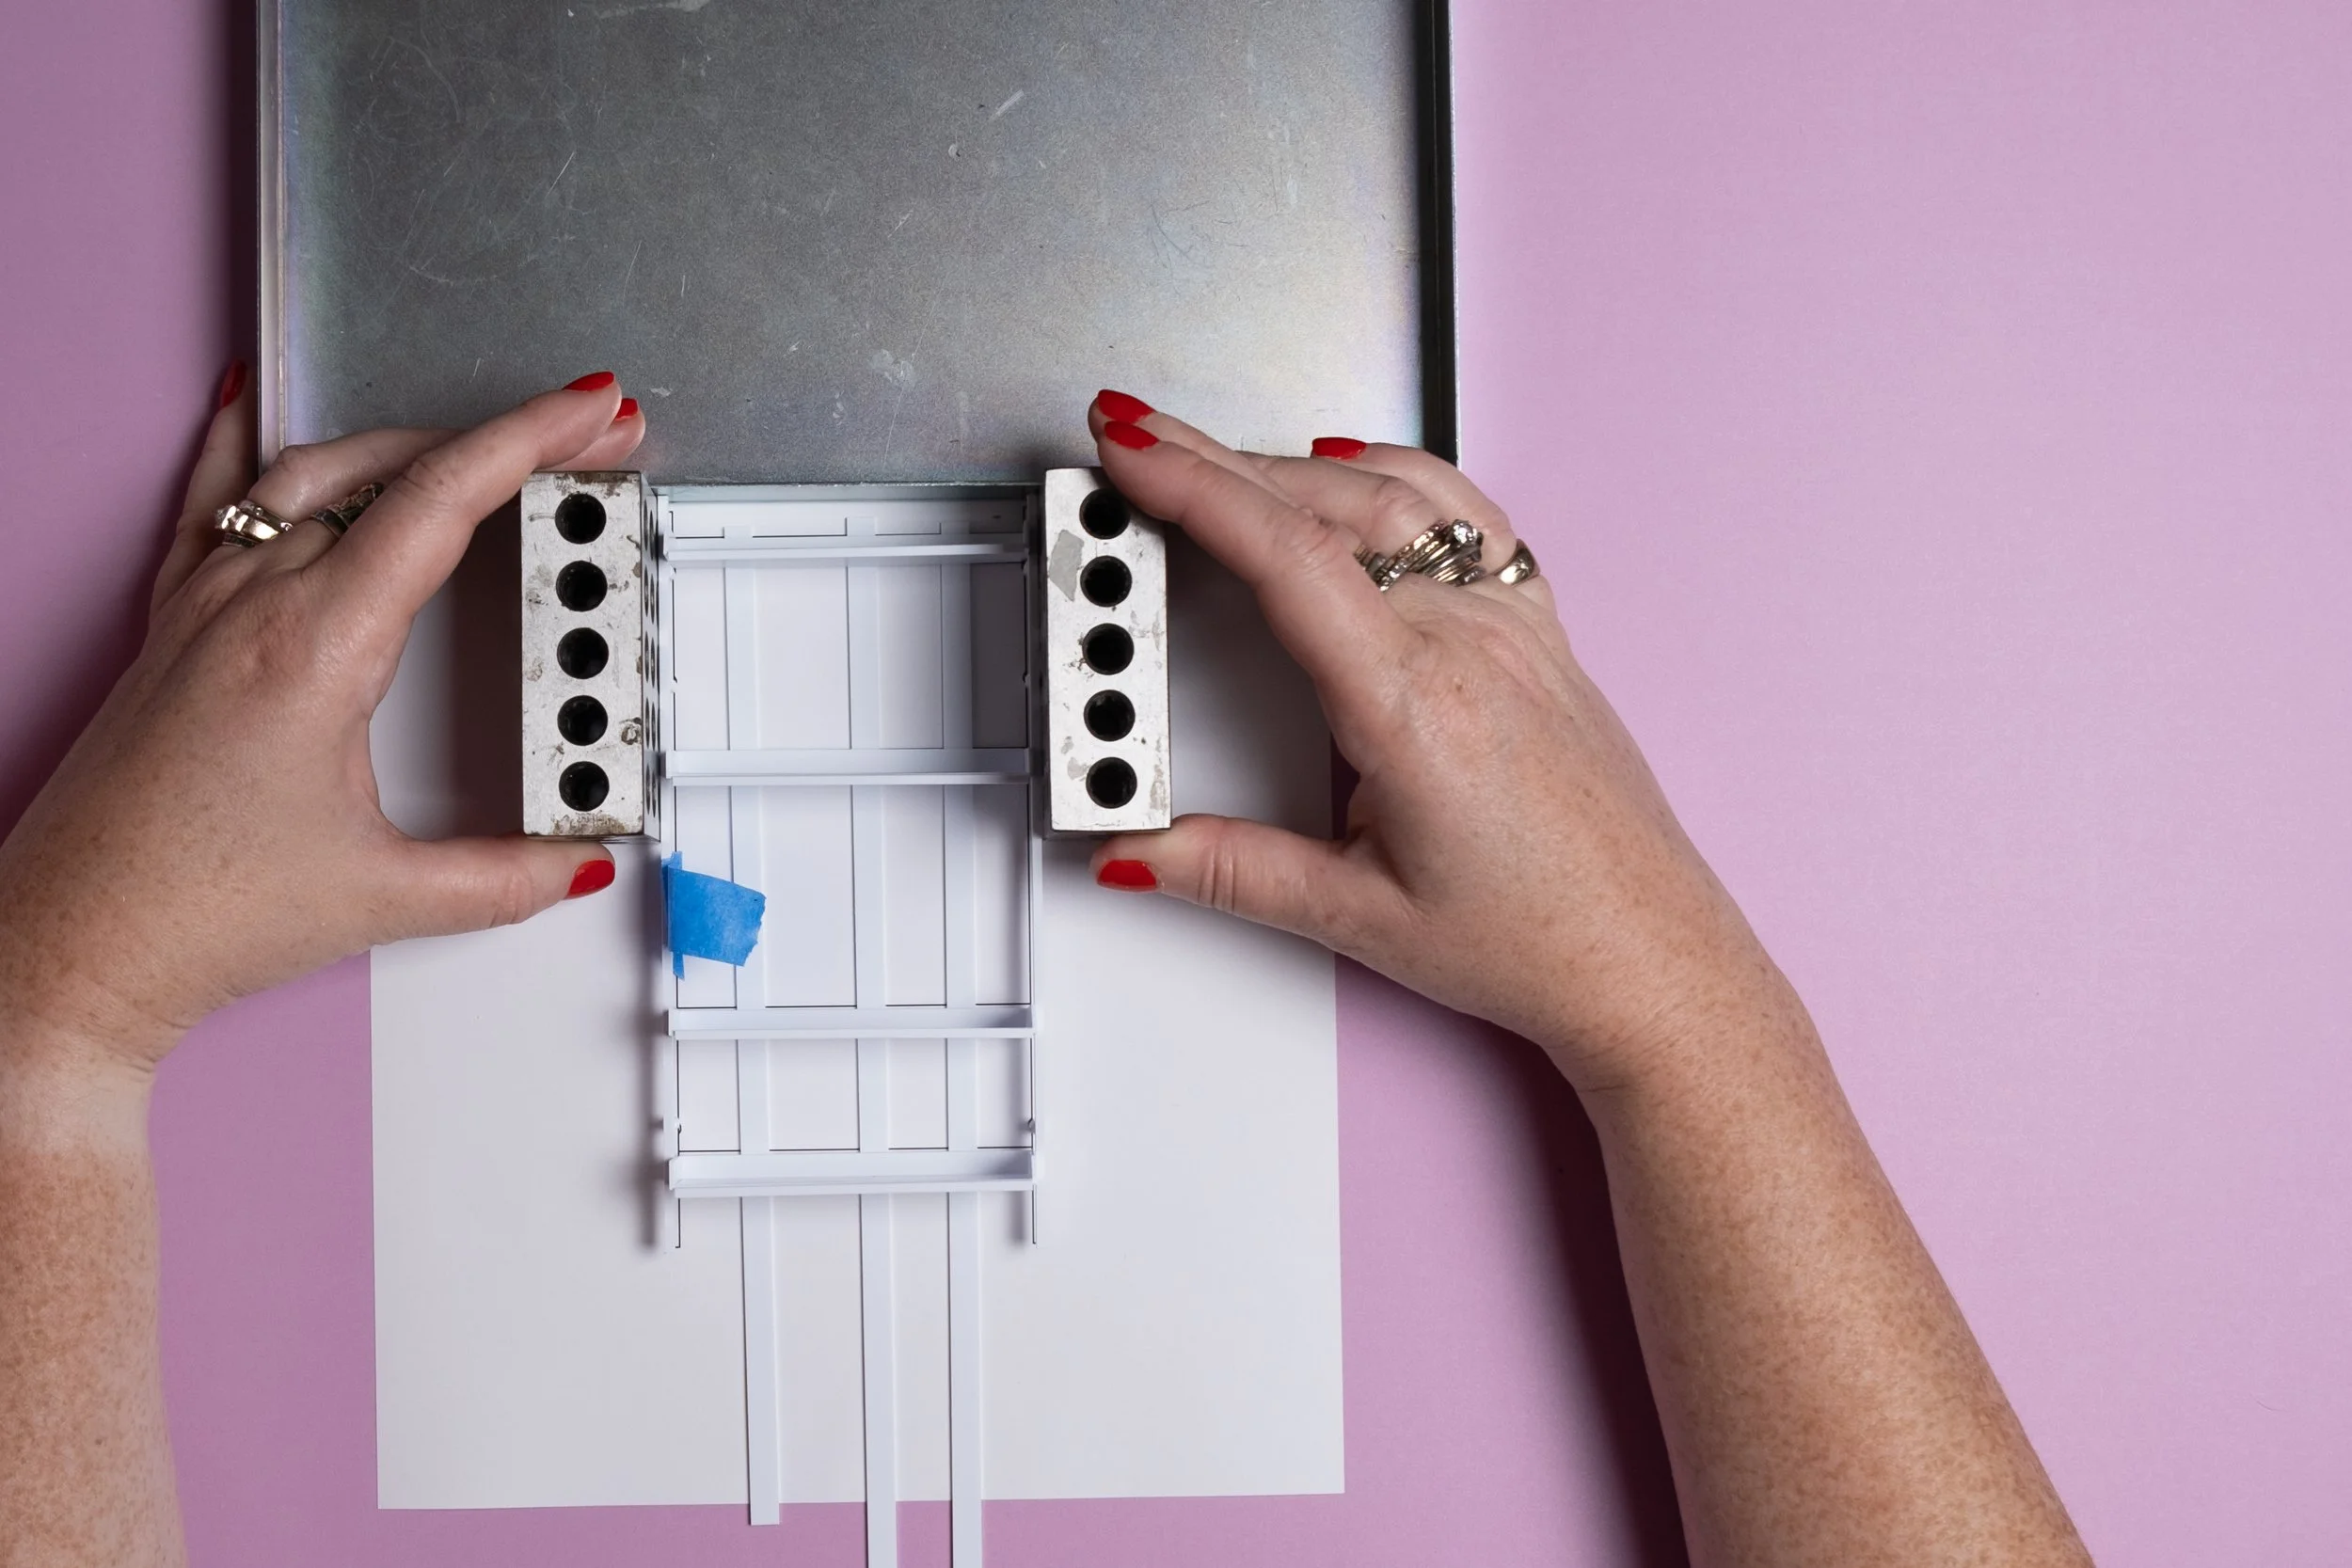
11. Add glue on right of all shelves...
...ensuring alignment and applying pressure
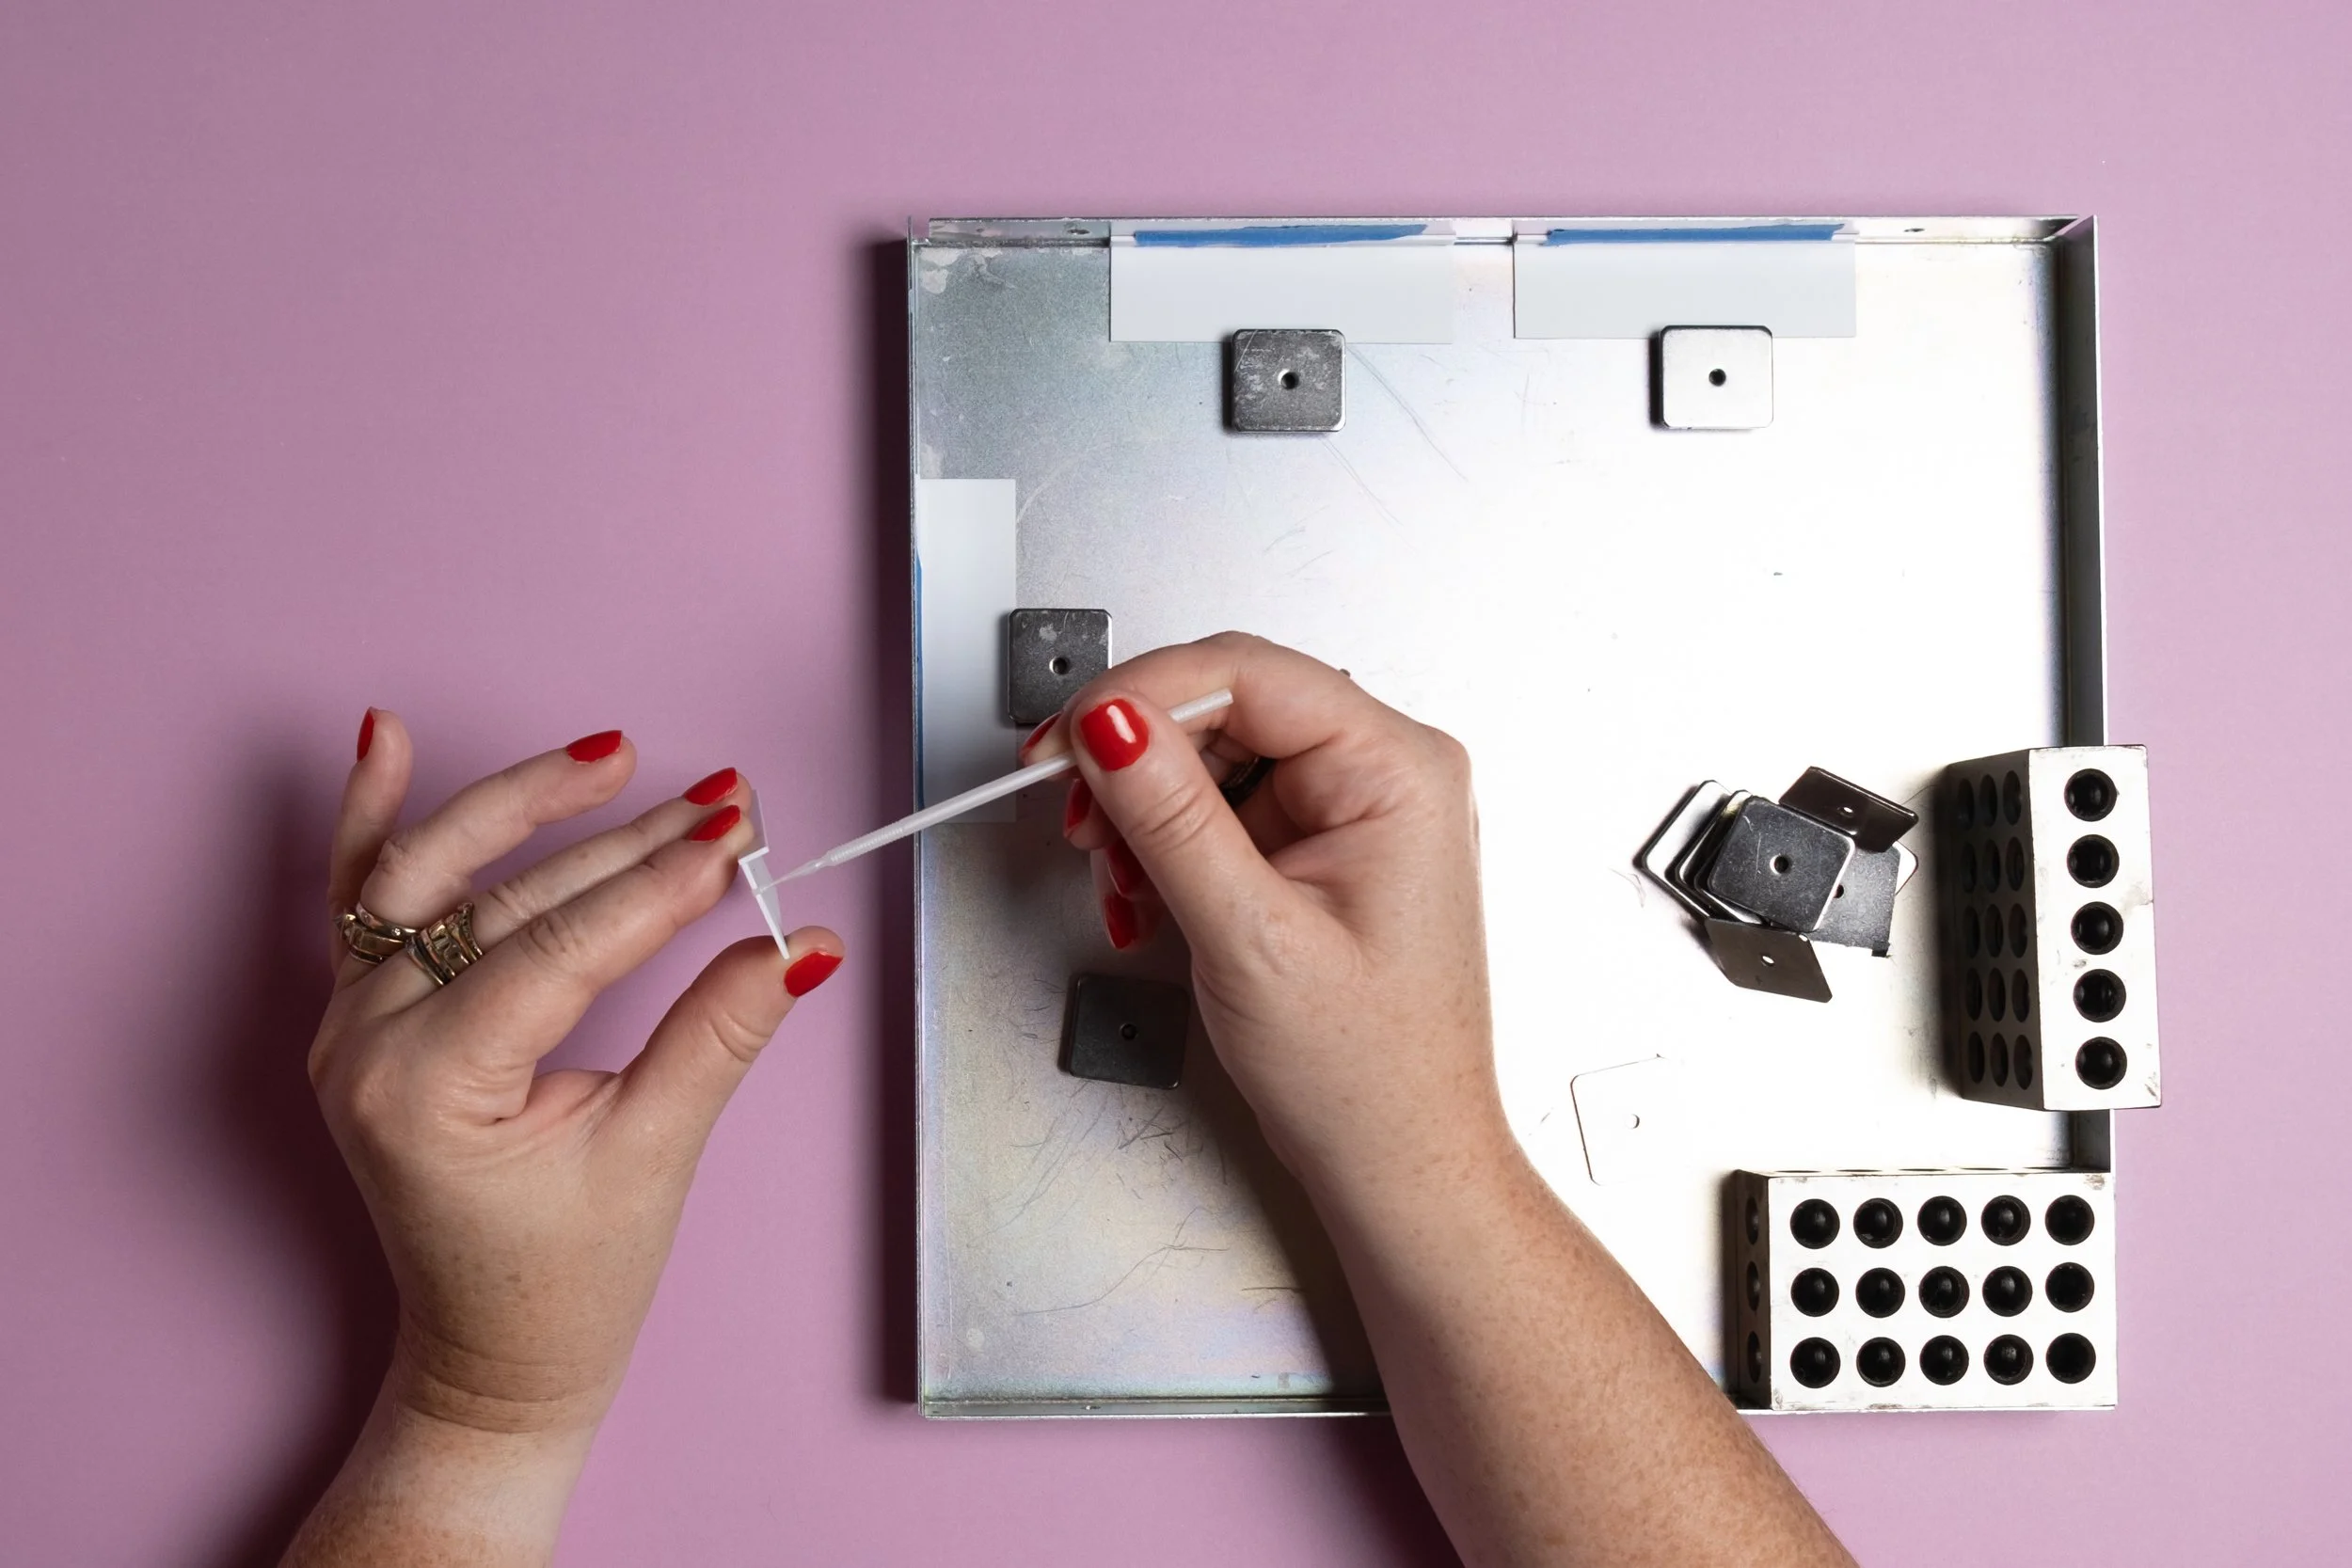
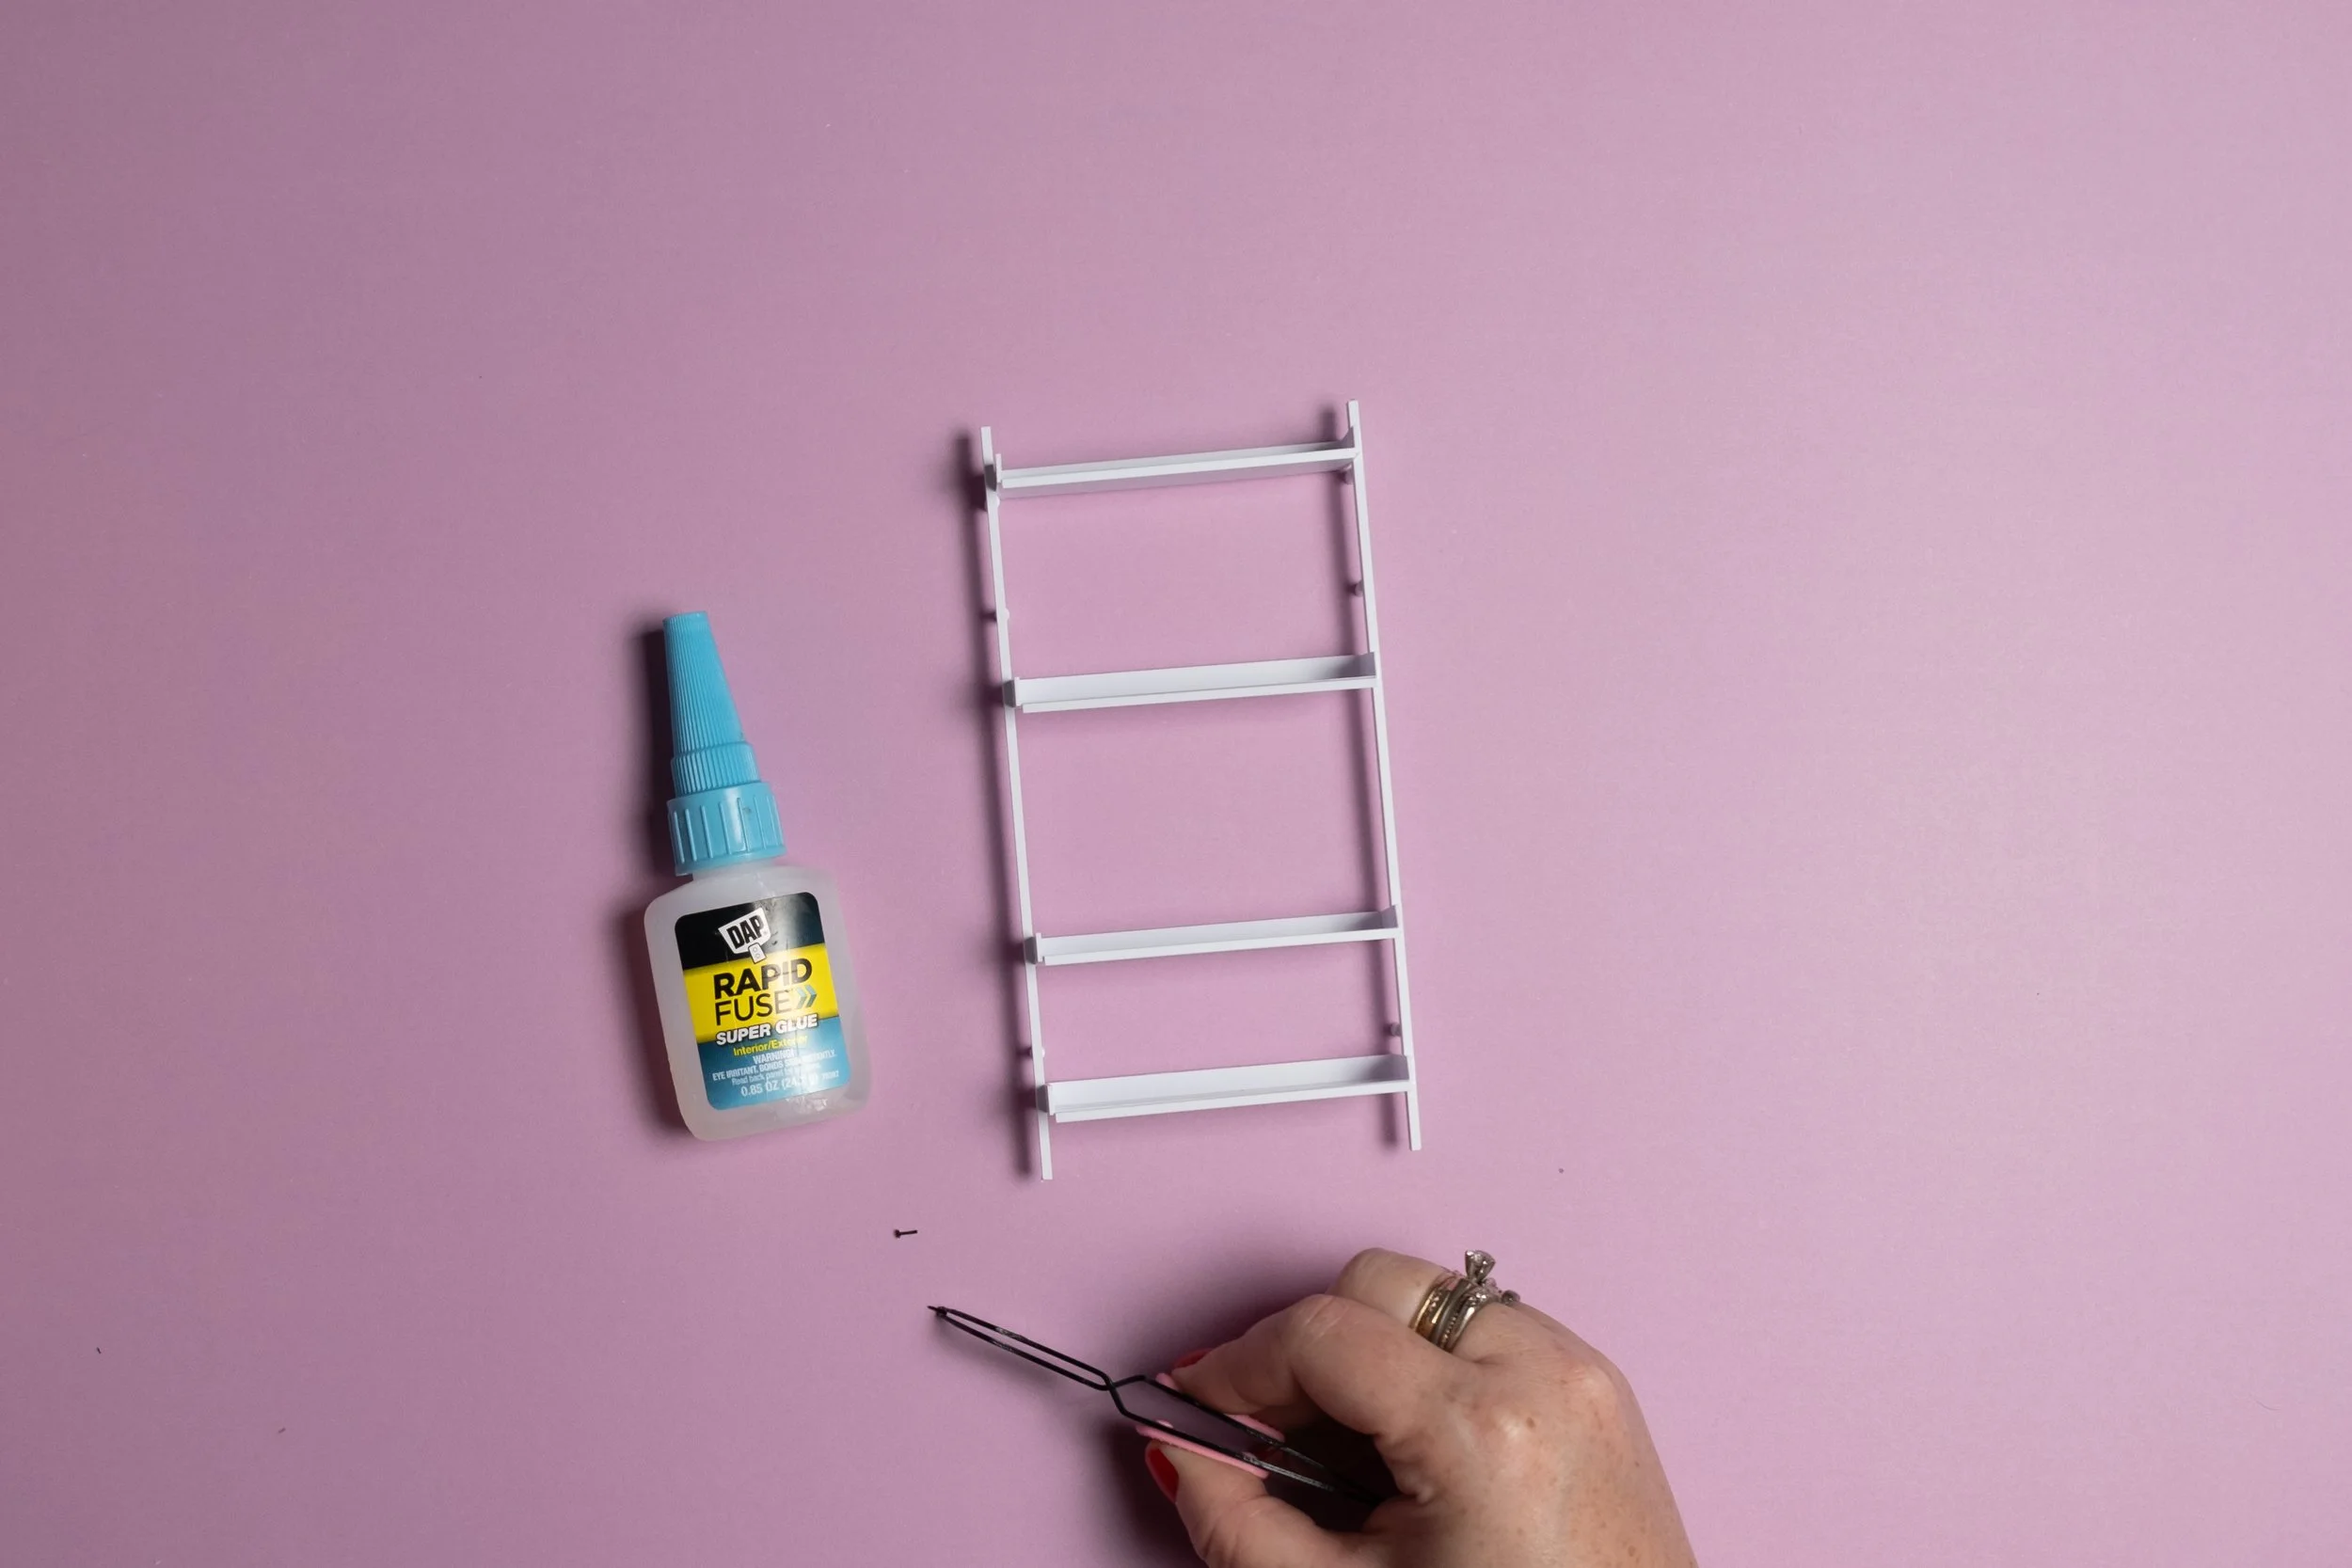
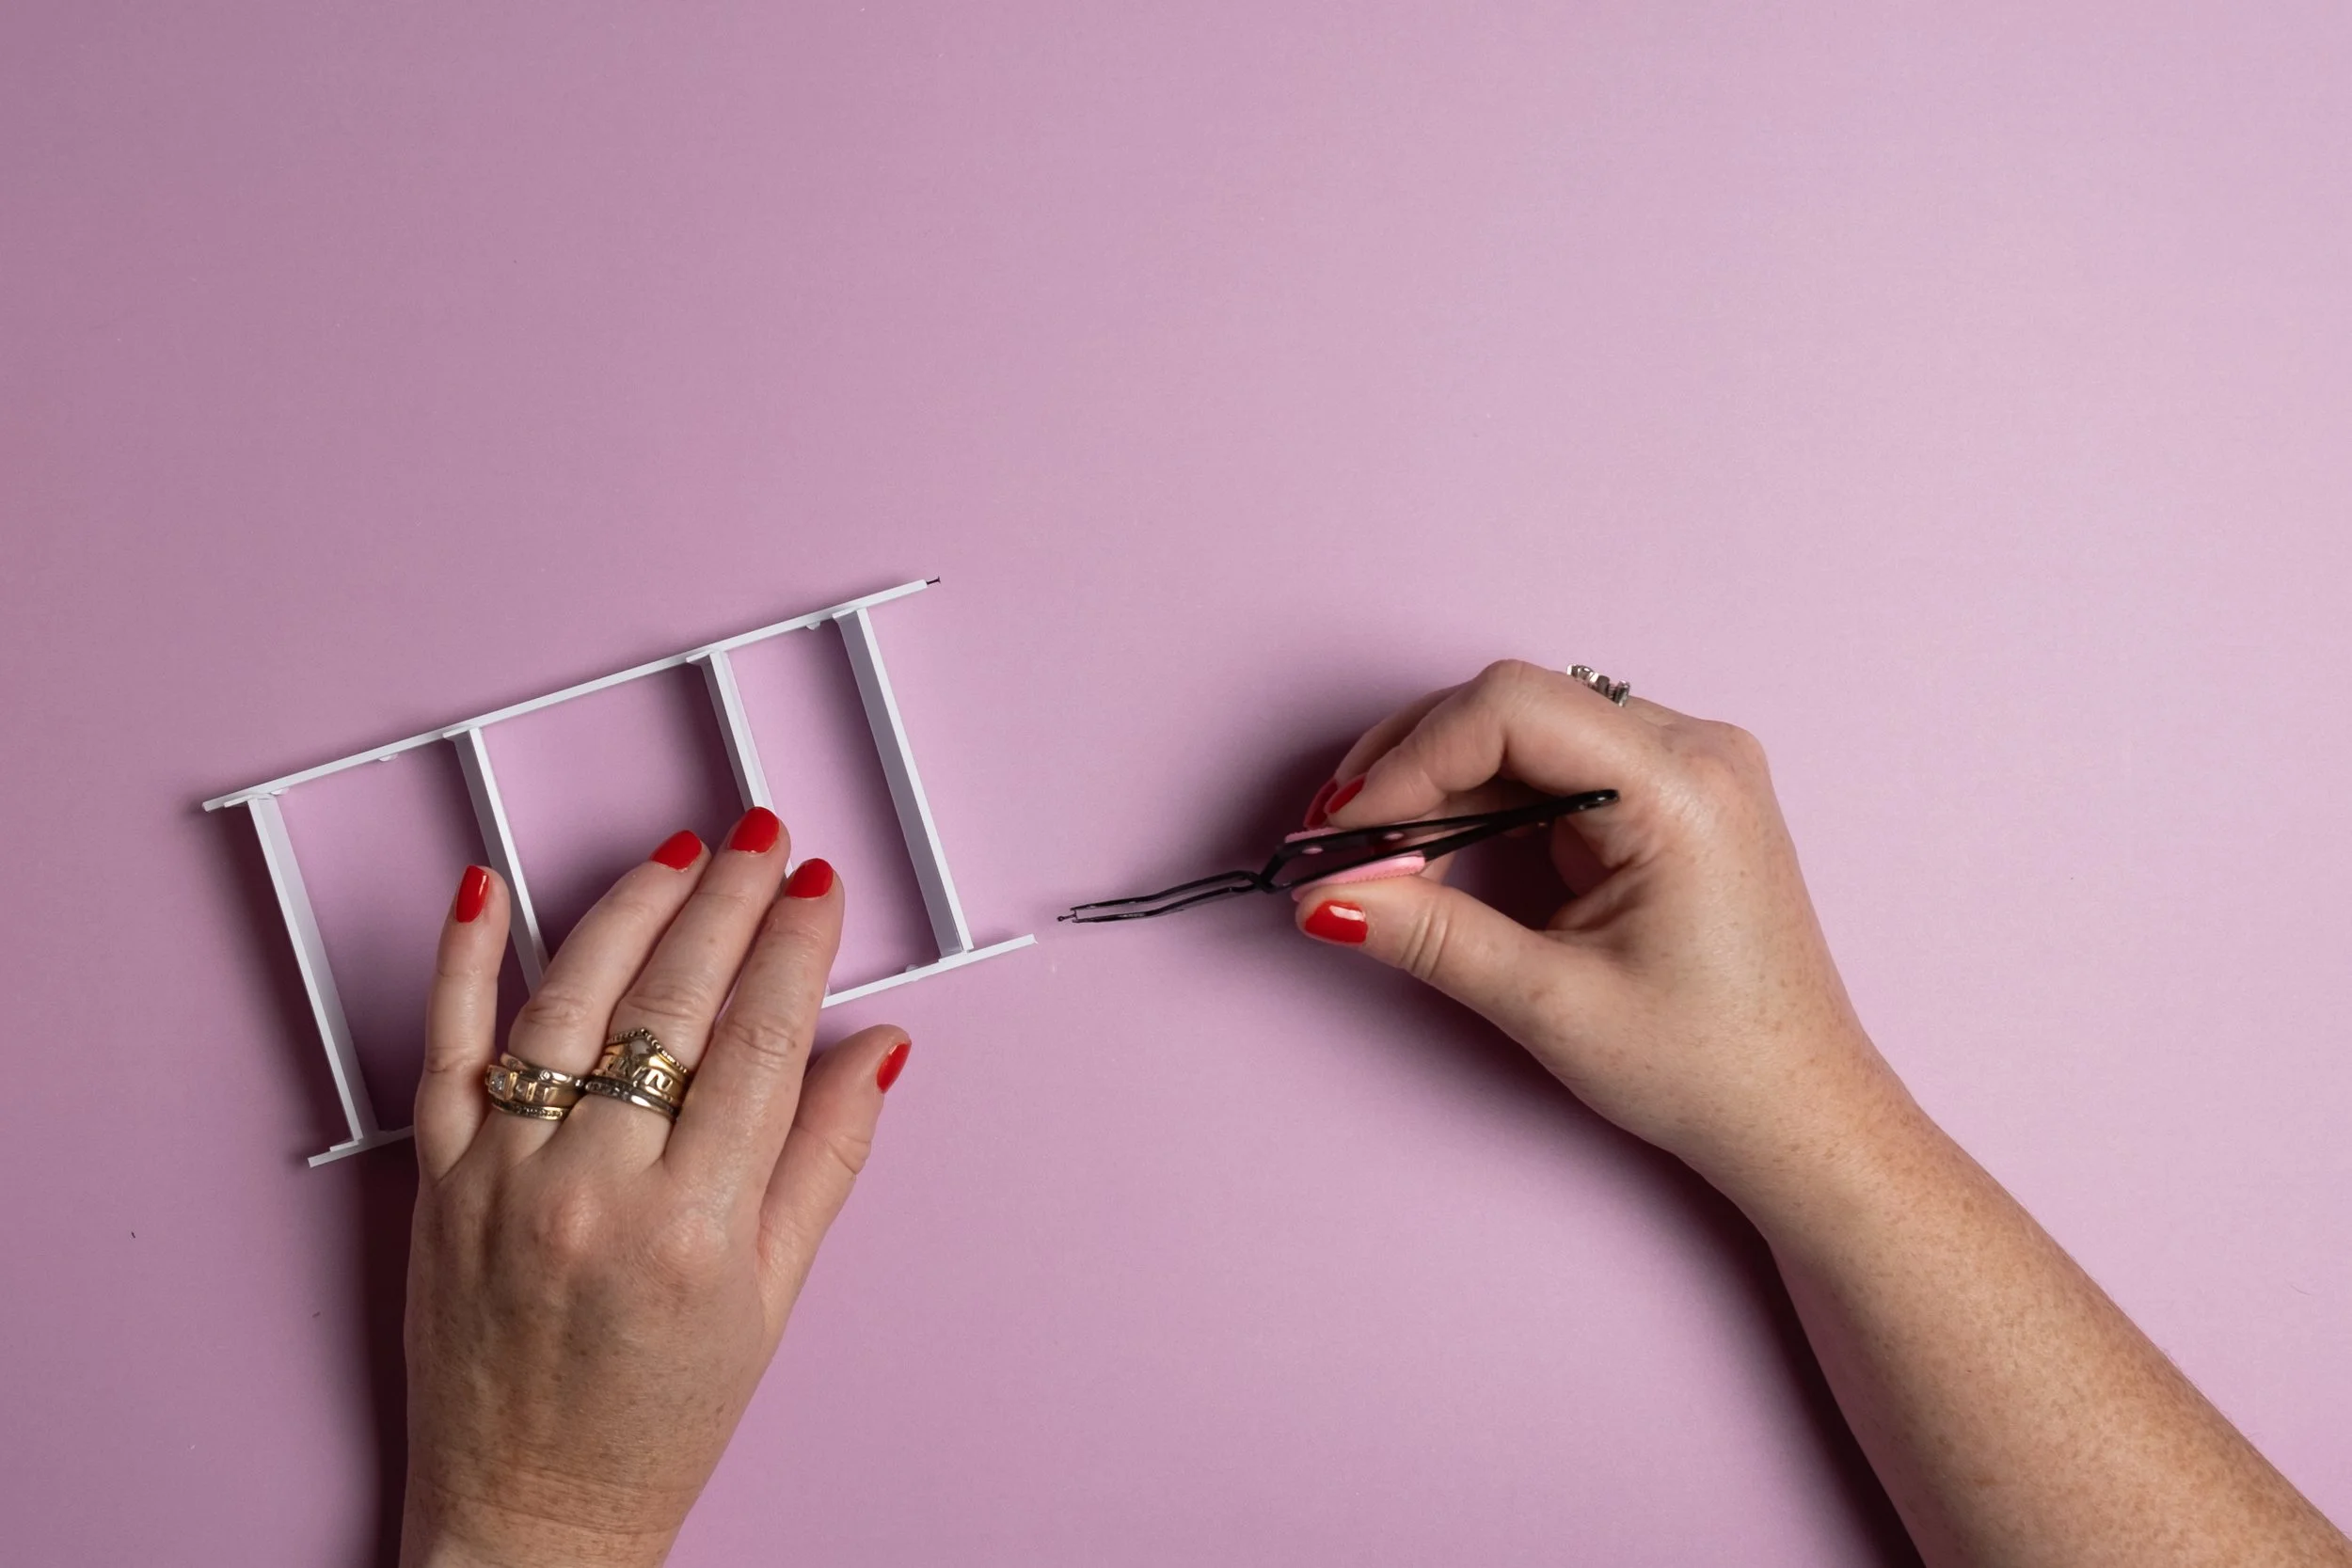
12. Use tweezers to pick up headpins...
...and glue in place
You're done!
Installation Tip
To install the shelf in a mini scene, I like to put tiny balls of sticky-tac/museum putty on the wall mounting rods and then lightly press them onto the wall, ensuring the leveling feet are flush with the floor. This way you can remove the shelf (carefully) when rearranging your mini furniture or move it to another scene without damaging the wall or the shelf.
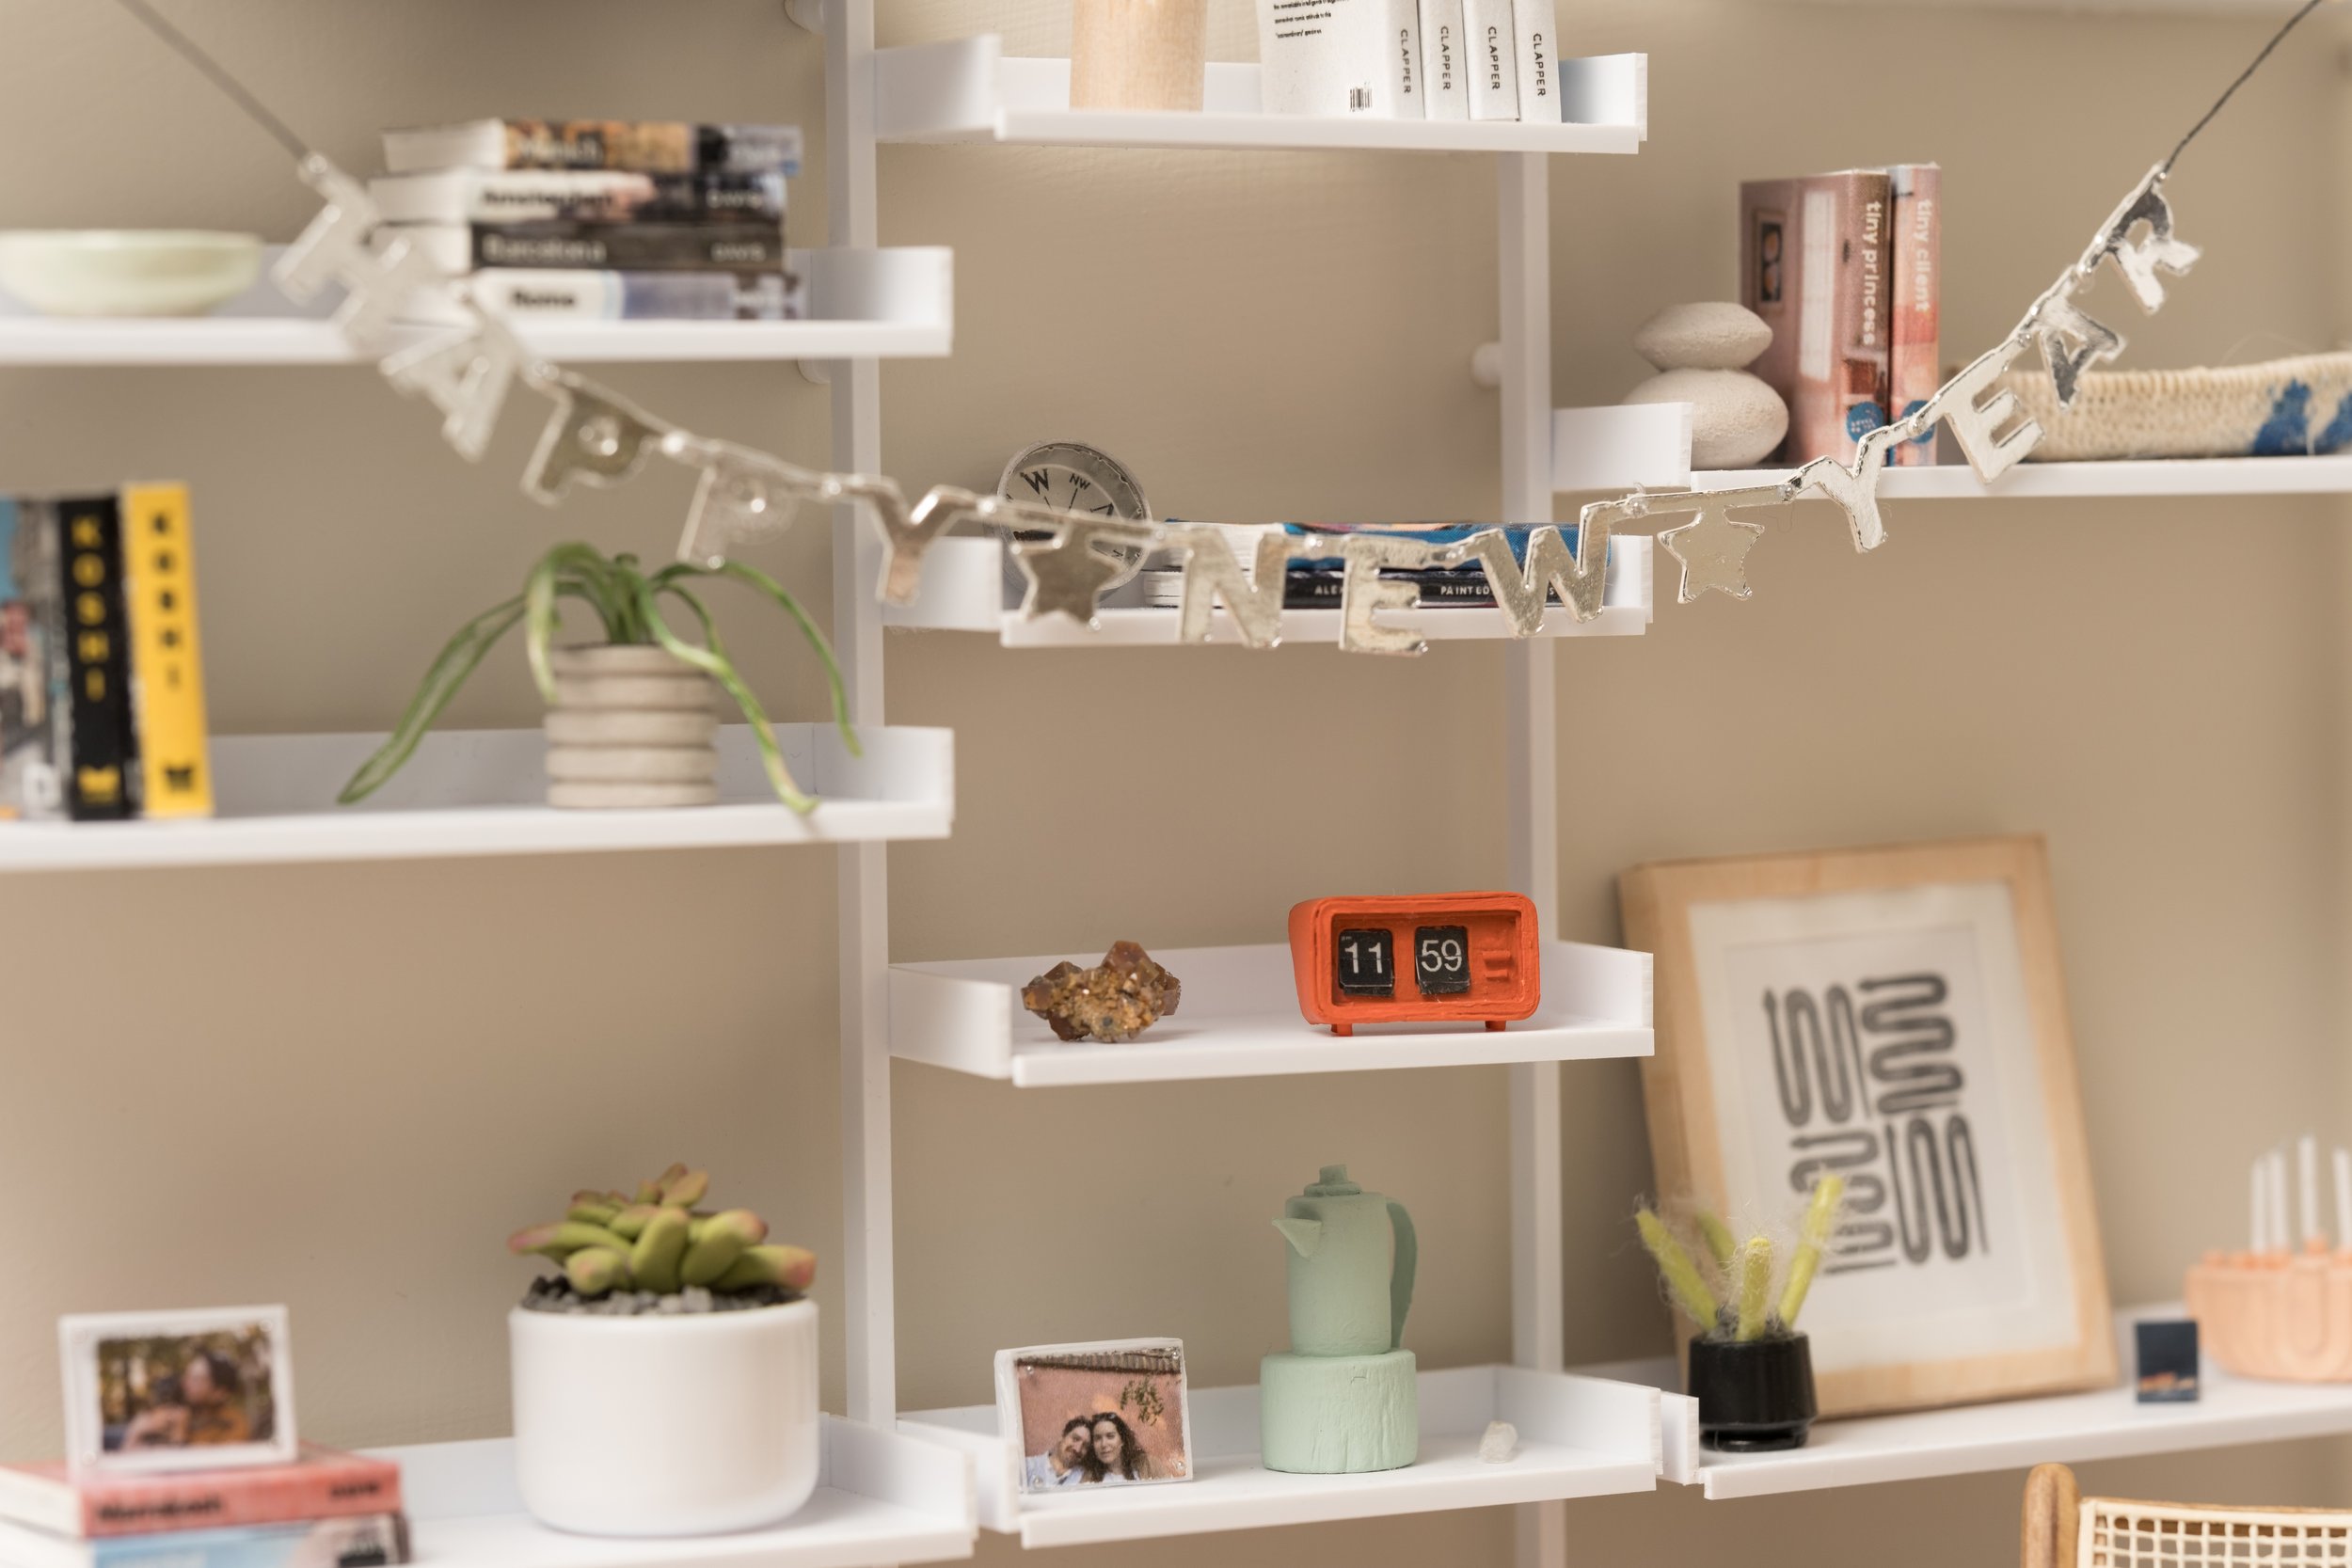
And then you get to the fun part: styling the shelves!
Modifications
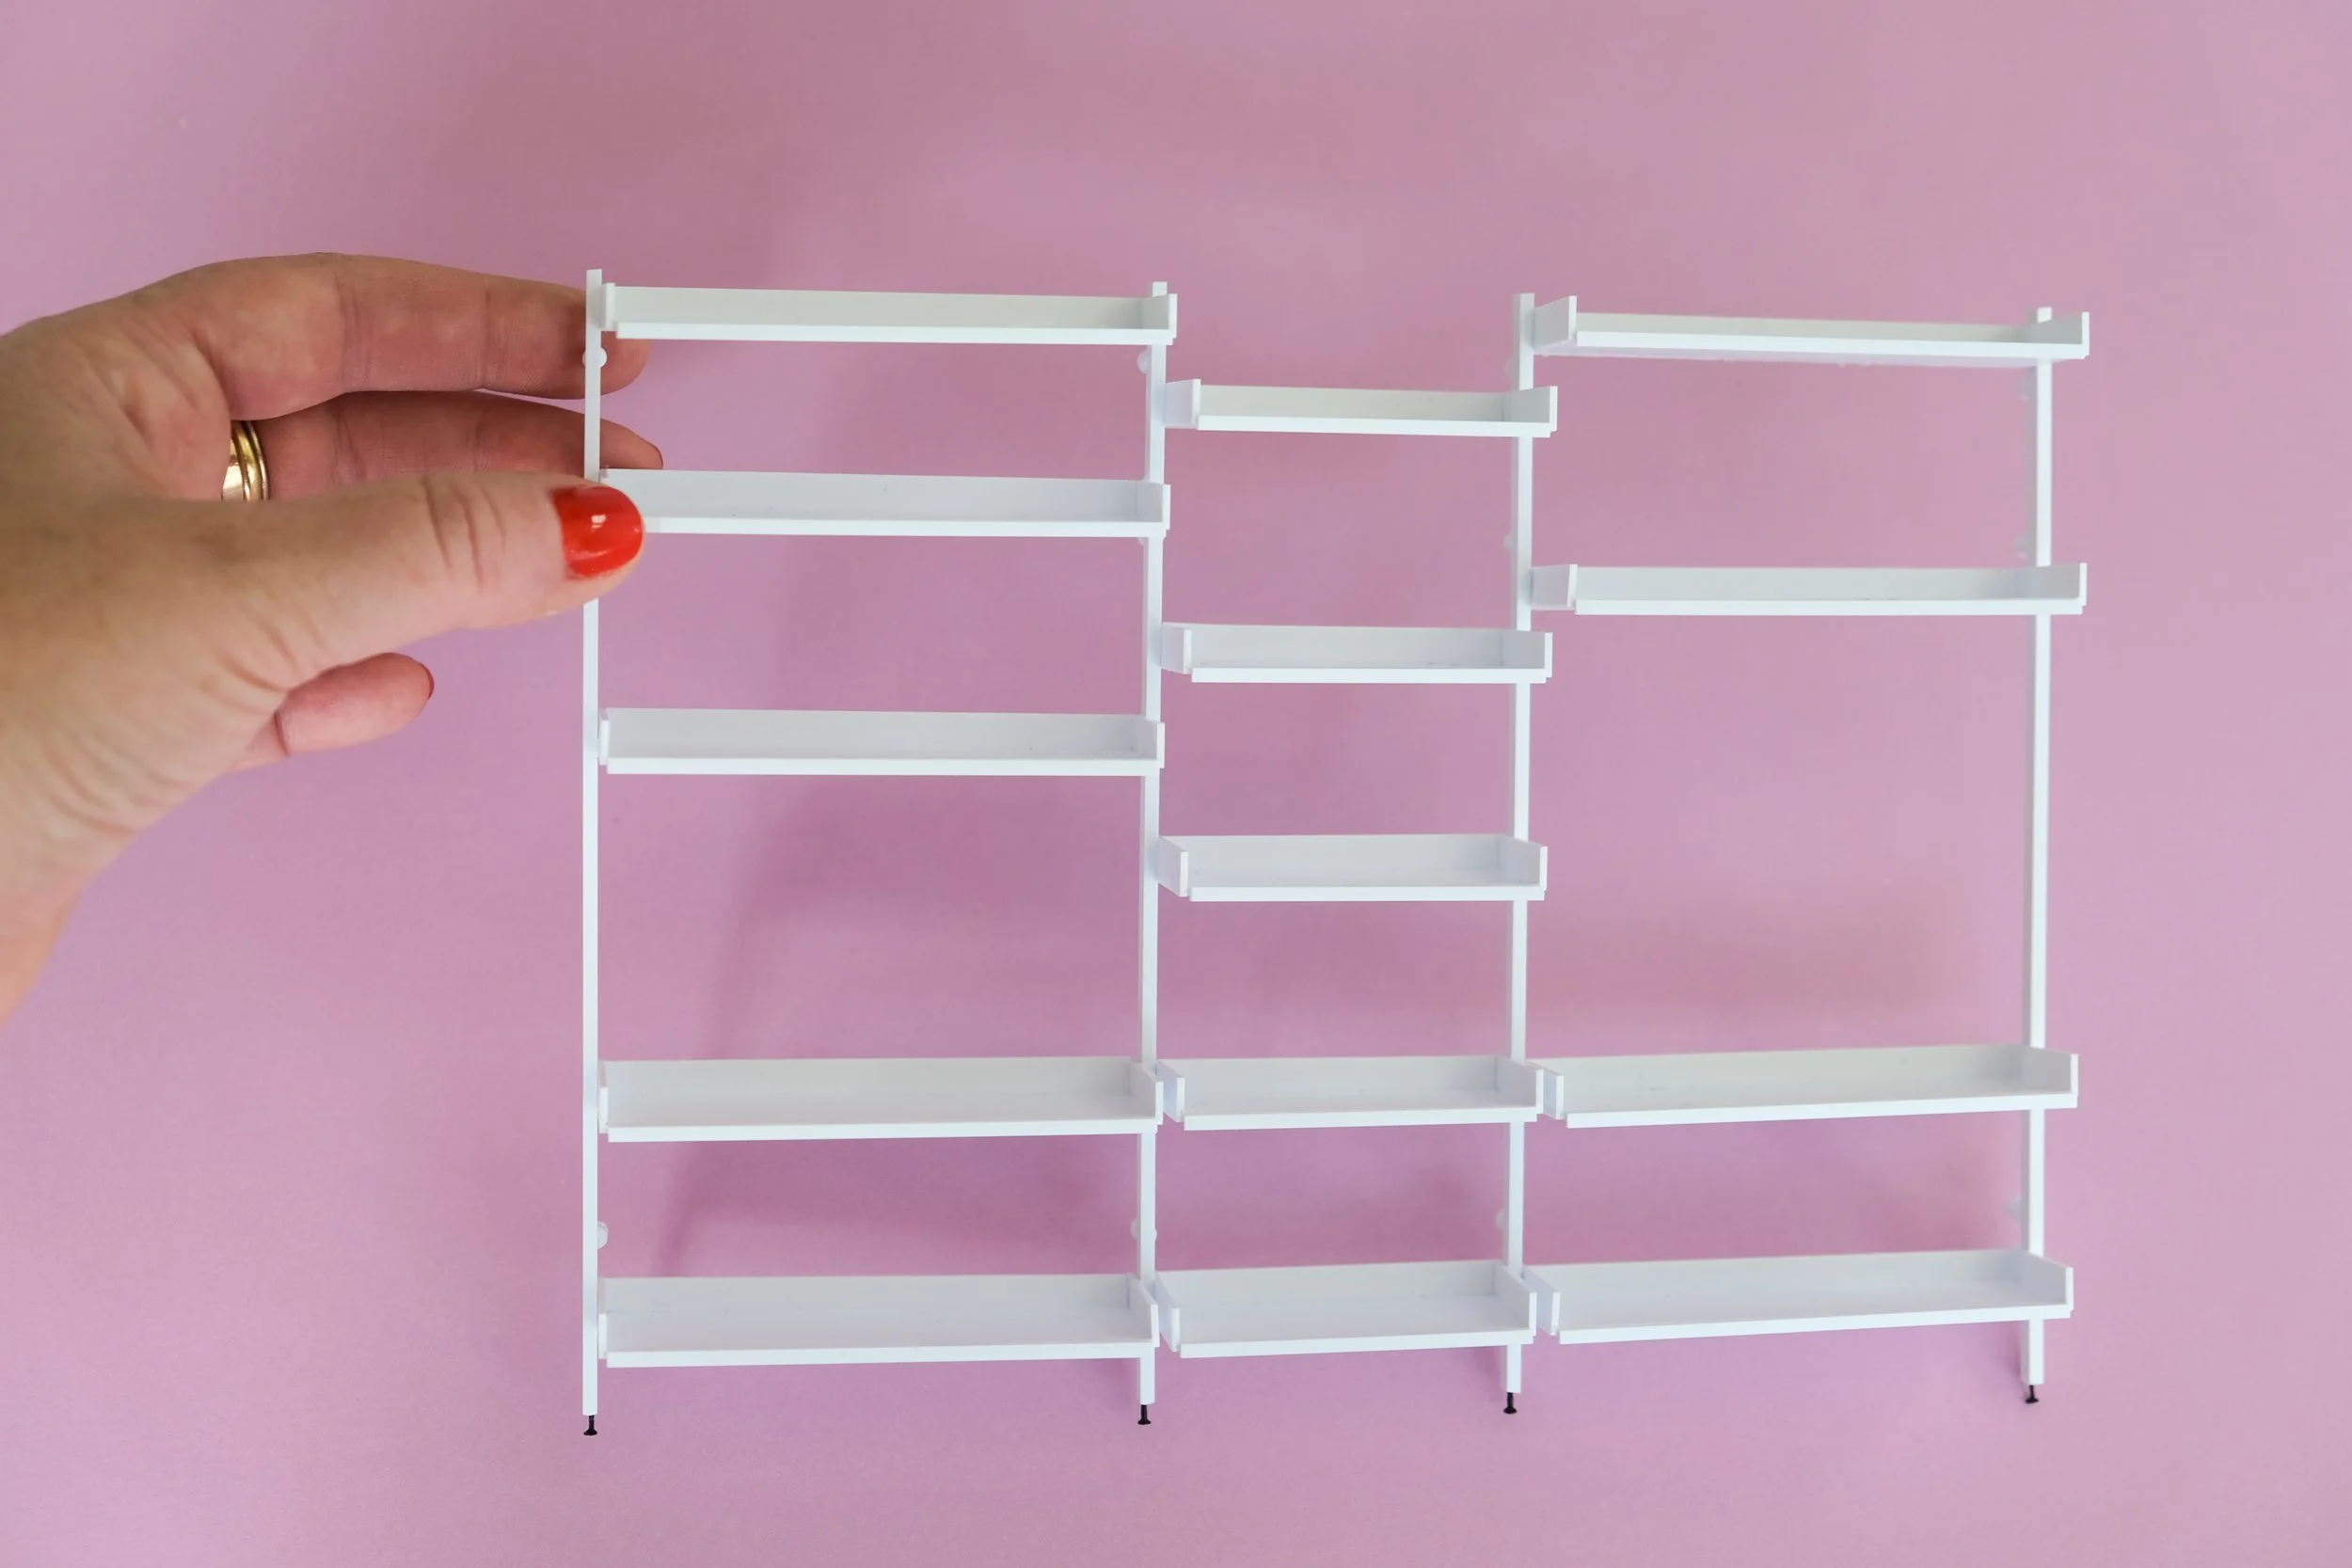
This DIY shows how you make a single shelving unit and the template indicates a specific shelf placement. But just like in real life, this shelving is modular, so you can choose to adjust the spacing between the shelves to better fit your intended decor, add or remove a shelf, or adjust the width of the shelves.
In my New Year’s Eve at Home scene, I combined 3 shelving units together to fill the wall, and I chose to make the middle unit narrower than the sides (the shelves in the middle are 5.2cm wide).
When combining units, repeat the steps above to build out the individual shelves for each add-on unit. But you only need to create a single support beam per add-on unit which you’ll attach to the outside edge of the shelves. The inside edge will attach to a shared support beam with another set of shelves. I find that it’s easier to build one complete shelving unit first (except for adding the headpins) so you can easily align and connect the shelves of any additional modules.
See the shelf in my New Year’s Eve at Home Scene
There’s more!
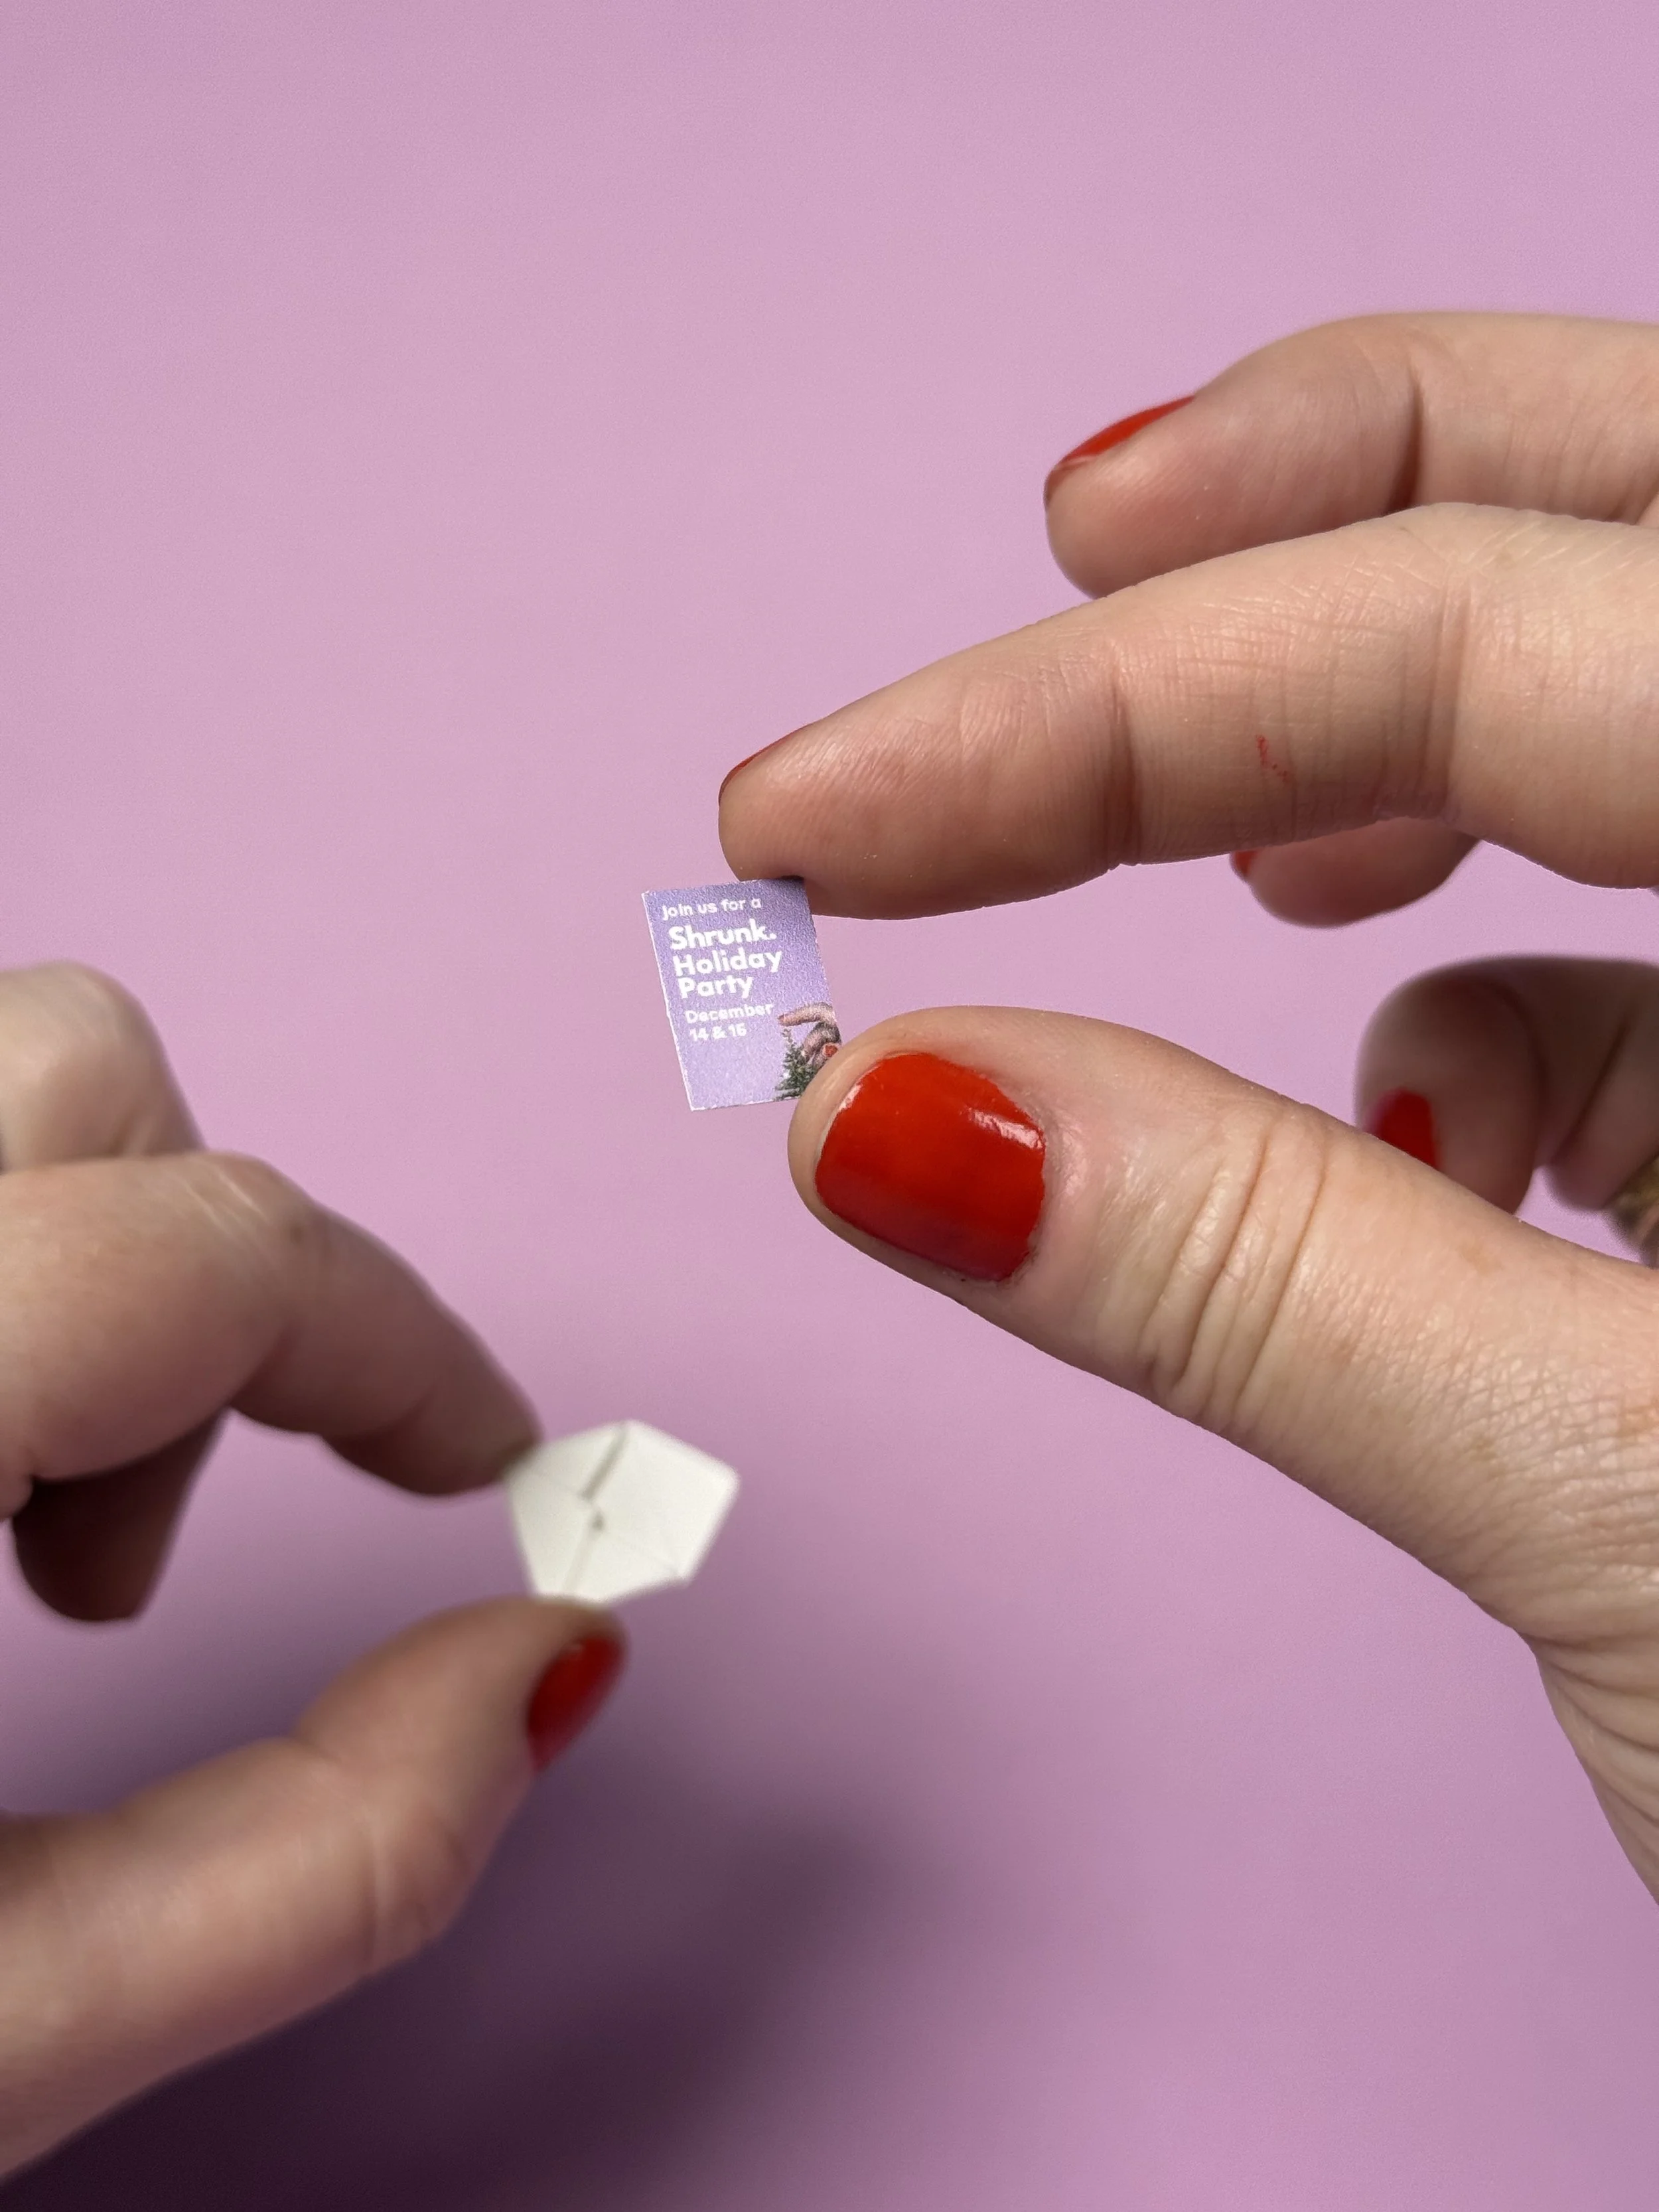
Check out the DIYs and Printables shared during the Shrunk. magazine and Mini House on the Line Holiday Party.
